FL Studio 21 is a powerful digital audio workstation (DAW) that has gained popularity among music producers and artists for its intuitive interface and robust features. One of the essential aspects of music production is mixing, the process of combining and balancing individual audio tracks to create a polished and professional-sounding final product. In this introduction, we’ll explore the basics of mixing in FL Studio 21 and how to get started with this crucial stage of music production.
- Understanding Mixing: Mixing is the art of blending different audio elements, such as vocals, instruments, and drums, together to create a harmonious and balanced sound. It involves adjusting various parameters like volume, panning, equalization (EQ), compression, reverb, and more. The goal is to ensure that each element in the song contributes to the overall sound in the best possible way. Proper mixing can elevate a good song to greatness, making it sound polished, clear, and impactful.
- Starting a Mix in FL Studio 21: Before diving into the mixing process, it’s essential to have a well-organized project. Make sure your tracks are labeled correctly and arranged logically on the Playlist or the Mixer. FL Studio 21 offers a clean and user-friendly interface, making it easy to manage and manipulate your tracks efficiently.
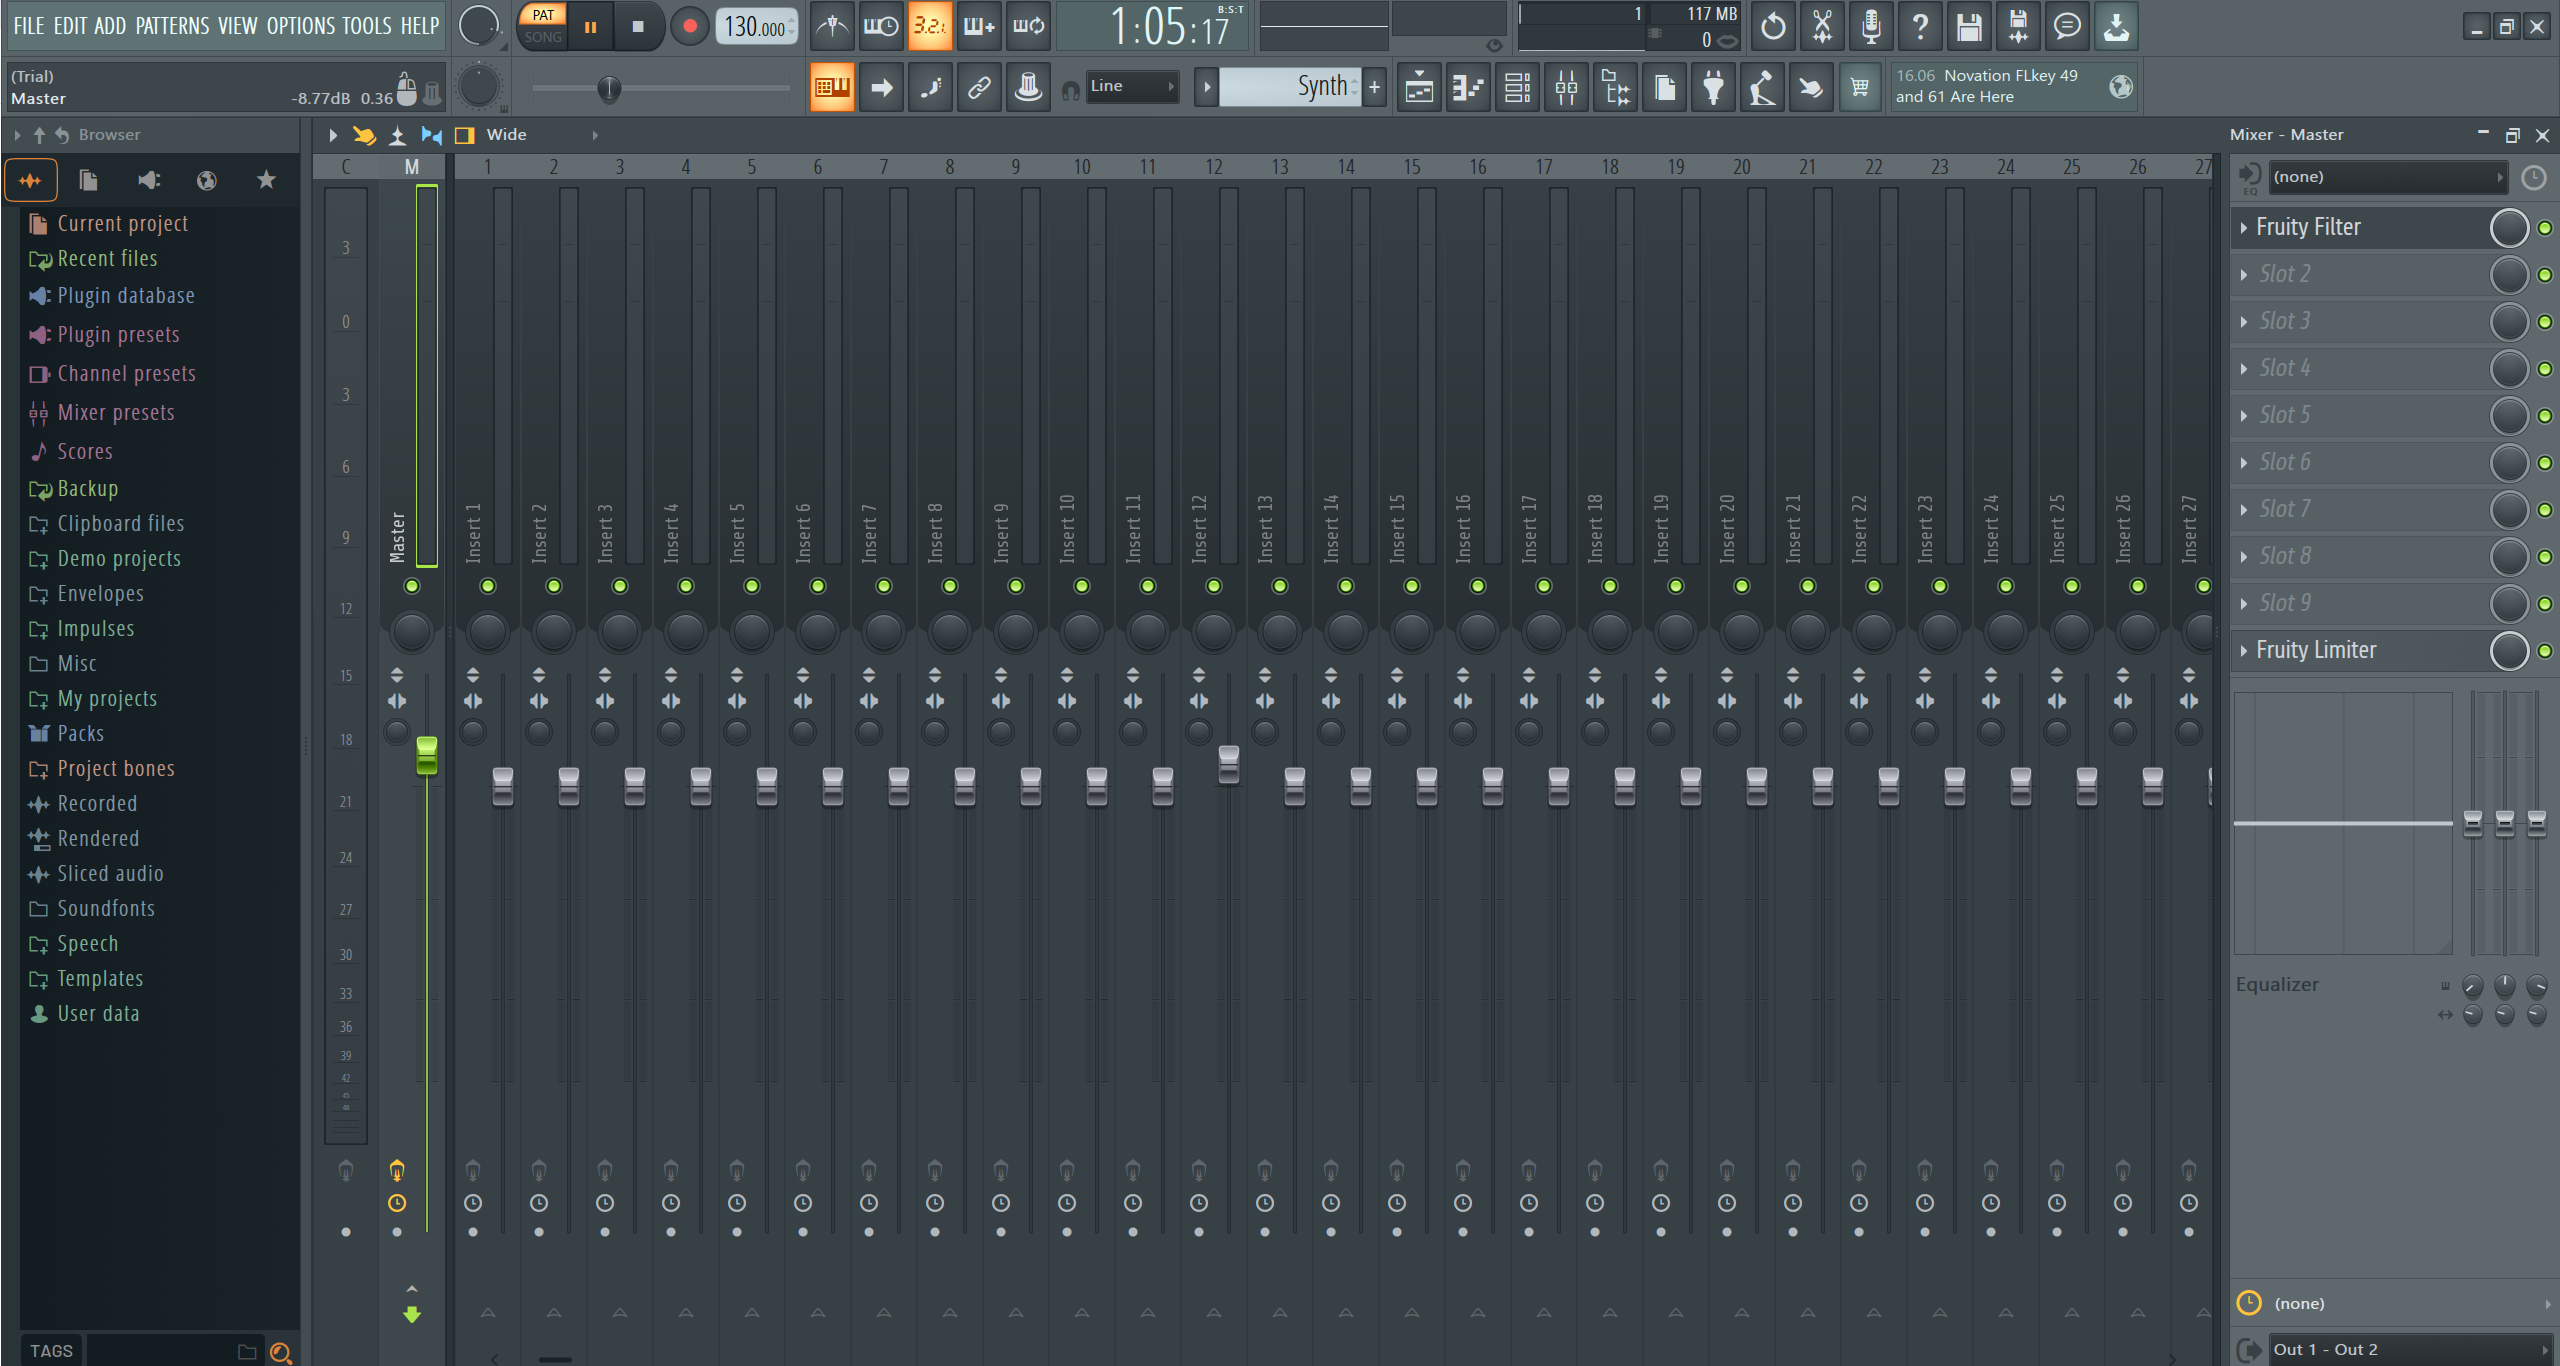
- Mixer Overview: In FL Studio 21, the Mixer is the heart of your mixing process. You can access it by pressing the “F9” key or by clicking the “View Mixer” button at the top toolbar. The Mixer displays all your audio channels vertically, allowing you to adjust various settings for each track independently. On the Mixer, you can control volume, panning, insert effects, send effects, and more.
- Volume and Panning: A fundamental aspect of mixing is controlling the volume levels of individual tracks. Proper volume balancing ensures that no track overpowers another, creating a clear and cohesive mix. To adjust volume, you can drag the fader up or down for each channel on the Mixer. Panning allows you to position the sound of a track in the stereo field, providing a sense of space and dimension to your mix.
- Equalization (EQ): Equalization is the process of adjusting the frequency content of a track. In FL Studio 21, each mixer channel includes an EQ plugin called “Fruity Parametric EQ 2.” This tool allows you to boost or cut specific frequencies, shaping the overall tone of each track and preventing frequency clashes between instruments.
- Compression: Compression is used to control the dynamic range of a track, making the loud parts quieter and the quiet parts louder. This process helps to bring out the details in a track and make it sound more balanced. In FL Studio 21, you can use the built-in “Fruity Compressor” plugin to apply compression to individual tracks.
- Effects: FL Studio 21 offers a wide range of built-in effects plugins, including reverb, delay, chorus, and more. Effects can add depth and texture to your mix, creating a unique and engaging sonic experience. Experiment with different effects on individual tracks to find the best combination that suits your music.
- Automation: Automation is a powerful feature in FL Studio 21 that allows you to change various parameters over time. You can automate volume, panning, effects, and almost any parameter in the DAW. Automation is useful for adding movement and dynamics to your mix.
Mixing is a critical stage in music production, and FL Studio 21 provides a comprehensive set of tools and features to help you achieve professional-sounding results. Remember that mixing is both an art and a skill, and it takes time and practice to develop your ears and techniques. Don’t be afraid to experiment, trust your instincts, and let your creativity guide you to craft a well-balanced and captivating mix in FL Studio 21.
Levels and Volume Adjustment
In FL Studio 21, the Mixer is the central hub for handling all aspects of mixing your audio tracks. Properly adjusting the levels and volume of individual tracks is one of the fundamental tasks in creating a well-balanced and polished mix. Let’s explore how to handle levels and volume adjustment in the Mixer to achieve a professional-sounding result.
- Accessing the Mixer: To access the Mixer in FL Studio 21, you can press the “F9” key on your keyboard or click on the “View Mixer” button at the top toolbar. The Mixer will appear as a vertical panel with channel strips representing each track in your project.
- Understanding Channel Strips: Each channel strip in the Mixer corresponds to an audio or instrument track in your project. It displays the name of the track, volume fader, panning knob, and other controls for processing the audio.
- Adjusting Volume Levels: Volume levels play a crucial role in mixing, as they determine how loud or soft each track will be in the final mix. To adjust the volume of a track in the Mixer, simply drag the volume fader up or down for the respective channel strip. Moving the fader up increases the volume, while moving it down decreases it.
- Proper Gain Staging: When adjusting volume levels, it’s essential to maintain proper gain staging. Gain staging refers to the process of setting the initial levels of each track in a way that ensures optimum headroom and prevents clipping. Clipping occurs when the audio signal exceeds the maximum level, resulting in distortion. By setting appropriate levels from the start, you can avoid audio clipping and achieve a clean mix.
- Using Panning: Panning is another essential element of mixing that determines the position of a sound in the stereo field. In the Mixer, you can adjust the panning knob for each channel strip to position the audio either to the left, right, or center. Proper panning can create a sense of space and separation between different elements in your mix.
- Using Solo and Mute: In the Mixer, you’ll find “Solo” and “Mute” buttons for each channel strip. Soloing a track isolates it, allowing you to listen to it in isolation, which can be helpful for focusing on specific elements. Muting a track, on the other hand, silences it temporarily, which can be useful for A/B testing or troubleshooting mix issues.
- Working with Group Tracks: FL Studio 21 allows you to group related tracks together using “Group Tracks.” Grouping enables you to control the volume, panning, and other settings of multiple tracks simultaneously. To create a group track, right-click on an empty area in the Mixer, select “Add track,” and choose “Add a new group track.” You can then drag and drop tracks into the group, and their settings will be affected collectively.
- Automating Volume: Automation is a powerful tool in FL Studio 21 that allows you to change the volume of a track over time. To automate volume, click on the small arrow icon on the channel strip to expand it, then click on the “Volume” knob to create automation points. Adjust these points to change the volume as desired.
Mastering levels and volume adjustment in the Mixer of FL Studio 21 is essential for achieving a well-balanced and professional mix. Take the time to set appropriate levels, use panning effectively, and consider utilizing automation to add dynamics and movement to your tracks. With practice and experimentation, you’ll be able to create impressive mixes that showcase your music in its best light.
Panning Techniques
Panning is a crucial aspect of mixing that involves positioning audio in the stereo field. By adjusting the panning of individual tracks in FL Studio 21, you can create a sense of space, separation, and dimension in your mix. Proper panning techniques can enhance the listening experience and make your music more immersive. Let’s explore some panning techniques you can use in FL Studio 21 to elevate your mixes:
- Centering: By default, most tracks are panned to the center, meaning the audio is equally distributed between the left and right speakers. Centered tracks are commonly used for lead vocals, basslines, and other essential elements that you want to keep focused and present in the middle of the mix.
- Stereo Widening: To make your mix sound more spacious, you can use stereo widening techniques. FL Studio 21 offers a built-in plugin called “Fruity Stereo Enhancer” that allows you to widen the stereo image of a track. Be cautious not to overuse this effect, as it may lead to phase cancellation and an unnatural sound. Use stereo widening moderately and consider using it on elements like pads, background vocals, or certain instruments to give them a wider presence.
- Panning Individual Instruments: One of the simplest panning techniques is to pan individual instruments slightly to the left or right. For instance, you can pan rhythm guitars or keyboards slightly to the left and lead instruments or melodies slightly to the right. This technique helps create separation between different elements in the mix, making it easier for the listener to identify and appreciate each part.
- Panning Drums: Panning drums can add depth and clarity to your mix. In FL Studio 21, you can pan individual drum elements like hi-hats, cymbals, toms, or percussion to different positions in the stereo field. For example, you can pan the hi-hats slightly to the left and the ride cymbal slightly to the right. This technique enhances the stereo width and creates a more dynamic and immersive drum sound.
- Panning in the Arrangement: FL Studio 21 allows you to automate panning within the playlist or arrangement view. By creating automation clips for panning, you can make precise and dynamic changes to the position of a track in the stereo field over time. This is particularly useful for creating movement and spatial effects in your music.
- Mid-Side Panning: FL Studio 21 supports mid-side processing, which involves splitting the audio into its mid (center) and side (stereo) components. By doing so, you can independently adjust the panning of the mid and side signals. This technique allows you to have more control over the stereo width and focus of your mix.
- Balance and Check in Mono: After applying panning techniques, it’s essential to check your mix in mono. Many playback systems, such as club speakers or some mobile devices, play audio in mono. By listening to your mix in mono, you can ensure that all elements remain audible and well-balanced, even when the stereo width is reduced.
Panning is a powerful tool in FL Studio 21 that can significantly impact the overall sound of your mix. Experiment with different panning techniques, but always keep the overall balance and cohesiveness of the mix in mind. By using panning strategically, you can create a dynamic and engaging audio experience for your listeners.
Equalization (EQ)
Equalization, commonly known as EQ, is a fundamental audio processing tool used to adjust the frequency content of an audio signal. In FL Studio 21, EQ plays a vital role in shaping the tone and character of individual tracks, enhancing the overall balance and clarity of your mix. Understanding and effectively using EQ can make a significant difference in the quality and impact of your music. Let’s delve into EQ in FL Studio 21 and explore how to use it to improve your audio productions:
- EQ Types in FL Studio 21: FL Studio 21 offers various types of EQ plugins that cater to different needs. The most commonly used EQ plugins are:a. Fruity Parametric EQ 2: This is the default and versatile EQ plugin in FL Studio. It allows you to adjust multiple frequency bands and provides precise control over the EQ parameters.b. Fruity 7 Band EQ: This is a simpler EQ with seven fixed bands, making it easy to use for quick adjustments.c. Fruity EQ 2: Another graphic equalizer with 10 bands, offering a visual representation of the frequency response.
- Understanding EQ Parameters: In FL Studio 21’s Parametric EQ 2, you can find several essential parameters:a. Frequency: Determines the center frequency of the EQ band you want to boost or cut.b. Gain: Adjusts the amount of boost (increase) or cut (decrease) applied to the selected frequency band.c. Bandwidth (Q): Controls the width of the frequency band affected by the EQ. A higher Q value narrows the band, while a lower Q value widens it.
- Using EQ for Corrective Equalization: One primary application of EQ is corrective equalization. This involves addressing frequency imbalances and removing unwanted frequencies. For example:a. Removing Mud: Cutting some low frequencies (around 200-400 Hz) can help remove muddiness and muffled sound.b. Controlling Harshness: Reducing frequencies around 2-5 kHz can tame harshness in vocals and instruments.c. Clearing Boominess: Cutting excessive low-end frequencies (around 100 Hz and below) can reduce boominess in certain instruments.
- Enhancing Frequencies with EQ: Besides corrective EQ, EQ is also used for enhancing certain frequencies to make instruments stand out or to add color and character to a track. For instance:a. Adding Brilliance: Boosting high frequencies (10 kHz and above) can add brightness and sparkle to instruments or vocals.b. Punchy Drums: Enhancing frequencies around 80-120 Hz can make drums sound punchier and more defined.
- Subtractive vs. Additive EQ: When using EQ, you can employ subtractive or additive approaches. Subtractive EQ involves cutting frequencies to eliminate unwanted elements, while additive EQ entails boosting frequencies to highlight desired aspects. A combination of both techniques is often used to achieve a well-balanced mix.
- Using EQ on Individual Tracks and Busses: EQ can be applied to individual tracks as well as group tracks or busses. Grouping similar instruments together and applying EQ to the bus can help unify their sound and create a cohesive mix.
- Master EQ: FL Studio 21 also allows you to apply EQ to the master track, affecting the entire mix. However, use caution when using master EQ, as excessive changes can alter the overall tonal balance and impact negatively.
Understanding the frequency ranges of different instruments and knowing how to use corrective and creative EQ techniques will help you create a more balanced and professional mix. Experiment with EQ on individual tracks and the overall mix, and with time and practice, you’ll develop a keen ear for using EQ effectively in your audio productions.
Applying Effects in the Mixer
In FL Studio 21, the Mixer is a central hub for processing and applying effects to individual tracks and achieving a polished and professional mix. Effects play a crucial role in enhancing the sonic characteristics of your audio, adding depth, texture, and creativity to your music. Let’s explore how to apply effects in the Mixer of FL Studio 21 to elevate your tracks:
- Accessing the Mixer: To access the Mixer in FL Studio 21, press the “F9” key on your keyboard or click on the “View Mixer” button at the top toolbar. The Mixer will appear as a vertical panel with channel strips representing each track in your project.
- Insert Effects: FL Studio 21 offers a wide variety of built-in effects that you can apply to individual tracks. To insert an effect on a channel strip in the Mixer, click on an empty effect slot (usually represented by an arrow pointing downwards) on the desired track. This will open a dropdown menu with a list of available effects.
- Selecting Effects: The list of effects in FL Studio 21 is extensive and includes everything from reverb, delay, chorus, and distortion to compression, equalization, and more. Depending on the effect you want to use, simply click on its name in the dropdown menu, and it will be inserted into the selected effect slot on the channel strip.
- Adjusting Effect Parameters: Once you’ve inserted an effect, its interface will appear in the lower part of the Mixer. This interface allows you to control and adjust various parameters of the effect. For example, in a reverb effect, you can control the decay time and room size, while in a distortion effect, you can adjust the amount of distortion and the tone.
- Signal Flow and Routing: The order of effects matters, as each effect processes the audio signal differently. The order of effects is represented by their position in the effect slots on the channel strip. Effects higher in the chain will process the audio before effects lower in the chain. Experiment with different effect combinations and signal flow to achieve the desired sound.
- Send Effects (Auxiliary Effects): FL Studio 21 also allows you to use send effects, commonly known as auxiliary effects or aux effects. These effects are applied to multiple tracks through a send bus, allowing you to create a sense of cohesion and space in your mix. To set up a send effect, insert the desired effect on an empty track in the Mixer and use the “Send” knob on individual channel strips to control the amount of the effect’s signal sent to the send bus.
- Automation: In addition to adjusting effect parameters manually, you can also automate effect settings to change over time. This is particularly useful for creating dynamic and evolving effects. To automate an effect parameter, right-click on the desired knob or control, select “Create automation clip,” and adjust the automation points as needed.
- Group Tracks and Effect Chains: FL Studio 21 allows you to group multiple tracks together and apply effects to the entire group, known as effect chains. This can save CPU resources and help maintain consistency in your mix. To set up an effect chain, create a new group track, route the desired tracks to it, and insert effects on the group track.
Applying effects in the Mixer of FL Studio 21 is a powerful way to shape and enhance the sound of your music. By selecting and adjusting different effects, managing their signal flow, and experimenting with automation, you can create unique and professional audio productions that captivate your listeners. Don’t be afraid to explore various effects and their combinations to unleash your creativity and achieve the desired sonic result.
Advanced Mixing Techniques
FL Studio 21 provides a plethora of tools and features that allow for advanced and creative mixing techniques to take your music productions to the next level. These techniques can help you achieve a professional and polished sound, adding depth, dimension, and excitement to your tracks. Let’s explore some advanced mixing techniques you can implement in FL Studio 21:
- Parallel Processing: Parallel processing involves duplicating a track, applying different effects to each copy, and then blending them together. This technique allows you to retain the original character of the track while adding unique effects. For example, you can duplicate a vocal track, apply heavy compression and distortion to one copy for a “screaming” effect, and blend it subtly with the clean vocal for added intensity.
- Mid-Side Processing: FL Studio 21 supports mid-side processing, which separates the audio signal into its mid (center) and side (stereo) components. This technique enables you to apply different effects to the center and sides of the mix independently. You can use mid-side EQ, compression, or other effects to control the width and focus of your mix.
- Multi-Band Compression: Rather than using a single compressor on the entire track, multi-band compression divides the audio signal into different frequency bands, allowing you to apply compression selectively. This technique is useful for controlling the dynamics of specific frequency ranges without affecting the others. For example, you can use multi-band compression to tighten up the low-end while preserving the clarity of the mid and high frequencies.
- Sidechain Compression: Sidechain compression is a technique where the compression is triggered by a separate audio source. For example, you can use a kick drum to trigger the compression on a bass track. This creates a pumping effect, where the bass volume ducks in response to the kick drum hits, resulting in a tighter and more defined low-end mix.
- Automation and Dynamic Processing: Automating various parameters, such as volume, panning, and effect settings, can add movement and dynamics to your mix. You can automate effects like reverb and delay to create interesting spatial effects, or automate filter sweeps to add excitement to build-ups and transitions.
- Binaural Panning: FL Studio 21 supports binaural panning, a technique that simulates 3D audio positioning for listeners wearing headphones. By utilizing binaural panning, you can create immersive and spatial soundscapes, making your music more engaging and captivating for headphone users.
- Stereo Imaging: Using stereo imaging tools, like the “Fruity Stereo Shaper” plugin, you can manipulate the stereo width of individual tracks. By widening or narrowing the stereo image, you can create a sense of space and separation between elements in the mix.
- Reference Tracks: To ensure that your mix is competitive and comparable to commercial releases, use reference tracks as a guide. Import a professionally mixed track into your project and A/B compare it with your mix. Pay attention to the frequency balance, dynamics, and stereo width to make informed adjustments to your own mix.
- Gain Staging: Proper gain staging is crucial in maintaining the overall headroom and preventing clipping. Pay attention to the levels of each track in the mix and adjust them accordingly to avoid unnecessary distortion and to achieve a cleaner sound.
As you become more proficient with these advanced mixing techniques, your music will stand out with clarity, depth, and impact, appealing to a broader audience and leaving a lasting impression on your listeners.
Conclusion
Understanding mixing techniques such as levels, panning, EQ, and dynamics in FL Studio 21 is paramount for achieving a professional and polished audio production. Each of these elements plays a crucial role in shaping the overall sound and bringing out the best in individual tracks. By mastering these fundamental aspects of mixing, music producers can create balanced, clear, and captivating mixes that resonate with listeners.
Controlling levels allows for a proper balance between tracks, ensuring that no element overpowers another and that the mix remains coherent. Panning, on the other hand, creates a sense of space and dimension, adding depth to the audio and enhancing stereo imaging.
Equalization is a powerful tool for shaping the tonal character of each track, removing unwanted frequencies, and emphasizing desired aspects. Proper use of EQ can significantly improve the clarity and separation of elements in the mix, resulting in a more professional and enjoyable listening experience.
Understanding dynamics and employing techniques like compression and automation allow for control over the volume and intensity of individual tracks. Dynamics management enhances the overall coherence of the mix and ensures that each part has the appropriate level of impact.
FL Studio 21 provides a versatile and user-friendly environment for applying these mixing techniques effectively. With a combination of technical skill, creativity, and an attentive ear, music producers can achieve a cohesive and engaging mix that brings out the full potential of their music.
Ultimately, mastering these mixing elements in FL Studio 21 is an ongoing process of experimentation, refinement, and learning. As producers refine their skills and understanding of the intricacies of mixing, they can elevate their music to new heights, leaving a lasting impression on their audience and setting the stage for a successful and rewarding musical journey.