A MIDI keyboard that will not talk to Cubase is almost never broken. It is nearly always a routing problem: the port is not enabled, the track is not armed, or the wrong input is selected. Fix those three things and the rest of the job is just choosing sounds and playing.
Plan the connection before you plug in
There are two ways to get note data into Cubase, and the choice affects everything downstream.
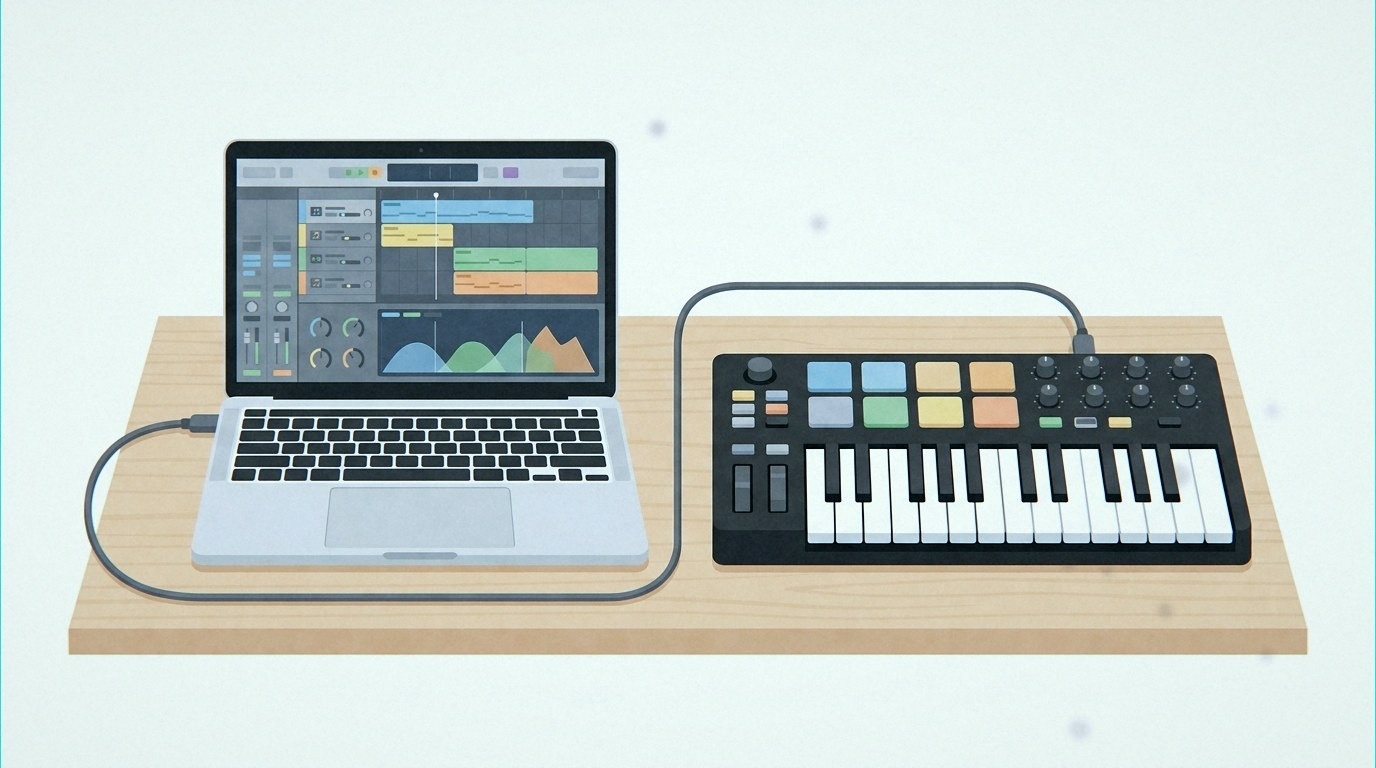
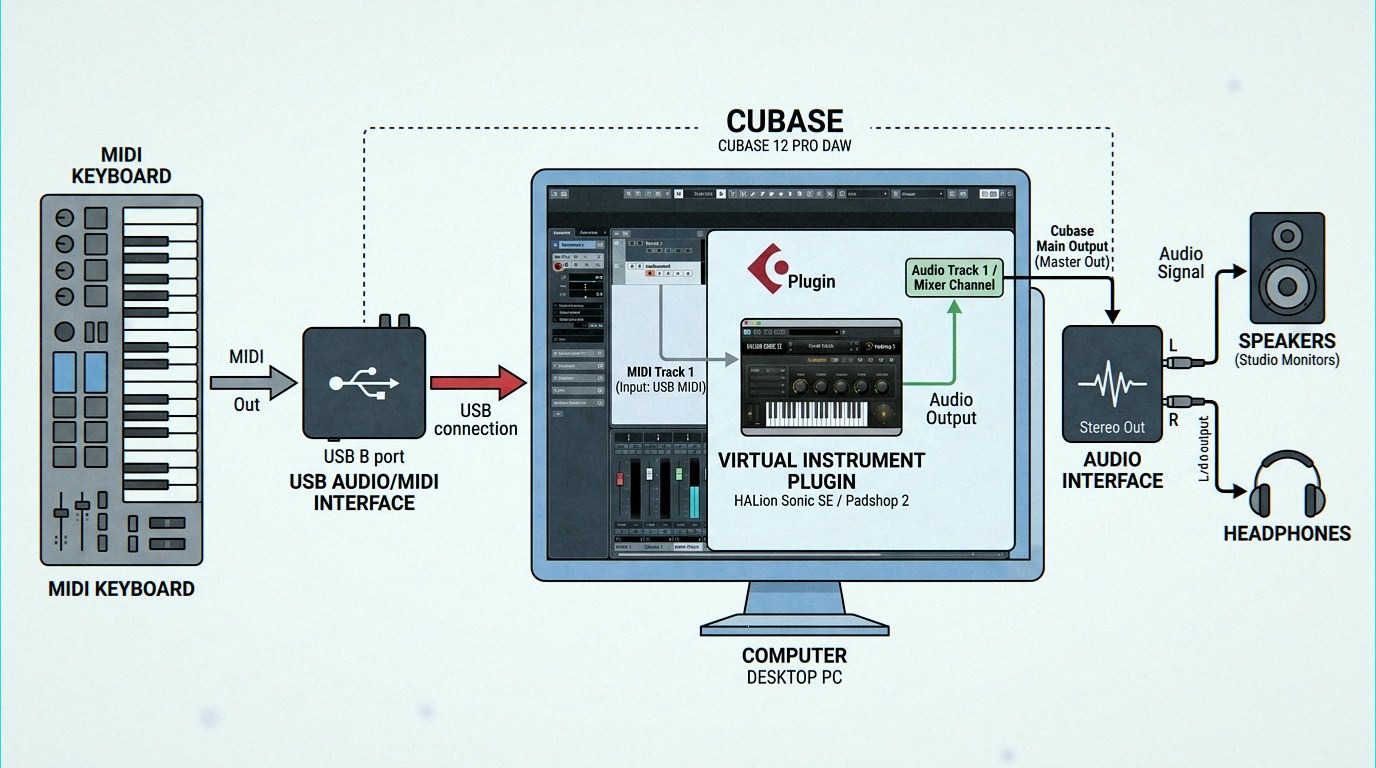
USB. One cable, carries power and data, and the keyboard shows up as a MIDI port through your computer's USB MIDI driver. On Windows you usually need the manufacturer's driver. On macOS most boards are class compliant and appear with no installation at all. Watch out for bus power on large keyboards with lots of LEDs and screens; an unpowered hub is a common source of dropouts.
5-pin DIN MIDI. You run a MIDI cable from the keyboard's MIDI Out into the MIDI In of your audio interface, then the interface connects over USB. Choose this when the keyboard has no USB port, when its USB driver is flaky, or when you want to keep a USB slot free. It also gives you MIDI Out from the computer back to the keyboard, which is handy if the board has its own sounds.
Driver housekeeping
- Windows: install the vendor driver before plugging the keyboard in, then confirm it appears in Device Manager under Sound, video and game controllers.
- macOS: open Audio MIDI Setup and check the MIDI Studio window. The device should be listed there.
- Plug the keyboard in before launching Cubase so the port exists when the program scans for devices.
Enable the keyboard in Cubase
Open Cubase and go to Studio, then Studio Setup. In older versions this lives under Devices, then Device Setup. Select MIDI Ports in the list on the left.
On Windows your keyboard will show up as both an input and an output, because the driver exposes both directions. Tick the input. Leave the output unticked unless you actually want to send data to the keyboard, for example to trigger its internal sounds or to use its faders as a control surface.
On macOS the ports appear with the manufacturer name, and multi-port boards may add a second entry such as MIDIIN2.
Now look at the All MIDI Inputs column in the same window. This is the setting people miss. If your keyboard is not ticked there, it will not appear as a selectable input in the track inspector, no matter what else you do.
The MIDI activity indicator
The transport bar has a small MIDI activity light. Play a few notes and watch it. If it flashes, Cubase is receiving data and any remaining problem is inside the project. If it stays dark, the issue is upstream: cable, driver or port. That single test saves a lot of guessing.
Create a track and load a sound
This is the virtual instrument setup, and there are two routes.
Instrument track, the simple route
Go to Project, then Add Track, then Instrument. Pick a plugin from the list, for example HALion Sonic, Groove Agent, or a third-party instrument like Kontakt. Click Add Track. Cubase creates the track with the plugin already loaded.
In the track inspector on the left:
- Input Routing: set it to your keyboard’s port, or All MIDI Inputs if you only have one controller.
- MIDI Channel: leave it on Any unless you need to filter a specific channel.
- Output: the instrument itself, with its audio going to your stereo out.
Arm the track with the red record-enable button and play. If the MIDI light flashes but you hear nothing, check the monitor button, the small speaker icon. It needs to be on to hear the instrument live unless the track is record enabled. Also confirm the instrument actually has a patch loaded; an empty slot makes no sound.
MIDI track plus Rack Instrument
The second route is for bigger setups. Open Devices, then VST Instruments, and load an instrument into a rack slot. Now add a MIDI track and set its output to that rack instrument.
This is how you drive a multi-timbral plugin. A drum plugin might use one channel per kit piece, and an orchestral library might use one channel per articulation. Each MIDI track gets its own channel and its own input, so you can wire in a second keyboard or a pad controller alongside the main one.
If the plugin is multi-timbral, set each MIDI track to a different channel and match the plugin's parts to those channels. Most keyboards transmit on channel 1, so keyboard into MIDI track 1 gets you part 1.
Troubleshooting the usual failures
No MIDI activity at all
- Re-seat the USB cable, try a different port, and bypass any hub.
- On Windows, check the driver and restart Cubase. Some drivers only register at boot.
- Another application may be holding the port. Close notation apps, browsers with MIDI support, and any second DAW.
The light flashes but there is no sound
- Track not record enabled, or monitor button off.
- Input routing set to Not Connected.
- The instrument is muted, or no patch is loaded.
- Wrong MIDI channel on a multi-timbral plugin.
Notes arrive late
Lower the buffer, do not raise it. Buffer size lives in Studio, Studio Setup, Audio System, under your ASIO driver. Around 128 to 256 samples feels fine for playing; push it to 512 or higher when mixing to free up CPU. If you hear crackles, raise it again. Low latency and heavy plugins are always a trade-off.
Double notes or stuck notes
Two ports are usually active for the same keyboard, often the DIN connection and the USB connection both enabled, or a duplicated driver entry. Disable one. Stuck notes clear with a panic, which is the exclamation mark button in the transport.
Build a template and stop redoing this
Once everything works, save it. Go to File, then Save as Template, and tick Set as default if you want every new project to open with the keyboard already wired and your favourite instrument loaded. Add a MIDI track for a second controller, name your ports clearly, and set the input routing on each track before saving.
A few settings worth changing once:
- Preferences, MIDI, MIDI Filter: if a knob on the keyboard sends a controller that fights with Cubase, filter it out here.
- Preferences, Editing: enable Record-Enable on MIDI track selection so clicking a track arms it automatically.
- Set up MIDI Remote if your keyboard has transport buttons, so play and stop control Cubase directly.
Gear that helps
Start with the right controller rather than fighting the wrong one. A 49 or 61-key board with pitch bend, mod wheel and aftertouch covers most studio work, and anything class compliant is plug and play in Cubase. Browse our MIDI keyboards for synth-action and weighted options, or look at keyboards if you want onboard sounds as a live backup. If your board only offers 5-pin MIDI out, an interface with MIDI in and out solves the connection in one move.