You have a pedalboard, an amp with two extra jacks on the back, and no clear idea what to do with them. The effects loop is one of the most useful and most misunderstood features on a guitar amp. Here is what it does, what belongs in it, and how to wire it up without guesswork.
What an Effects Loop Actually Is
Every amp has a preamp and a power amp. The preamp takes your tiny guitar signal, adds gain and tone shaping, and contains the distortion channel. The power amp makes it loud.
Your front input feeds the preamp. So everything you plug in there gets distorted, compressed, and coloured by the amp before it ever reaches the speakers.
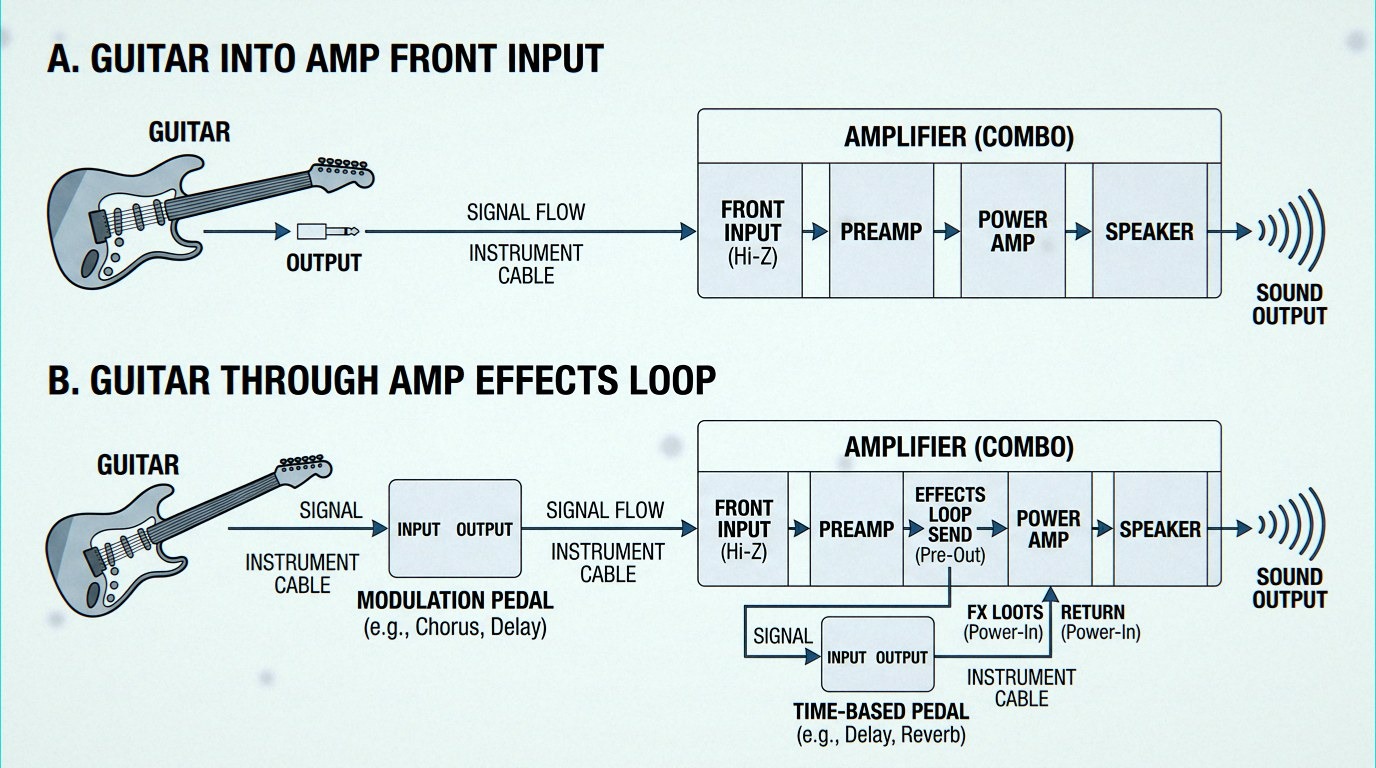
An effects loop is a break in the signal path between the preamp and the power amp. Two jacks on the back panel do the work: send and return. Send taps the signal after the preamp. Return feeds it back in just before the power amp. Anything you connect between them sits after your amp's distortion but before the power amp.
That single detail is the whole reason the loop exists.
Front input vs effects loop
Front input equals before the amp's gain. The loop equals after the amp's gain.
A delay in the front input gets distorted by the amp. That can sound great in a fuzzy, shoegaze way, but it also turns every repeat into mush and muddies your tone on high gain settings. The same delay in the loop stays clean and clear because it is added after the distortion.
Send and return, in plain terms
Send is the output. It carries your amp's preamp signal out to your pedals. Return is the input. It takes the processed signal back into the amp.
Cable out, cable back. One pedal or ten, they all sit in that chain.
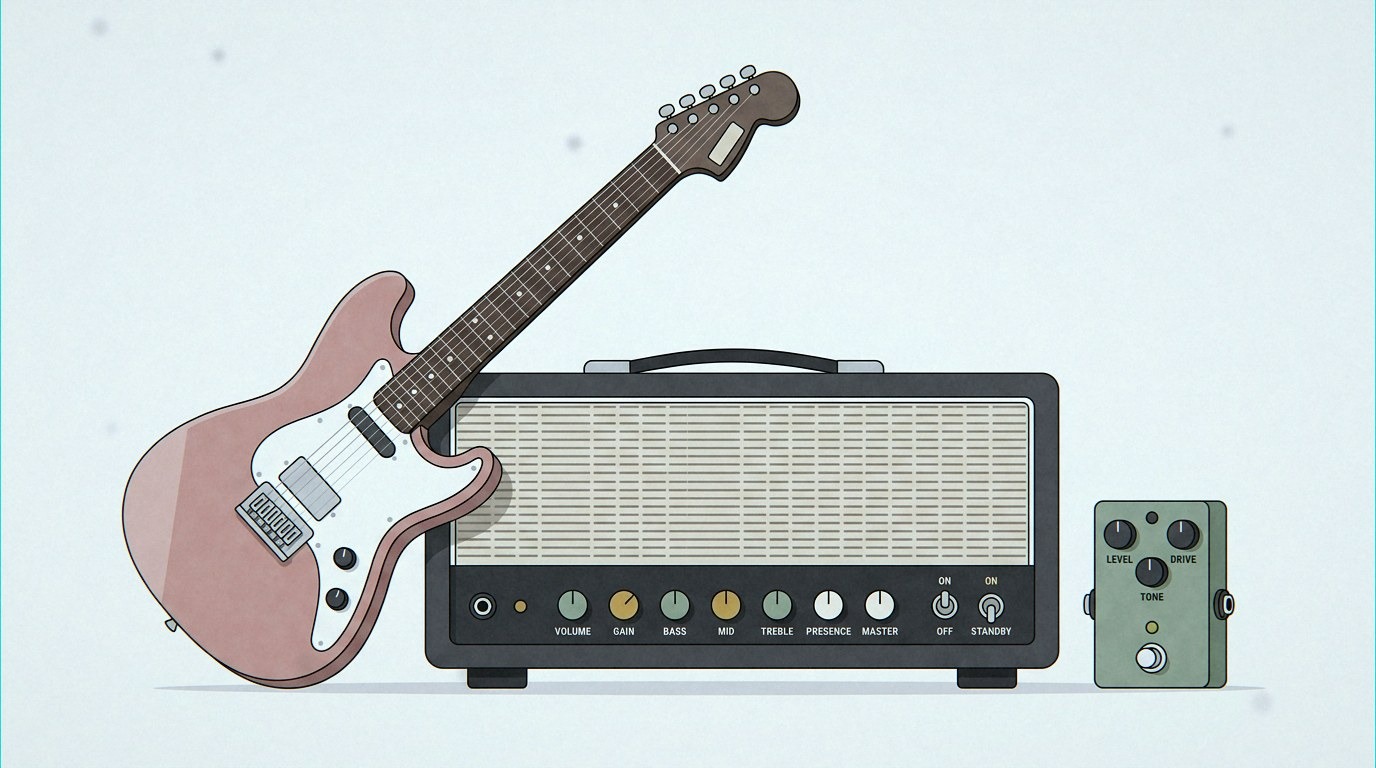
Which Pedals Belong in the Loop
Rule of thumb: the loop is for anything that should sound clean, and the front input is for anything that shapes your gain.
Good candidates for the loop
- Delay and reverb. Time based effects want a clean signal.
- Chorus, flanger, and phaser. Modulation sits nicely after gain.
- EQ used for a final overall tone shape.
- Volume pedal, when you want it to control the level of the whole amp rather than the input gain.
- Noise gates in some rigs, when the gate needs to see the amp’s distortion.
Keep these in front of the amp
- Wah, because it wants the raw guitar signal.
- Fuzz, especially germanium fuzz, which often needs a direct guitar connection to work properly.
- Overdrive, distortion, and boost pedals. These are meant to push the preamp.
- Tuner, for convenience and a clean tap of the dry signal.
- Compressor, if you want it to react to your playing dynamics before the amp.
Some players run a drive pedal in the loop as a solo boost. It works, but it sounds different from a front end boost. Try both and decide with your ears.
How to Wire Pedals Into the Loop
This is a straightforward job once you know the order.
- Find the send and return jacks on the back of your amp. They may be labelled FX Send and FX Return, Effects Loop Send and Return, or just Send and Return.
- Run a cable from the amp’s send to the input of the first pedal in your loop chain.
- Connect your loop pedals together in your preferred order. Delay last is the usual choice, so reverb goes after it if you use both.
- Run a cable from the output of the last pedal back to the amp’s return.
- Leave your front input chain alone. Guitar goes into your front pedals, then into the amp’s instrument input.
- Set the loop level switch if your amp has one. More on that below.
Use good quality, reasonably short cables. The loop is a low level signal path and it can pick up noise, so keep runs tidy and away from power supplies where you can.
Series, Parallel, and Level Switches
Series loops
The most common type. Your entire signal passes through the pedals and comes back. If a pedal in the loop fails or is switched badly, you lose the whole signal. Simple, predictable, and what most amps use.
Parallel loops
Here the amp splits the signal. One path goes to your pedals, one stays dry, and the amp blends them back together. There is usually a mix control. Parallel loops are great for reverb and delay because your dry tone never passes through the pedals. They are awkward with effects that need a 100 percent wet signal, such as some pitch shifters.
The level switch
Many amps have a switch near the loop labelled -10dB and +4dB, or instrument and line. This matches the loop's operating level to your pedals.
Guitar pedals are almost always -10dB, or instrument level. Rack gear and some modelers are +4dB, or line level. If your loop sounds quiet and thin, or distorted and overloaded, this switch is the first thing to check.
The Four Cable Method
If you use a multi effects unit or a modeler that has its own drives and amp simulations, the four cable method puts your amp's real preamp where it belongs.
- Guitar into the modeler’s input.
- Modeler’s effects send to the amp’s instrument input.
- Amp’s effects send to the modeler’s effects return.
- Modeler’s output to the amp’s effects return.
Now your amp's preamp sits inside the modeler's chain, and the modeler's time based effects run after the amp's distortion. Four cables, hence the name. It takes ten minutes to set up and it transforms a hybrid rig.
Common Problems and Quick Fixes
- Loop is silent. Check that both cables are seated, and that the loop is not switched off on the amp or by a footswitch.
- Volume drop when the loop is engaged. Try the level switch, and check for a pedal that is loading the signal.
- Hiss or buzz. Move cables away from power supplies, shorten the runs, and test one pedal at a time.
- Pedals sound weak or dull. Some loops expect a hotter signal. A clean boost at the start of the loop chain often fixes it.
- Reverb and delay sound distorted. That means they are being hit too hard. Lower the send level or the pedal’s input trim.
Gear that helps
A loop friendly amp makes all of this easier. Look for a model with a clearly labelled send and return plus a level switch, and pair it with a head and cabinet that match your stage size. Browse our Guitar Amplifiers for combos with solid loops, Guitar Amplifier Heads if you prefer a separate head and cab, and Guitar Cabinets to complete the rig.