Most MIDI keyboards will play notes in FL Studio within seconds of plugging in, but the knobs, faders, and pads usually sit there doing nothing until you tell FL Studio what they are. This guide covers the whole chain: getting the keyboard recognized, setting ports correctly, mapping controls, and saving the setup so you never repeat the work.
Connect the keyboard and confirm FL Studio sees it
Start with the physical connection.
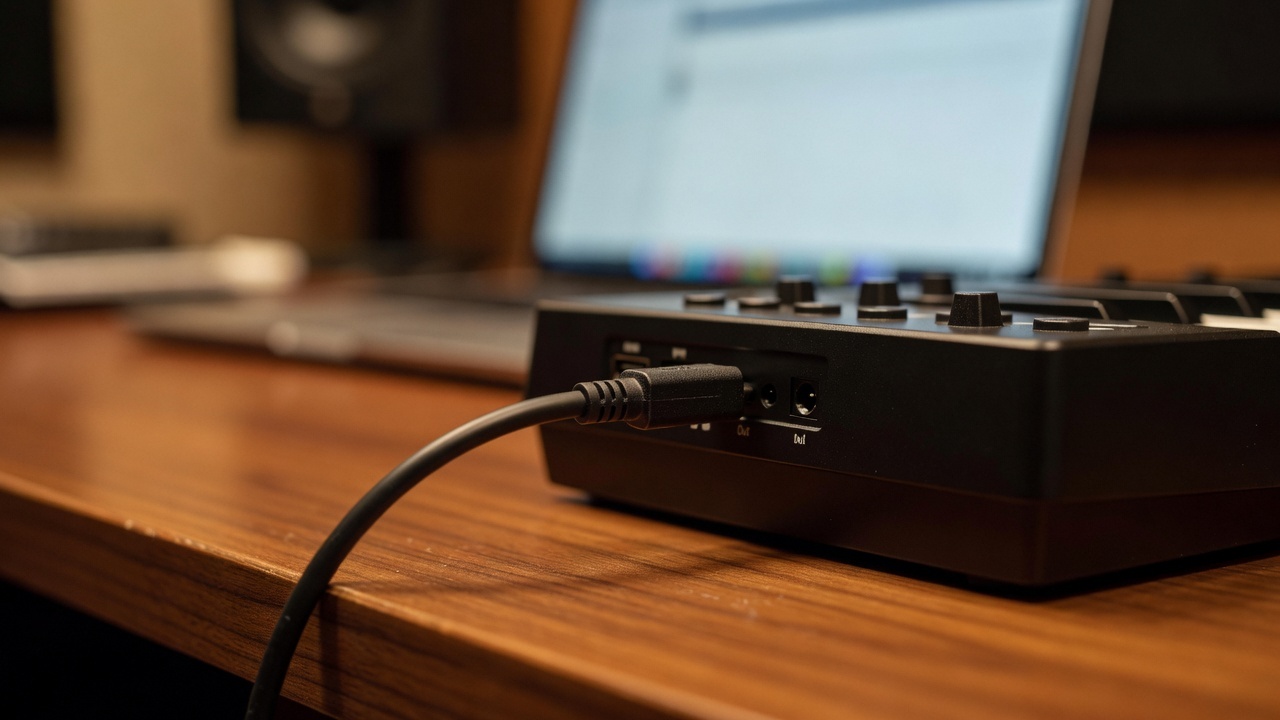
USB: plug the keyboard straight into a USB port on the computer. Skip unpowered hubs where you can, especially for bus-powered keyboards with screens and lights.
5-pin MIDI: keyboards without USB need a MIDI interface, or an audio interface with MIDI in and out. Connect keyboard MIDI OUT to interface MIDI IN.
Then work through this order:
- Install the manufacturer driver if one exists. On Windows this matters for older or larger keyboards. Without it you may see a vague name like “USB Audio Device” in the list, or no device at all. Most modern keyboards are class compliant and need no driver, and macOS usually needs nothing.
- Power the keyboard on before opening FL Studio. Hot-plugging usually works, but starting FL after the keyboard is awake avoids the classic “it is not in the list” moment.
- Open FL Studio and go to Options > MIDI Settings.
- Look at the Input list. If your keyboard’s name is there, you are already most of the way done. Click it to select it.
If nothing appears, close FL Studio, move the keyboard to a different USB port, and reopen. On Windows, check Device Manager for a yellow warning triangle. That points to a driver problem rather than an FL Studio problem.
Set the input and output ports the right way
The MIDI Settings window has two lists and they do different jobs.
The Input list is every device sending data into FL Studio. Your keyboard needs to be enabled here and given a port number.
The Output list is where FL Studio sends data out. You only need this if you are driving a hardware synth, or if your keyboard has motorized faders or LED feedback that needs data back.
A clean setup for a typical single-keyboard studio:
- Enable the keyboard in the Input list and set its port to 0. Keeping your main controller on port 0 makes it the default for anything that asks for MIDI input.
- Leave the keyboard disabled in the Output list unless you need LED feedback. Sending data back to the same keyboard is a common cause of stuck notes and doubled notes.
- Use the Controller type dropdown. FL Studio ships with scripts for a long list of popular keyboards. If yours is listed, select it, and the transport buttons, knobs, and pads may work immediately. If it is not listed, leave it on the generic controller.
- Make sure MIDI remote control is switched on for that input. Depending on your FL Studio version this is a checkbox beside the device or a global option at the bottom of the MIDI Settings window. Without it, the mapping steps below will do nothing.
If you run several controllers, give each one a different port number. Ports are how FL Studio keeps them apart when you route notes to a specific instrument.
Map knobs, faders, and pads
There are two approaches, and most people end up using both.
The fast way, right-click linking
- Right-click the control you want to move. A plugin knob, a mixer fader, a channel volume, anything.
- Choose Link to controller.
- Move the knob or fader on your keyboard. FL Studio detects the incoming message and creates the link.
- In the link window, use the Smoothing slider if the movement is jittery, and Remove conflicts if two controls have grabbed the same CC number.
Do this for a handful of controls you actually use: filter cutoff, reverb mix, a couple of macro knobs. Mapping twenty things you never touch just creates a mess you have to untangle later.
The durable way, a controller script or a saved template
If your keyboard appears in the Controller type list, its script may already map its knobs to useful targets. If it does not, you can build the same thing yourself by creating a template project with your links already in place. More on that below.
Getting pads to trigger drums
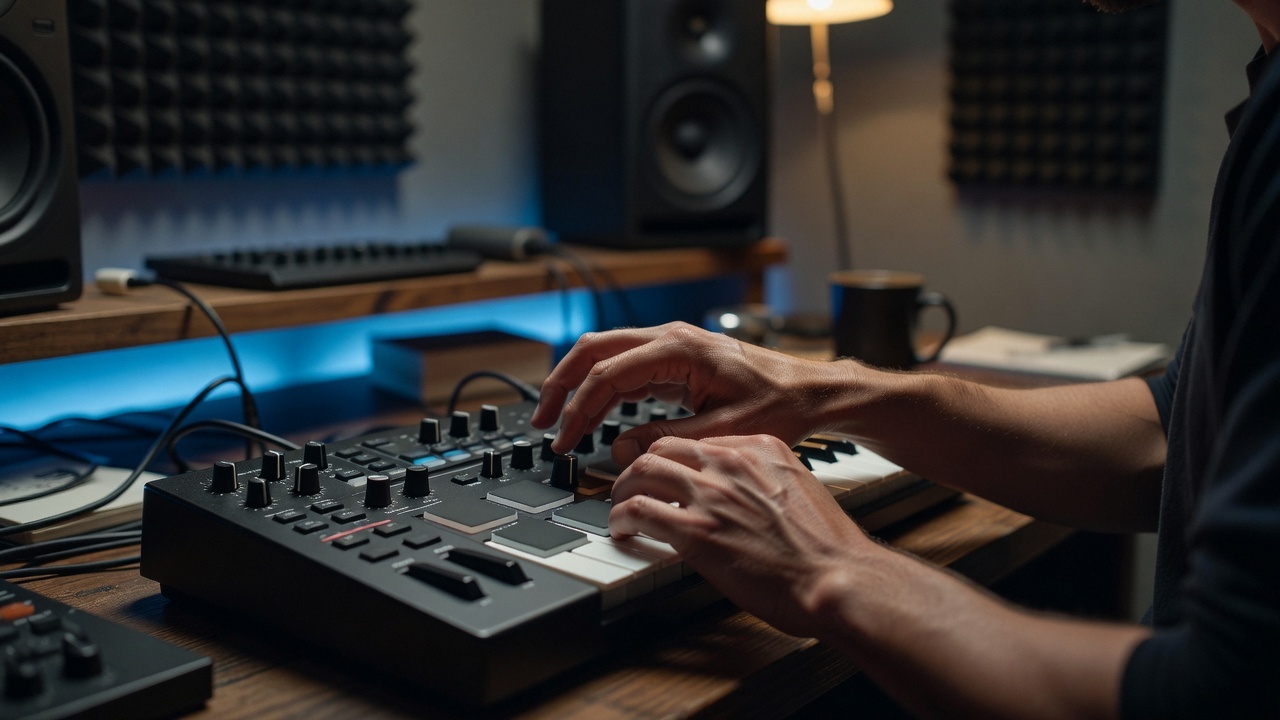
Pads send MIDI notes, exactly like keys do. To make them trigger a drum kit:
- Load FPC or another drum sampler onto a channel.
- Check which notes the sampler expects. FPC’s default pads start at C5.
- Set your keyboard’s pads to send those notes. Many keyboards let you change pad note numbers in their own editor software, and simpler ones let you transpose the pad bank with a button combination.
- If your pads cannot be reassigned, use the keyboard’s octave buttons to shift the whole keyboard until the pads land on the right notes.
If pads and keys share the same note range, use the keyboard's zone or split function to separate them, or accept the overlap and play around it.
Save a template so you never do this twice
FL Studio stores MIDI input and output settings globally, so the connection part stays put once it works. Controller links are different. They live inside the project file.
Build a small starter project that has:
- A drum sampler loaded on one channel
- A synth on another
- Your most-used controller links already assigned
- Mixer routing you like
Then go to File > Save as template and give it a name. From then on, use File > New from template and every session starts with the boring work already finished.
One warning: links saved in a template point at specific plugins. If you swap the synth out, the link disappears with it.
Fix the problems that come up most
Keyboard plays nothing. Check it is enabled in MIDI Settings, check the keyboard is not in a local off or split mode, and click the Channel Rack so FL Studio has focus.
Every note plays twice. Two inputs are enabled and both are receiving the same data, or the keyboard is enabled in both the input and output lists and is echoing back. Disable the output entry.
A knob jumps around. The physical knob position does not match the plugin's current value. Sweep the knob through its full range once, or turn on smoothing in the link dialog.
Notes arrive late. On Windows, install and select an ASIO driver and drop the buffer to 128 or 256 samples. On Mac, use Core Audio with a small buffer.
Transport buttons do nothing. They may be sending MMC or SysEx rather than standard CC. Check whether your keyboard has an FL Studio or generic DAW mode, and switch to it.
Gear that helps
A keyboard with real knobs, faders, and velocity-sensitive pads saves you hours of awkward mapping, and a 25 or 49 key model with transport buttons covers most home setups. Browse our MIDI keyboards for controllers built with this kind of DAW workflow in mind, and if you also need a full-size instrument for piano parts, take a look at our keyboards.