Cubase is a professional digital audio workstation (DAW) developed by Steinberg, widely used in the music production industry for recording, editing, and producing music. One of its notable features is the wide array of high-quality built-in instruments that cover various musical styles and genres. These instruments allow users to compose, arrange, and produce music entirely within the Cubase environment.
Here are some of the common built-in instruments that Cubase has traditionally offered:
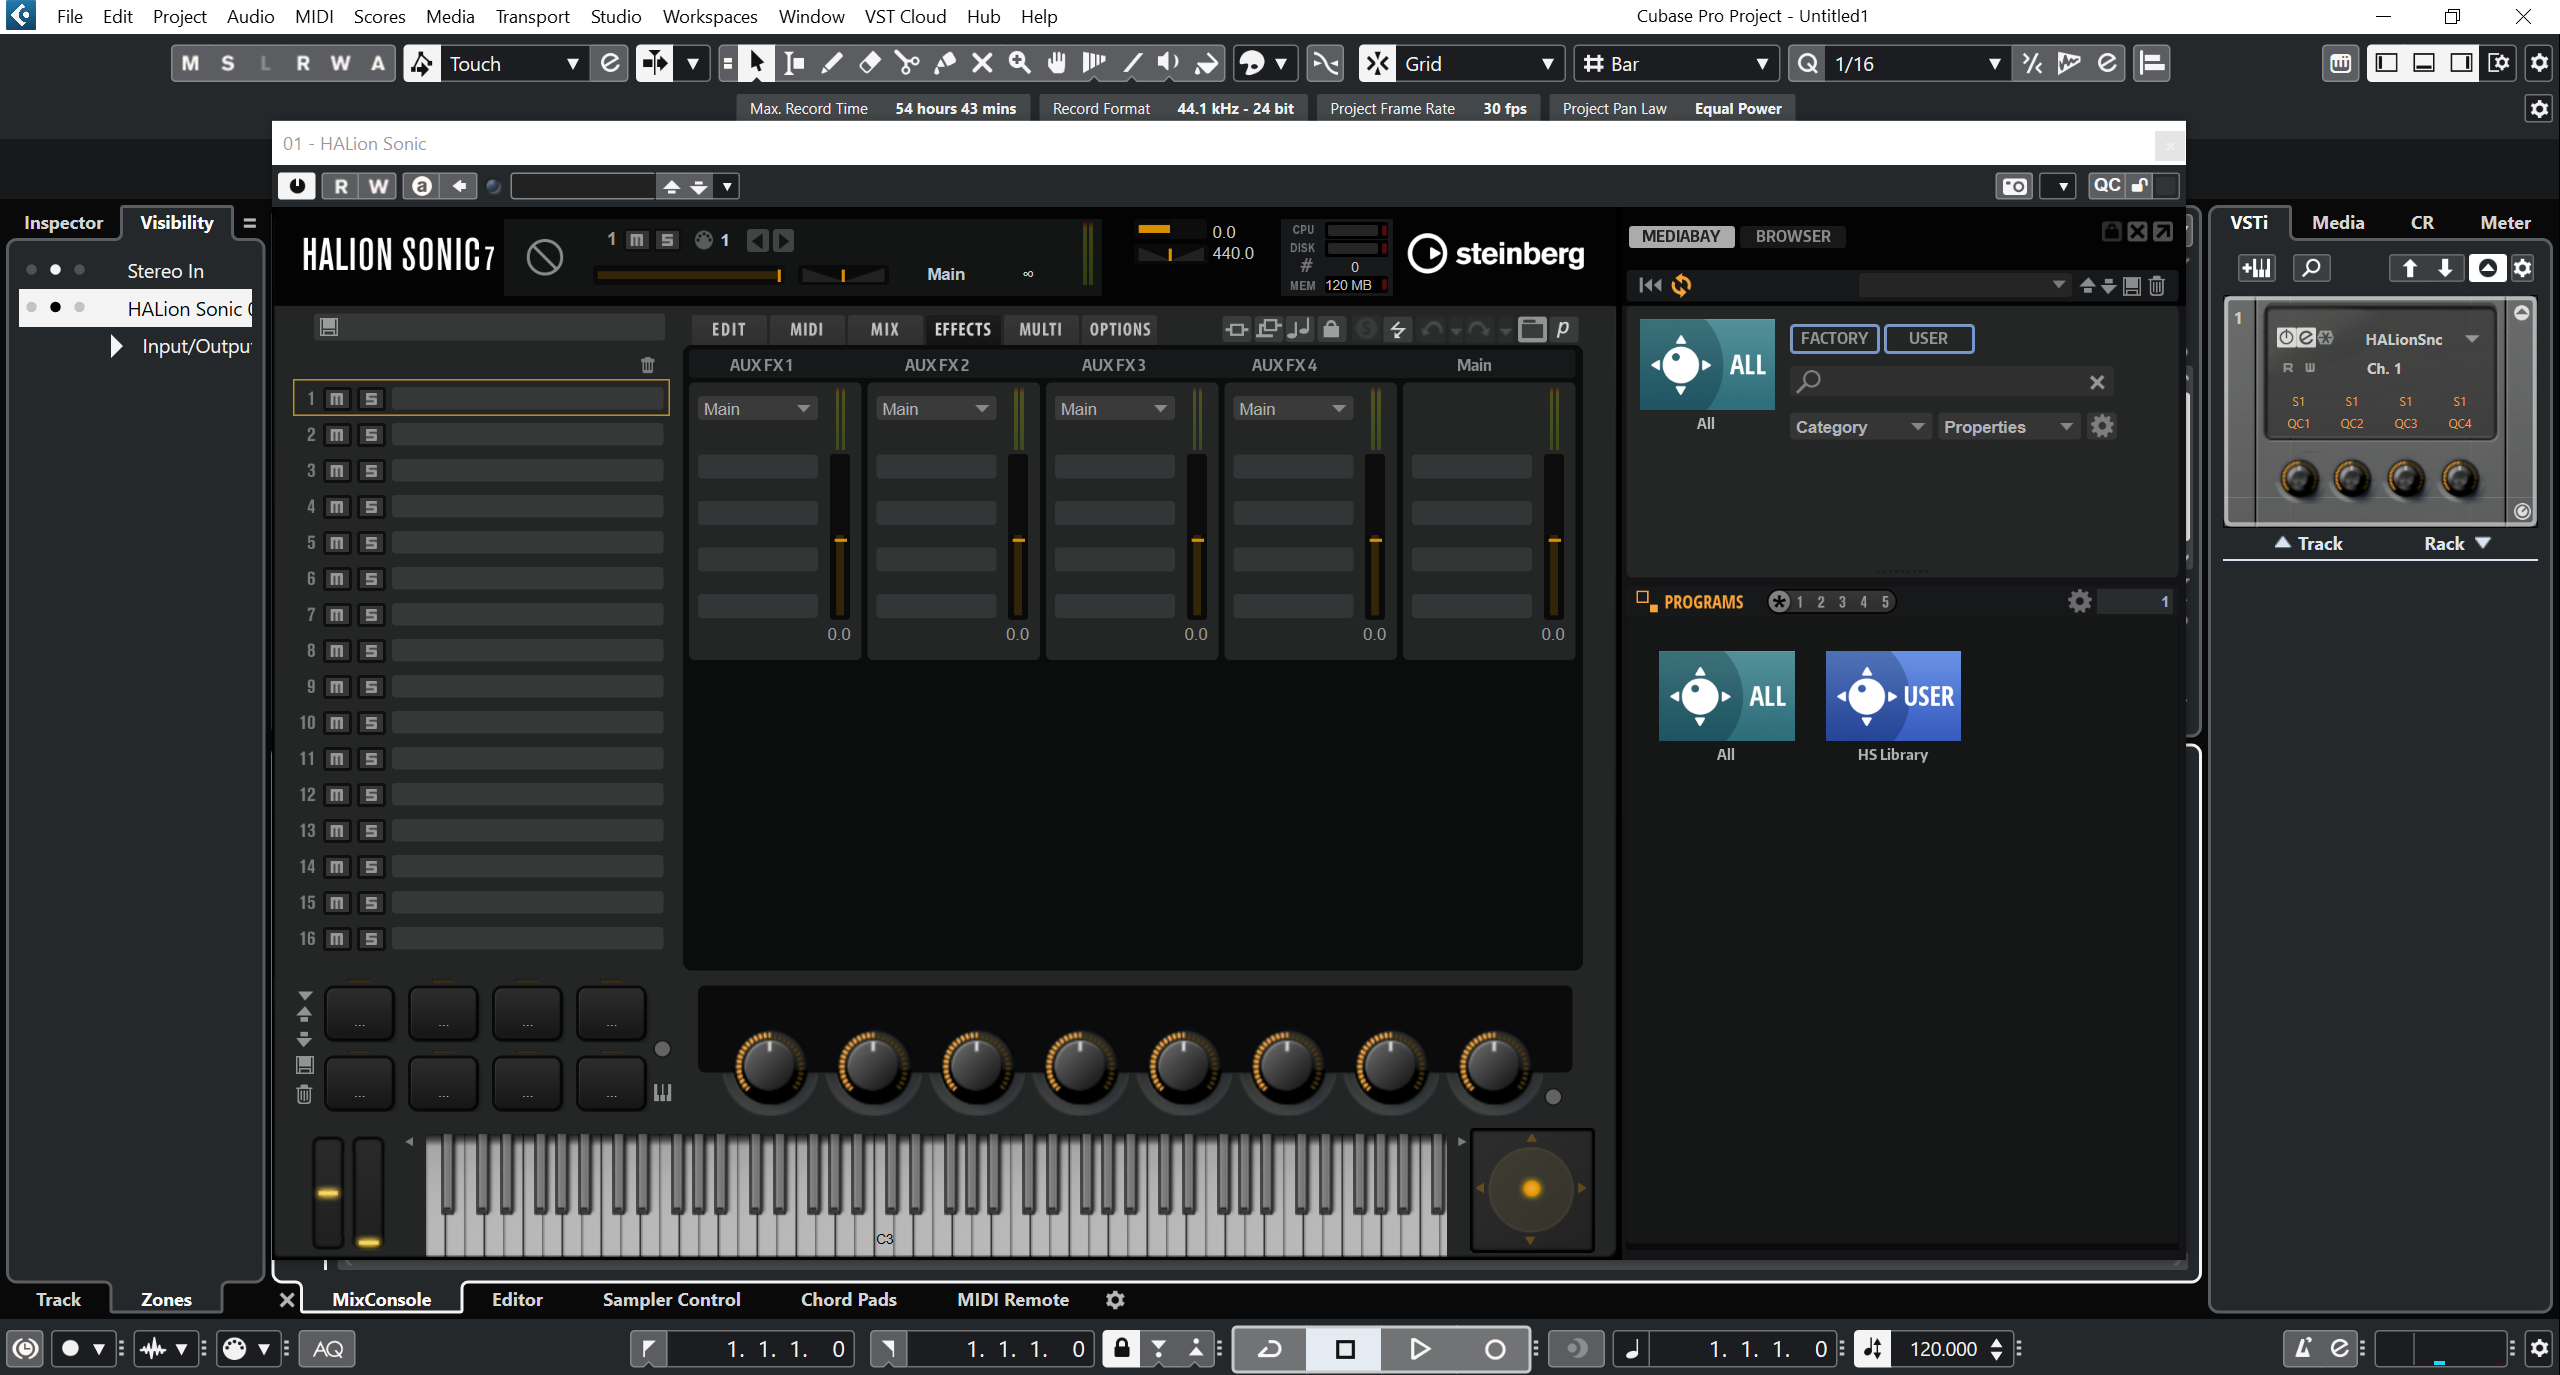
- HALion Sonic SE: This is a powerful and versatile workstation synthesizer with a massive library of high-quality sounds, including pianos, strings, brass, synths, drums, and more. HALion Sonic SE offers various controls and parameters to tweak and shape sounds to suit your musical vision.
- Groove Agent SE: This is a drum sampler and virtual drummer instrument that lets you create realistic and dynamic drum patterns. It includes a vast selection of drum kits and patterns, catering to different musical genres.
- Retrologue: This is a virtual analog synthesizer that emulates the classic sounds of vintage analog synthesizers. It’s perfect for creating rich and warm analog-style leads, pads, and basses.
- Padshop: A granular synthesizer that allows you to manipulate and create unique evolving textures and atmospheric sounds. It’s excellent for adding ethereal and ambient elements to your compositions.
- Mystic: This instrument provides a wide range of organic and evolving sounds, including pads, textures, and soundscapes. It’s well-suited for creating cinematic and atmospheric music.
- Prologue: Another virtual analog synthesizer that focuses on classic synth sounds like leads, pads, and basses. It’s known for its simplicity and ease of use.
- LoopMash: This is a unique instrument that allows you to mash up and remix loops in real-time, providing creative possibilities for creating rhythmic variations and unique arrangements.
- Spector: Spector is a powerful bass instrument designed to deliver a wide range of bass sounds, from clean and subtle to heavily processed and aggressive.
- Mystic Spaces: This instrument is designed for creating impressive soundscapes and spatial effects, making it ideal for film scoring and ambient music.
Cubase 12, if available, might have expanded its built-in instrument library or improved existing ones. Always check the official Steinberg website or the release notes for the latest information on new features and instruments in Cubase 12. Additionally, keep in mind that some instruments might be included in higher editions of Cubase, so the availability of specific instruments could vary depending on the version you have.
Getting Started with HALion Sonic SE
HALion Sonic SE is a powerful and versatile virtual instrument workstation included in Cubase. It provides an extensive library of high-quality sounds, including pianos, strings, brass, synths, drums, and more. Here’s a step-by-step guide to help you get started with HALion Sonic SE:
- Loading HALion Sonic SE: Open Cubase 12 and create a new MIDI or Instrument track. To load HALion Sonic SE, click on the “+” button to add an instrument to the track and select “HALion Sonic SE” from the list of instruments.
- Choosing a Sound: Once HALion Sonic SE is loaded, you’ll see the interface with various controls and the library browser. On the right side, you’ll find a list of categories and subcategories of sounds. Click on a category (e.g., Pianos, Strings, Synths) to see the available presets. Click on a preset to load it.
- Playing the Sound: To play the selected sound, use your MIDI controller or your computer keyboard. Make sure the track is armed for recording (the “R” button on the track), and then click on the virtual keyboard within HALion Sonic SE or use your MIDI controller to trigger the notes.
- Adjusting Parameters: HALion Sonic SE offers various parameters to tweak and shape the sound. You can find them on the interface, usually organized into sections like Filter, Amp, LFO, Envelope, etc. Experiment with these controls to modify the sound to your liking.
- Using Quick Controls: HALion Sonic SE integrates with Cubase’s Quick Controls, allowing you to assign specific parameters to your MIDI controller’s knobs or faders. This enables hands-on control and automation of essential parameters during playback or recording.
- Layering Sounds (Multi-Program Mode): HALion Sonic SE also supports a Multi-Program mode, allowing you to layer multiple sounds together to create rich and complex patches. You can load different sounds into different slots and adjust their levels and panning to achieve your desired combination.
- Applying Effects: HALion Sonic SE includes a range of built-in effects like reverb, delay, EQ, and more. You can apply these effects to further enhance your sounds and shape the overall mix.
- Saving and Managing Presets: If you modify a sound or create a custom patch, you can save it as your own preset for future use. Cubase allows you to manage your presets, so you can easily access and organize your custom sounds.
Remember, this is just a basic guide to get you started with HALion Sonic SE in Cubase. The instrument is highly capable and offers a lot of depth, so feel free to explore and experiment to unlock its full potential. For more detailed instructions and insights into the specific features of HALion Sonic SE in Cubase 12, consult the official documentation or online tutorials dedicated to Cubase 12 and HALion Sonic SE.
Exploring Groove Agent SE in Cubase 12
Groove Agent SE is a versatile drum sampler and virtual drummer instrument that comes bundled with Cubase. It offers a vast library of drum kits, patterns, and styles, making it a valuable tool for creating realistic and dynamic drum tracks. Here’s a step-by-step guide to help you explore Groove Agent SE in Cubase 12:
- Loading Groove Agent SE: Open Cubase 12 and create a new MIDI or Instrument track. To load Groove Agent SE, click on the “+” button to add an instrument to the track and select “Groove Agent SE” from the list of instruments.
- Selecting a Drum Kit: Once Groove Agent SE is loaded, you’ll see the interface with various drum kits listed on the right side. Click on a drum kit to load it. Each drum kit typically contains different elements like kicks, snares, hi-hats, cymbals, and percussion sounds.
- Playing the Drum Kit: To play the selected drum kit, use your MIDI controller or your computer keyboard. Make sure the track is armed for recording (the “R” button on the track), and then click on the virtual pads within Groove Agent SE or use your MIDI controller to trigger the drum sounds.
- Using Patterns: Groove Agent SE also comes with a wide range of pre-made drum patterns in various styles and genres. To access the patterns, click on the “Patterns” tab at the bottom of the Groove Agent SE interface. Choose a pattern that fits your project, and it will automatically be synchronized with your project’s tempo.
- Creating Custom Patterns: If you want to create your drum patterns, you can do so using the built-in pattern editor in Groove Agent SE. Click on the “Edit” button in the pattern section to open the pattern editor. From there, you can program your drum beats and customize them to suit your music.
- Adjusting Drum Sounds: Groove Agent SE offers various controls and parameters to adjust the individual drum sounds. You can fine-tune parameters like pitch, volume, pan, and more to shape the overall sound of your drum kit.
- Adding Effects: Groove Agent SE includes a range of effects like reverb, EQ, compression, and more. You can apply these effects to the individual drum elements or to the whole drum kit, allowing you to create a polished and professional-sounding drum track.
- Using the Style Player (Pro version): If you have the Pro version of Groove Agent, you gain access to the Style Player, a powerful feature that generates realistic and dynamic drum variations. The Style Player can add fills, flams, and other performance nuances to make your drum track more expressive.
Remember, Groove Agent SE is a feature-packed instrument, and this guide only scratches the surface of what it can do. For more detailed instructions and insights into the specific features of Groove Agent SE in Cubase 12, consult the official documentation or online tutorials dedicated to Cubase 12 and Groove Agent SE.
Utilizing Retrologue 3 Synthesizer
Retrologue 3 is a powerful virtual analog synthesizer that emulates the classic sounds of vintage analog synthesizers. It’s known for its warm and rich tones, making it an excellent tool for creating classic synth leads, pads, basses, and more. Here’s a step-by-step guide to help you utilize Retrologue 3 in Cubase 12:
- Loading Retrologue 3: Open Cubase 12 and create a new MIDI or Instrument track. To load Retrologue 3, click on the “+” button to add an instrument to the track and select “Retrologue 3” from the list of instruments.
- Selecting a Preset: Once Retrologue 3 is loaded, you’ll see the interface with various controls and the preset browser on the right side. Click on the “Preset” tab to access the preset browser. Retrologue 3 comes with a wide range of preset sounds organized into categories like Leads, Pads, Basses, and more. Browse through the presets and click on one to load it.
- Playing Retrologue 3: To play Retrologue 3, use your MIDI controller or your computer keyboard. Make sure the track is armed for recording (the “R” button on the track), and then click on the virtual keyboard within Retrologue 3 or use your MIDI controller to trigger the synth sounds.
- Adjusting Parameters: Retrologue 3 offers various parameters to shape and customize the sound. On the interface, you’ll find sections like Oscillators, Filters, Envelopes, LFOs, and more. Experiment with these controls to modify the sound to your liking. You can change the waveform of the oscillators, adjust the filter cutoff and resonance, and shape the envelopes to create different textures and timbres.
- Applying Effects: Retrologue 3 includes a range of built-in effects like reverb, delay, chorus, and more. You can apply these effects to your synth sounds to add depth and character.
- Creating Custom Sounds: If you want to create your own custom sounds from scratch, Retrologue 3 provides a powerful sound design environment. Start with a blank preset and experiment with the various parameters and modules to craft unique sounds that suit your project.
- Using Modulation Matrix (Pro version): If you have the Pro version of Retrologue 3, you gain access to the modulation matrix. This allows you to create complex modulation routings, enabling you to add movement and variation to your sounds.
- Saving and Managing Presets: If you modify a preset or create a custom sound, you can save it as your own preset for future use. Cubase allows you to manage your presets, so you can easily access and organize your custom sounds.
Remember, Retrologue 3 is a versatile and capable synthesizer, and this guide only provides a basic overview of its features. For more detailed instructions and insights into the specific features of Retrologue 3 in Cubase 12, consult the official documentation or online tutorials dedicated to Cubase 12 and Retrologue 3.
Padshop 2 Granular Synthesizer
Padshop 2 is a powerful granular synthesizer that comes bundled with Cubase. It utilizes granular synthesis to create unique and evolving textures, atmospheric soundscapes, and experimental sounds. Here’s a step-by-step guide to help you make the most of Padshop 2 in Cubase 12:
- Loading Padshop 2: Open Cubase 12 and create a new MIDI or Instrument track. To load Padshop 2, click on the “+” button to add an instrument to the track and select “Padshop 2” from the list of instruments.
- Selecting a Sound: Once Padshop 2 is loaded, you’ll see the interface with various controls and the preset browser on the right side. Click on the “Preset” tab to access the preset browser. Padshop 2 offers a variety of presets, including pads, textures, soundscapes, and more. Browse through the presets and click on one to load it.
- Playing Padshop 2: To play Padshop 2, use your MIDI controller or your computer keyboard. Make sure the track is armed for recording (the “R” button on the track), and then click on the virtual keyboard within Padshop 2 or use your MIDI controller to trigger the sounds.
- Adjusting Parameters: Padshop 2 allows you to control various parameters to shape and manipulate the sound. On the interface, you’ll find controls for Grain, Filter, Modulation, and more. The Grain section controls the granular synthesis aspects like grain position, length, density, and pitch. The Filter section lets you shape the spectral content of the sound, and the Modulation section enables you to add movement and modulation to the sound.
- Using the Spectral Oscillator: Padshop 2 includes a spectral oscillator that generates a spectral analysis of the source sound. You can use this oscillator to blend between the granular synthesis and the spectral synthesis, creating unique combinations of sound.
- Applying Effects: Padshop 2 comes with a variety of built-in effects like reverb, delay, chorus, and more. You can apply these effects to the sound to add depth and character.
- Creating Custom Sounds: If you want to create your own sounds from scratch, Padshop 2 provides a comprehensive sound design environment. Experiment with the granular parameters, filters, modulation, and effects to craft original and distinctive sounds.
- Saving and Managing Presets: If you modify a preset or create a custom sound, you can save it as your own preset for future use. Cubase allows you to manage your presets, so you can easily access and organize your custom sounds.
Remember, Padshop 2 is a versatile and creative granular synthesizer, and this guide only provides a basic overview of its features. For more detailed instructions and insights into the specific features of Padshop 2 in Cubase 12, consult the official documentation or online tutorials dedicated to Cubase 12 and Padshop 2.
Prologue Wavetable Synthesizer
Prologue is a versatile wavetable synthesizer included in Cubase. It allows you to create a wide range of sounds, including rich pads, evolving textures, classic synth leads, basses, and more. Here’s a step-by-step guide to help you get started with Prologue in Cubase 12:
- Loading Prologue: Open Cubase 12 and create a new MIDI or Instrument track. To load Prologue, click on the “+” button to add an instrument to the track and select “Prologue” from the list of instruments.
- Selecting a Preset: Once Prologue is loaded, you’ll see the interface with various controls and the preset browser on the right side. Click on the “Preset” tab to access the preset browser. Prologue offers a variety of preset sounds, categorized into different groups like Leads, Pads, Basses, and more. Browse through the presets and click on one to load it.
- Playing Prologue: To play Prologue, use your MIDI controller or your computer keyboard. Make sure the track is armed for recording (the “R” button on the track), and then click on the virtual keyboard within Prologue or use your MIDI controller to trigger the sounds.
- Adjusting Parameters: Prologue provides a range of parameters to shape and modify the sound. On the interface, you’ll find controls for Oscillators, Filters, Envelopes, LFOs, and more. The Oscillators control the wavetable synthesis, allowing you to select different waveforms and manipulate their characteristics. The Filters shape the spectral content of the sound, and the Envelopes and LFOs add movement and modulation to the sound.
- Applying Effects: Prologue comes with built-in effects like reverb, delay, chorus, and more. You can apply these effects to the sound to add depth and character.
- Creating Custom Sounds: If you want to create your own sounds from scratch, Prologue offers a comprehensive sound design environment. Experiment with the wavetable parameters, filters, envelopes, and modulation to craft original and unique sounds.
- Saving and Managing Presets: If you modify a preset or create a custom sound, you can save it as your own preset for future use. Cubase allows you to manage your presets, so you can easily access and organize your custom sounds.
Remember, Prologue is a flexible and powerful wavetable synthesizer, and this guide only provides a basic overview of its features. For more detailed instructions and insights into the specific features of Prologue in Cubase 12, consult the official documentation or online tutorials dedicated to Cubase 12 and Prologue.
Combining Built-In Instruments for Rich Soundscapes
Combining multiple built-in instruments in Cubase can lead to incredibly rich and textured soundscapes. By layering different sounds and instruments, you can create complex and unique musical landscapes that add depth and emotion to your compositions. Here’s a step-by-step guide on how to achieve this in Cubase:
- Create Multiple Instrument Tracks: To start, create multiple instrument tracks in Cubase 12. You can do this by clicking on the “+” button and selecting the desired built-in instruments from the list, such as HALion Sonic SE, Groove Agent SE, Padshop 2, Retrologue 3, and Prologue.
- Choose Different Sounds: On each instrument track, select different sounds from the built-in instruments’ preset libraries. For example, you could load a lush pad sound from HALion Sonic SE on one track, a rhythmic drum pattern from Groove Agent SE on another track, and an atmospheric texture from Padshop 2 on a third track.
- Adjust Volume and Pan: Once you’ve chosen your sounds, adjust the volume levels and panning for each instrument track. Balancing the volumes ensures that no instrument overpowers the others, while panning helps to create a sense of space and separation in the stereo field.
- Layering Sounds: To make your soundscapes even more intricate, consider layering sounds from different instruments on the same track. For example, you can combine a pad sound from HALion Sonic SE with an atmospheric texture from Padshop 2 on one track. Use the instrument’s mixing and editing features to blend the sounds together effectively.
- Applying Effects: Experiment with applying effects to individual tracks or the master output to enhance the soundscapes. Cubase’s built-in effects like reverb, delay, chorus, and EQ can add space, depth, and character to your sounds.
- Automate Parameters: Use automation to modulate various parameters of the built-in instruments over time. This can bring movement and evolution to your soundscapes, making them more dynamic and captivating.
- Utilize MIDI Modifiers: Take advantage of Cubase’s MIDI modifiers to manipulate the MIDI data of the different instrument tracks. You can try altering the velocity, timing, or pitch to create interesting variations and nuances in your soundscapes.
- Combine Virtual Instruments with Audio Tracks: To add more depth and realism to your soundscapes, consider combining the built-in instruments with recorded audio tracks. You can, for example, mix virtual strings with recorded real-world sounds or vocals to create a unique and captivating sonic landscape.
Remember, creating rich soundscapes is a process of exploration and experimentation. Play around with different combinations of instruments, sounds, effects, and automation until you achieve the desired atmosphere and emotional impact in your music. Cubase 12’s powerful built-in instruments and flexible features provide a vast canvas for your creative vision.
Conclusion
Using Cubase 12’s built-in instruments, HALion Sonic SE, and Groove Agent SE, can significantly enhance the music production experience and creativity for composers, producers, and musicians. Both HALion Sonic SE and Groove Agent SE offer a wide range of high-quality sounds and features that cater to various musical styles and genres.
HALion Sonic SE serves as a powerful workstation synthesizer with an extensive library of sounds, including pianos, strings, brass, synths, drums, and more. Its versatility allows users to compose and arrange music with ease, thanks to the variety of controls and parameters available for sound customization.
On the other hand, Groove Agent SE excels as a drum sampler and virtual drummer instrument, delivering realistic and dynamic drum patterns. Its rich collection of drum kits and patterns ensures that users can easily create professional-grade drum tracks for any genre.
By utilizing these built-in instruments effectively, composers and producers can achieve rich, diverse, and polished soundscapes within the Cubase 12 environment. Layering different instrument tracks, combining sounds, and applying effects provide endless creative possibilities to craft unique and expressive music.
Whether you’re producing electronic music with intricate synth leads and atmospheric textures or creating realistic and compelling drum tracks for your compositions, Cubase 12’s HALion Sonic SE and Groove Agent SE have the versatility and power to meet your musical needs.
As Cubase continues to evolve and improve, users can expect further enhancements in the built-in instruments, offering even more possibilities for musical expression and innovation. With these tools at hand, musicians can explore their creativity and take their music to new heights, making Cubase 12 an indispensable DAW for music production and composition.