Cubase 12 is a powerful digital audio workstation (DAW) that offers a wide range of tools and features to help musicians, producers, and audio engineers create professional-quality music and audio productions. Among the essential tools in Cubase 12 are effects and equalization (EQ) processors. Understanding how to use these tools effectively is crucial for shaping the sound and achieving the desired results in your projects.
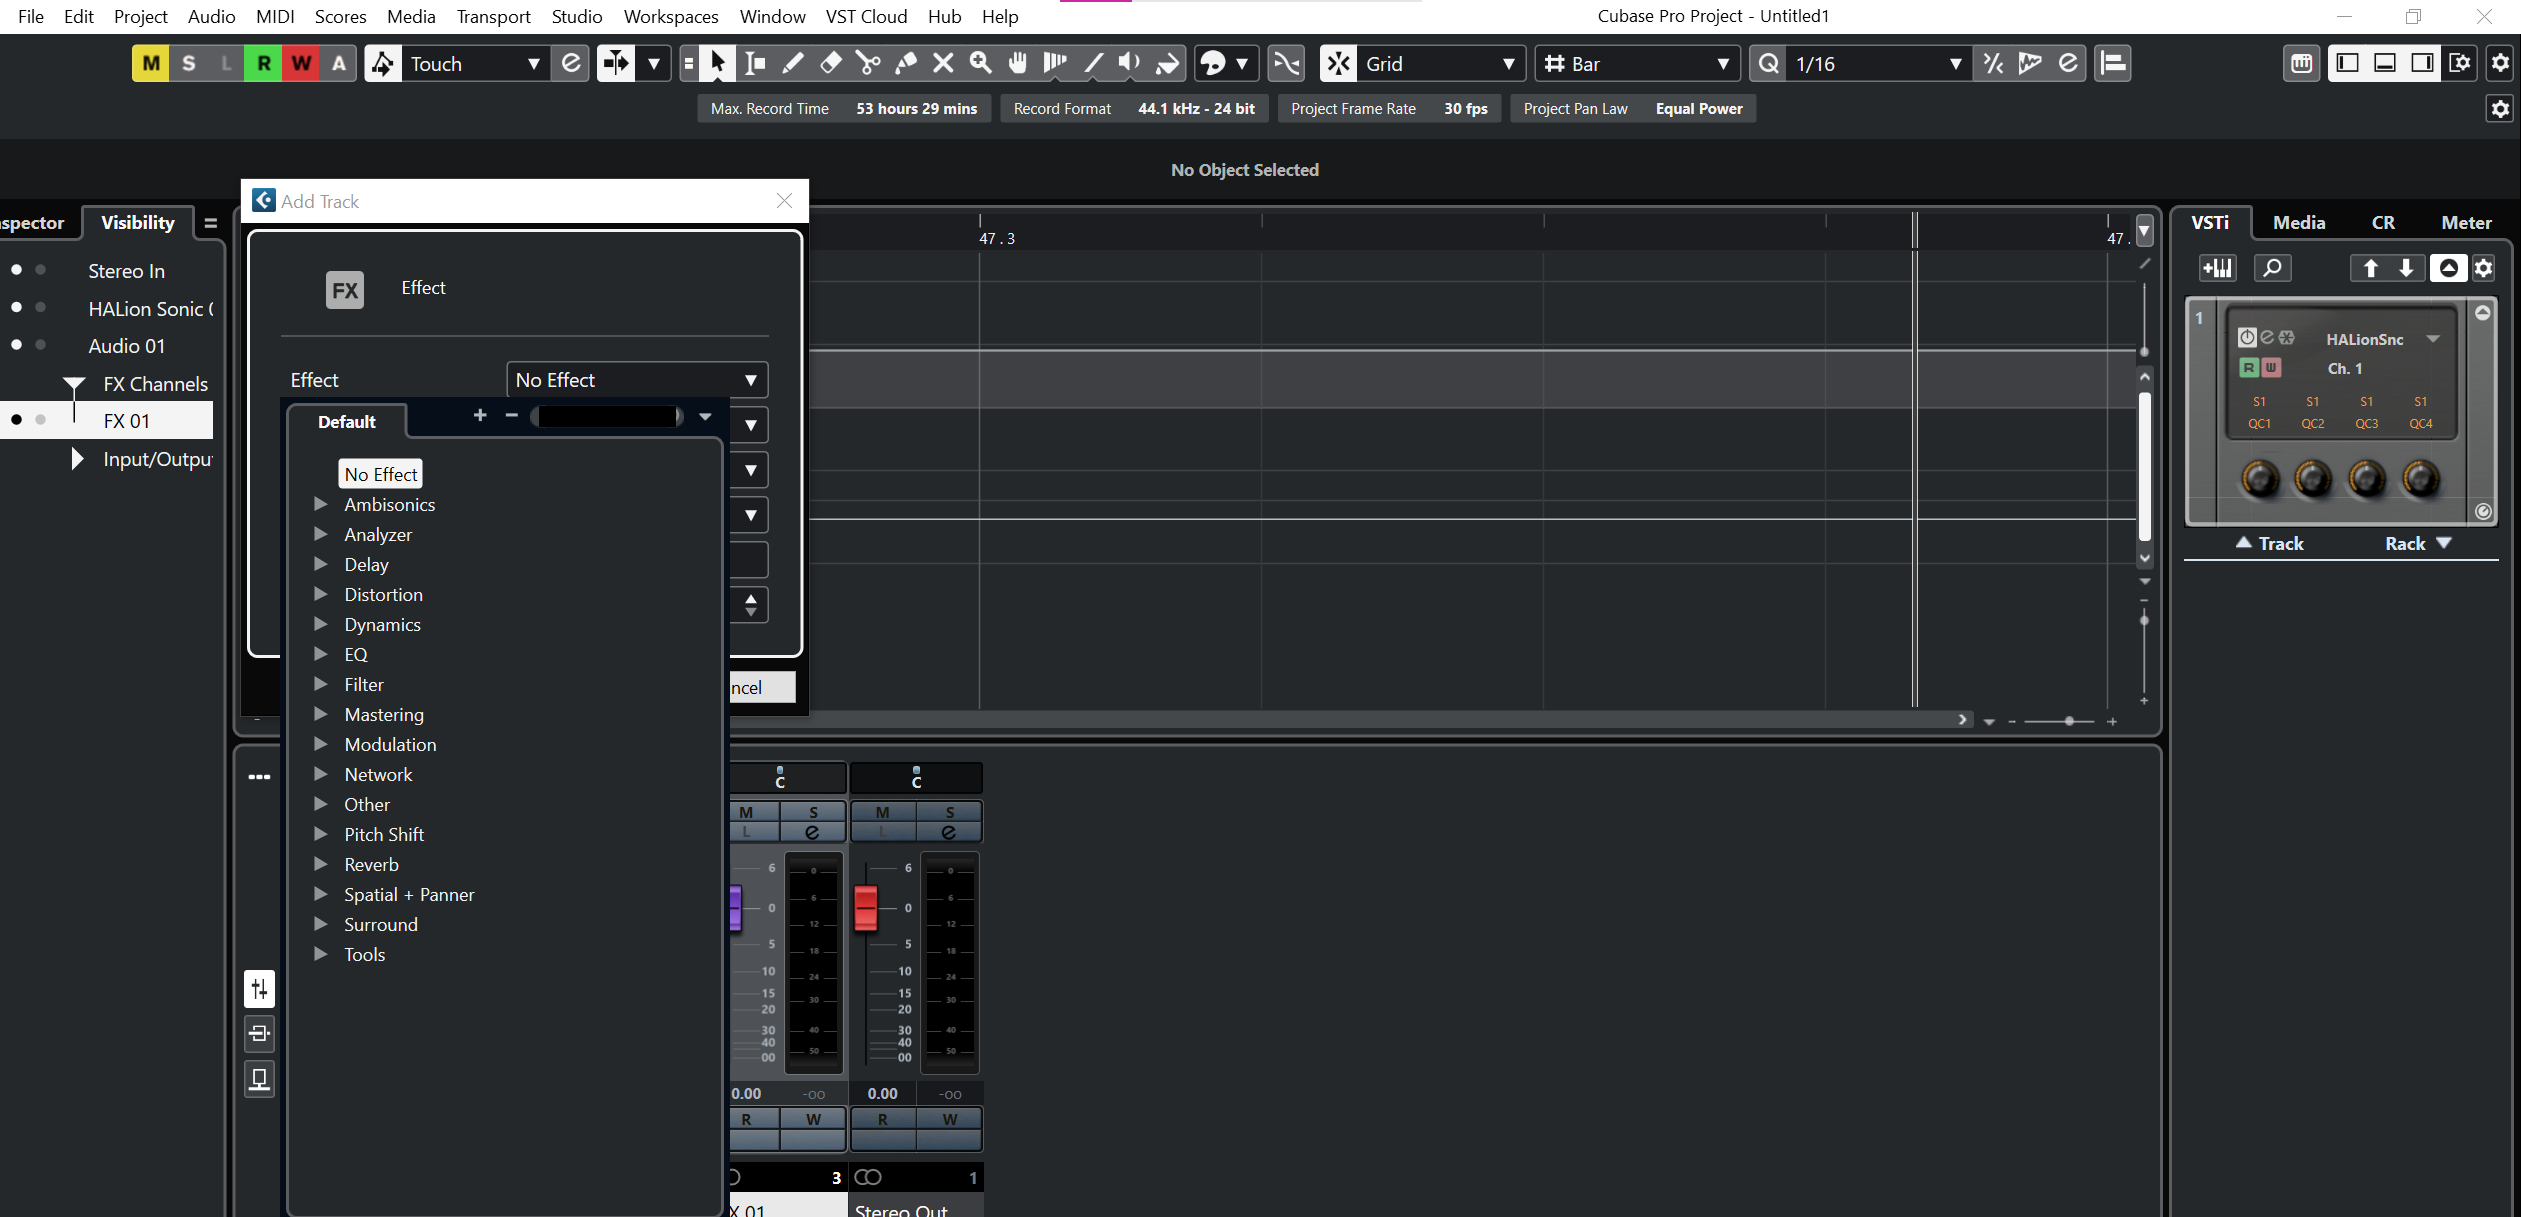
Effects in Cubase 12: Effects, also known as audio plugins, are tools that alter or enhance the audio signal in various ways. Cubase 12 comes bundled with a diverse collection of effects, including reverb, delay, chorus, compression, distortion, and many others. These effects can be applied to individual audio tracks, MIDI tracks, or even to the entire mix. To access the effects in Cubase 12, you’ll find a dedicated “Effects” section in the mixing console.
- Insert Effects: Insert effects are applied directly to individual audio or MIDI tracks in Cubase. They process the audio signal in real-time and can be used to add character, modify the timbre, or create special effects. To apply an insert effect, simply open the mixer channel for the track you want to process, click on an empty insert slot, and select the desired effect from the plugin list.
- Send Effects: Send effects are applied to tracks via send channels. They allow you to create shared effects that multiple tracks can route to. Common examples of send effects are reverb and delay, which can add depth and ambiance to your mix. To use a send effect, create a new FX channel, add the effect to it, and then adjust the send level from individual tracks to the FX channel.
EQ in Cubase 12: Equalization is a fundamental audio processing tool used to shape the frequency content of a sound. With the EQ capabilities in Cubase 12, you can boost or cut specific frequency bands to enhance or attenuate certain elements in your audio tracks.
Cubase 12 provides several types of EQ processors:
- Channel EQ: The Channel EQ is a simple yet effective equalizer that comes as a default plugin in each audio channel. It allows you to adjust the gain of different frequency bands using a graphical interface. You can choose between low-cut, low-shelf, parametric, high-shelf, and high-cut filters to sculpt the sound to your liking.
- Frequency EQ: The Frequency EQ is a more advanced equalizer with a comprehensive set of features, including linear phase mode, mid/side processing, and a built-in spectrum analyzer. It provides greater control over the audio spectrum and is ideal for precision shaping and mastering purposes.
Tips for using Effects and EQ in Cubase 12:
- Subtle Adjustments: When using EQ and effects, subtle adjustments often yield better results than drastic changes. A gentle boost or cut in the EQ or a slight application of an effect can work wonders.
- Soloing and A/B Testing: When applying EQ or effects, consider soloing the track or frequency range you’re working on to hear the changes more clearly. Additionally, use A/B testing to compare the processed and unprocessed versions to ensure you’re moving in the right direction.
- Automation: Both effects and EQ parameters can be automated in Cubase 12. Automating these settings can add movement and variation to your mix, allowing you to create dynamic and engaging productions.
- Use Presets as a Starting Point: Don’t hesitate to use presets as a starting point, especially if you’re new to using EQ and effects. Cubase 12 offers a wide range of presets that can help you get closer to your desired sound quickly.
- Mastering Effects vs. Track Effects: Distinguish between effects applied at the mixing stage (track effects) and effects used during the mastering process (mastering effects). Mastering effects are typically applied to the stereo mix bus and help to enhance the overall mix and prepare it for distribution.
Understanding effects and EQ in Cubase 12 is crucial for achieving professional-quality audio productions. By mastering these tools and experimenting with different combinations, you can add depth, character, and clarity to your music, making it stand out in the competitive world of audio production.
Adding Effects to Tracks
Adding effects to tracks in Cubase 12 is a fundamental aspect of audio production that allows you to enhance and shape the sound of individual tracks within your project. Cubase 12 provides a wide array of effects plugins that can be easily integrated into your tracks, enabling you to unleash your creativity and achieve professional-quality results. Here’s a step-by-step guide on how to add effects to tracks in Cubase 12:
1. Open the Mixing Console: In Cubase 12, the mixing console is the central hub for managing your tracks and their associated effects. To access the mixing console, go to the “Window” menu and select “MixConsole” or use the keyboard shortcut “F3.”
2. Select the Track: In the mixing console, locate the track you want to apply the effect to. You can use the channel selector or simply click on the desired track in the arrangement window.
3. Add an Insert Effect: Cubase 12 uses an “Insert Effects” system, where effects are inserted directly into the audio or MIDI track signal chain. To add an insert effect to the selected track, follow these steps:
a. Find the “Inserts” section on the channel strip of the selected track in the mixing console. It usually contains several slots labeled “Insert 1,” “Insert 2,” and so on.
b. Click on an empty insert slot (e.g., “Insert 1”) where you want to add the effect.
c. A pop-up window will appear, displaying a list of available effects. Cubase 12 includes various plugins such as EQs, compressors, reverbs, delays, and more.
d. Select the desired effect from the list, and the effect will be added to the insert slot.
4. Adjust Effect Parameters: Once the effect is added, you can adjust its parameters to shape the sound according to your preferences. The specific controls will depend on the type of effect you chose. For example, a compressor might have settings for threshold, ratio, attack, and release, while a reverb might have parameters for decay time and mix level.
5. Activate/Bypass the Effect: To enable or disable the effect temporarily, use the “On/Off” button located next to the effect’s name in the insert slot. Bypassing an effect allows you to compare the original track with and without the effect applied easily.
6. Change Effect Order: The order of effects in the signal chain can significantly impact the final sound. In Cubase 12, you can rearrange the order of the effects by simply dragging and dropping them to different insert slots in the mixing console.
7. Managing Multiple Effects: You can add multiple insert effects to a single track if needed. Each insert effect processes the audio signal in succession, allowing you to combine various effects creatively.
8. Using Send Effects (Optional): As an alternative to inserting effects directly onto a track, you can use “Send Effects.” Send effects allow you to create shared effects that multiple tracks can send audio to. This is particularly useful for adding reverb or delay to multiple tracks simultaneously.
a. Create a new FX channel in the mixing console.
b. Add the desired effect to the FX channel.
c. Adjust the send levels from individual tracks to the FX channel to control the amount of effect applied.
9. Save and Recall Presets: Cubase 12 allows you to save your customized effect settings as presets for future use. This feature can save you time when working on multiple projects or when you want to maintain consistency across your work.
10. Automation (Optional): You can automate the parameters of inserted effects over time. Automation enables you to control the effect’s settings dynamically throughout the song, creating evolving and expressive audio effects.
Adding effects to tracks in Cubase 12 gives you the power to transform simple recordings into professional-sounding productions. Experimenting with different effects and their settings will help you develop your signature sound and bring your artistic vision to life.
Using EQ to Shape Tracks
Equalization (EQ) is a fundamental audio processing tool that allows you to shape the frequency content of individual tracks in Cubase 12. By adjusting the levels of different frequency bands, you can enhance specific elements, remove unwanted frequencies, and create a more balanced and polished sound in your music productions. Understanding how to use EQ effectively in Cubase 12 will greatly improve the clarity and overall impact of your tracks. Here’s a step-by-step guide on how to use EQ to shape tracks in Cubase 12:
1. Open the Mixing Console: To start shaping the tracks using EQ, open the mixing console in Cubase 12. You can access the mixing console by going to the “Window” menu and selecting “MixConsole” or by using the keyboard shortcut “F3.”
2. Select the Track: In the mixing console, select the track you want to apply EQ to. You can click on the desired track in the arrangement window or use the channel selector in the mixing console.
3. Access the Channel EQ: Cubase 12 comes with a default “Channel EQ” plugin on every audio and MIDI track. To access the Channel EQ for the selected track, locate the “Inserts” section on the channel strip in the mixing console.
4. Open the Channel EQ Plugin: Click on the “e” button or the “Edit” button in the Inserts section to open the Channel EQ plugin for the selected track.
5. Understand the Channel EQ Interface: The Channel EQ plugin in Cubase 12 has a graphical interface that allows you to adjust the EQ settings visually. It typically displays a frequency response curve with sliders or knobs for different EQ parameters.
6. Adjust the EQ Settings: Using the Channel EQ interface, you can start shaping the track by adjusting the following parameters:
a. Frequency: This control determines the center frequency of the EQ band you’re adjusting. Lower frequencies are on the left side of the spectrum, and higher frequencies are on the right.
b. Gain: The gain control allows you to boost or cut the level of the selected frequency band. Dragging the slider or turning the knob upwards boosts the selected frequency, while dragging it downwards cuts or attenuates it.
c. Q (Bandwidth): The Q control adjusts the bandwidth of the frequency band you’re modifying. A narrow bandwidth (high Q value) focuses on a specific frequency range, while a wider bandwidth (low Q value) affects a broader range of frequencies.
7. Use Different Filter Types: The Channel EQ in Cubase 12 offers various filter types, such as low-cut, low-shelf, high-cut, high-shelf, and parametric filters. Each filter type serves a specific purpose:
a. Low-Cut (High-Pass) Filter: Removes frequencies below the set point, ideal for eliminating rumble or unwanted low-frequency noise.
b. High-Cut (Low-Pass) Filter: Removes frequencies above the set point, useful for taming excessive brightness or high-frequency noise.
c. Low-Shelf Filter: Boosts or cuts all frequencies below the set point, great for adjusting the overall low-end balance.
d. High-Shelf Filter: Boosts or cuts all frequencies above the set point, helpful for shaping the overall high-end balance.
e. Parametric EQ: Allows precise adjustments with selectable center frequencies and bandwidths. This type is commonly used for surgical adjustments.
8. Solo and A/B Testing: To hear the specific changes made by the EQ, consider soloing the track or frequency range you’re adjusting. Additionally, use A/B testing to compare the track with the original and the EQ-modified version, ensuring that the changes are beneficial.
9. Avoid Overdoing EQ: While EQ is a powerful tool, it’s essential to use it judiciously. Over-EQing can lead to unnatural or unbalanced results. Aim for subtle adjustments that complement the track rather than drastically altering its character.
10. Save Presets for Future Use: If you’ve created a particular EQ setting that you love, save it as a preset in Cubase 12. Presets can save you time and provide consistency when working on multiple projects.
11. Consider Using Frequency EQ (Optional): For more advanced EQ tasks and mastering purposes, you may explore the “Frequency EQ” plugin available in Cubase 12. This EQ offers additional features like linear phase mode and mid/side processing, providing more precise control over the audio spectrum.
By using EQ to shape tracks in Cubase 12, you can enhance the clarity, balance, and overall quality of your audio productions. Take the time to experiment with different EQ settings and filter types to develop your EQ skills and achieve the desired sound for your music projects.
Advanced Effects and Creative Applications
Cubase 12 is a versatile digital audio workstation (DAW) that offers a wide array of advanced effects and creative tools to take your music and audio productions to the next level. These effects enable you to add depth, character, and uniqueness to your tracks, allowing you to explore new sonic territories and unleash your creativity. Here are some of the advanced effects and creative applications available in Cubase 12:
1. Frequency EQ: As mentioned earlier, the Frequency EQ is an advanced equalizer plugin in Cubase 12. It provides precise control over the audio spectrum with features like linear phase mode and mid/side processing. The linear phase mode ensures phase coherence and minimal phase distortion, making it suitable for mastering tasks where preserving the original audio quality is crucial. Additionally, the mid/side processing allows you to separately EQ the center (mid) and side elements of a stereo signal, opening up creative possibilities for widening or narrowing the stereo image.
2. VariAudio: VariAudio is a powerful pitch correction and editing tool in Cubase 12. It allows you to correct the pitch of monophonic audio recordings or MIDI notes directly within the DAW. With VariAudio, you can fix tuning issues, create harmonies, and even experiment with creative pitch manipulation effects, such as creating robotic or alien-like vocal effects.
3. Groove Agent SE: Groove Agent SE is a versatile drum sampler and beat production tool that comes with Cubase 12. It offers a vast library of drum sounds and patterns, as well as advanced features like slicing, time-stretching, and pattern editing. You can use Groove Agent SE to create unique drum grooves, beats, and percussion patterns that fit perfectly with your music.
4. Padshop 2: Padshop 2 is a cutting-edge granular synthesizer in Cubase 12. It excels at creating evolving and otherworldly soundscapes by granulating audio samples into tiny grains. You can import your audio samples or choose from the extensive library included in Padshop 2. The real-time controls and modulation options offer endless possibilities for designing unique textures and atmospheres.
5. Retrologue 2: Retrologue 2 is a virtual analog synthesizer in Cubase 12, emulating classic hardware synths. It provides warm and rich analog-style sounds, making it ideal for vintage-inspired electronic music or adding organic textures to your tracks. The flexible modulation system and extensive oscillator options allow you to craft a wide range of sounds, from fat basses to soaring leads.
6. LoopMash FX: LoopMash FX is a creative audio effect that takes loops and samples and mangles them into entirely new and exciting patterns. It combines elements of a slicer, looper, and sequencer, offering instant inspiration for creating rhythmic variations and glitch effects. LoopMash FX is perfect for electronic music producers looking to add experimental and unique elements to their tracks.
7. VST Amp Rack: VST Amp Rack is a virtual guitar amplifier and effects suite in Cubase 12. It provides an array of guitar amplifier models, cabinets, and stompbox effects to simulate the sound of classic and modern guitar rigs. Whether you’re recording real guitars or using virtual instruments, VST Amp Rack allows you to craft the perfect guitar tone for your music.
8. REVerence: REVerence is a high-quality convolution reverb in Cubase 12. It uses impulse responses to recreate the acoustic characteristics of real-world spaces, such as concert halls, studios, and cathedrals. REVerence is a go-to tool for adding natural and realistic reverbs to your tracks, enhancing the sense of space and depth in your mixes.
9. Side-Chaining: Cubase 12 provides advanced side-chaining capabilities, allowing you to use one track’s audio signal to control the behavior of an effect on another track. This technique is commonly used to create pumping and rhythmic effects with compressors and dynamic processors or to create unique sound design and motion effects.
10. Automation and MIDI Control: To add a final layer of creativity, you can use automation and MIDI control to modulate various effect parameters over time. Automating effects like panning, filter sweeps, or modulation can introduce movement and interest to your music, creating dynamic and evolving arrangements.
Cubase 12 offers an impressive array of advanced effects and creative tools that can take your music productions to new heights. Whether you’re looking to craft unique soundscapes, experiment with creative vocal effects, design cutting-edge drum patterns, or sculpt your own guitar tones, Cubase 12 provides the tools and flexibility to bring your creative visions to life. By exploring and experimenting with these advanced effects, you can define your signature sound and produce music that stands out in today’s competitive music industry.
Conclusion
Adding effects and EQ to tracks in Cubase 12 is an essential and powerful process that significantly shapes the overall sound and quality of your music productions. With a diverse range of effects plugins and comprehensive EQ capabilities, Cubase 12 empowers musicians, producers, and audio engineers to unleash their creativity and achieve professional-level results.
By using insert effects and send effects, you can tailor the audio signal of individual tracks to add character, ambiance, and depth. Whether it’s applying reverb and delay to create a sense of space or using compression and distortion to add intensity and energy, the possibilities are endless.
The EQ tools in Cubase 12, such as the Channel EQ and Frequency EQ, allow you to sculpt the frequency content of tracks, removing unwanted frequencies, enhancing specific elements, and achieving a well-balanced mix. The ability to solo and A/B test during the EQ process ensures that you make precise adjustments to achieve the desired sound.
Furthermore, understanding the order of effects in the signal chain and managing multiple effects enables you to experiment and fine-tune the processing to match your artistic vision accurately.
The creative potential of Cubase 12 extends beyond standard audio processing, as advanced features like VariAudio, Groove Agent SE, Padshop 2, and LoopMash FX offer unique opportunities for innovative sound design and experimental music creation.
Automation and MIDI control add a final layer of expression and movement, allowing you to animate effects and EQ parameters dynamically throughout your compositions.
Ultimately, the mastery of adding effects and EQ to tracks in Cubase 12 is a skill that elevates your music production to a professional level. It’s about finding the right balance between subtle enhancements and creative experimentation while ensuring that the final mix remains coherent and focused on the artistic vision.
As you continue to explore and refine your understanding of effects and EQ in Cubase 12, you will gain the ability to create captivating and immersive music that resonates with your audience. Whether you are a seasoned producer or a budding musician, Cubase 12 provides the tools and flexibility to shape your tracks into captivating sonic journeys that leave a lasting impression.