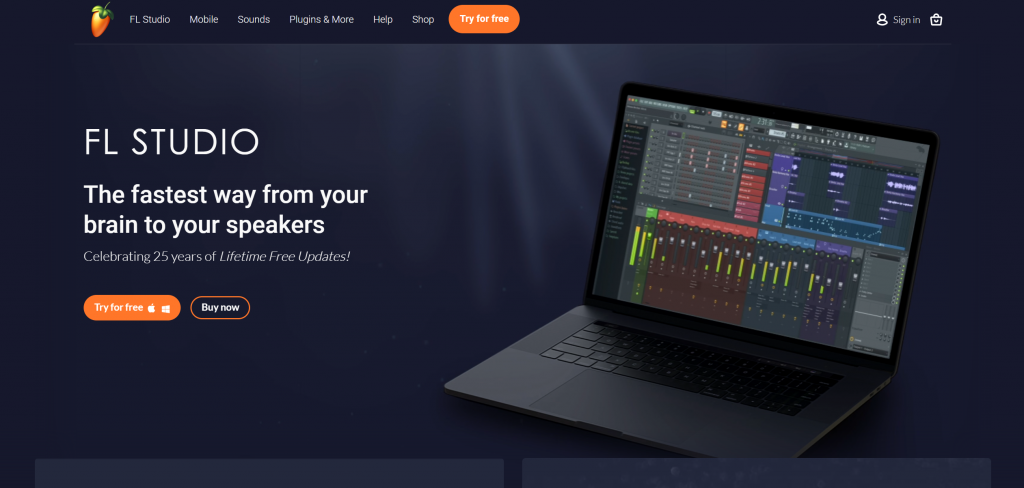
To download FL Studio, you would typically follow these general steps:
- Visit the official website: Go to the official website of Image-Line Software (www.image-line.com) or the specific FL Studio website.
- Choose your version: FL Studio is available in different editions, such as Fruity Edition, Producer Edition, and Signature Bundle, each with varying features. Select the version that suits your needs and budget.
- Create an account: If required, create an account on the website to proceed with the purchase or download process.
- Purchase or download: If FL Studio 21 or a later version is available, you may be able to purchase the software directly from the website or download a trial version. Some editions offer lifetime free updates, while others may require additional purchases for major version upgrades.
- Install the software: After downloading the installer, run it and follow the on-screen instructions to install FL Studio on your computer.
- Authorization: Depending on the edition and your purchase, you might need to authorize your copy of FL Studio using a license key or an online account.
Remember to download software only from official sources to ensure you get a legitimate and safe copy of the program.
Installing FL Studio 21
Here’s a general guide on how to install FL Studio:
- Run the Installer: Locate the downloaded installer file (usually a .exe file on Windows or a .dmg file on macOS) and double-click it to run the installer.
- User Account Control (UAC) (Windows Only): If you’re installing FL Studio on Windows, the User Account Control may prompt you for permission to make changes to your computer. Click “Yes” to proceed with the installation.
- Choose Installation Options: The installer will guide you through the installation process. You may be asked to choose the installation location and select any additional components or plugins you want to include. Review and customize the installation options as per your preference.
- License Agreement: Read and accept the license agreement to continue with the installation.
- Select Installation Type: FL Studio typically offers two installation types: “Complete” and “Custom.” The “Complete” installation includes all available features and plugins, while the “Custom” installation allows you to select specific components to install. Choose the option that best suits your needs.
- Installation Process: Once you’ve made your selections, click the “Install” or “Next” button to begin the installation process. The installer will extract and copy the necessary files to your computer.
- Authorization (if required): Depending on the version and your purchase, you might need to authorize your copy of FL Studio using a license key or an online account. Follow the on-screen instructions to complete the authorization process.
- Finish: After the installation is complete, the installer will notify you that FL Studio has been installed successfully. Click “Finish” to close the installer.
- Launch FL Studio: You can now launch FL Studio from your computer’s Start menu (Windows) or Applications folder (macOS). When you open FL Studio for the first time, you may need to enter your registration information or sign in with your Image-Line account, depending on the version you have installed.
Please note that the above steps are based on the installation process of previous versions of FL Studio. If FL Studio 21 or any later version is available, the installation steps might have minor differences. Always refer to the official documentation or guides provided by Image-Line Software for the most accurate and up-to-date instructions.

Activation and Registration
Activation and registration are essential steps in the process of unlocking the full features of FL Studio and ensuring that you are using a legitimate, licensed copy of the software. Activation is usually required when you first install FL Studio on your computer, while registration is an optional step that may provide benefits like access to updates, technical support, and exclusive content.
Please keep in mind that the specific steps and procedures might vary based on the version of FL Studio you have or any changes that might have occurred since my last update. For the most accurate and up-to-date instructions, always refer to the official documentation or guides provided by Image-Line Software.
Here’s a general guide on how activation and registration might work for FL Studio:
- Activation:
- Upon installing FL Studio, you may be prompted to activate the software. Activation is often done using a unique license key or a digital signature tied to your specific copy of FL Studio.
- If you purchased FL Studio directly from the Image-Line website, you should receive a license key via email or through your account on the website.
- Enter the license key into the activation prompt when prompted. The software will then verify the key’s validity and activate your copy of FL Studio.
- If you have an internet connection, activation is usually done online. However, offline activation methods might be available for computers without internet access.
- Registration:
- Registration typically involves creating an account with Image-Line or logging into an existing one. This account is used to link your FL Studio license to your Image-Line profile.
- Registering your FL Studio license may provide benefits such as free updates and technical support.
- During the registration process, you may need to provide your license key and some personal information, like your name and email address.
- Registering your copy of FL Studio can usually be done from within the software’s user interface, or you may be directed to the Image-Line website to complete the process.