The Mixer in FL Studio is where you can control the audio and MIDI channels, apply various effects, adjust volume levels, and create a polished mix of your music. It plays a crucial role in achieving a professional-sounding result for your projects. Here’s a step-by-step guide on how to utilize the Mixer:
- Opening the Mixer:
- By default, the Mixer should be visible in FL Studio. If it’s not, you can access it by pressing “F9” on your keyboard or by going to the “View” menu and selecting “Mixer.”
- Understanding Mixer Channels:
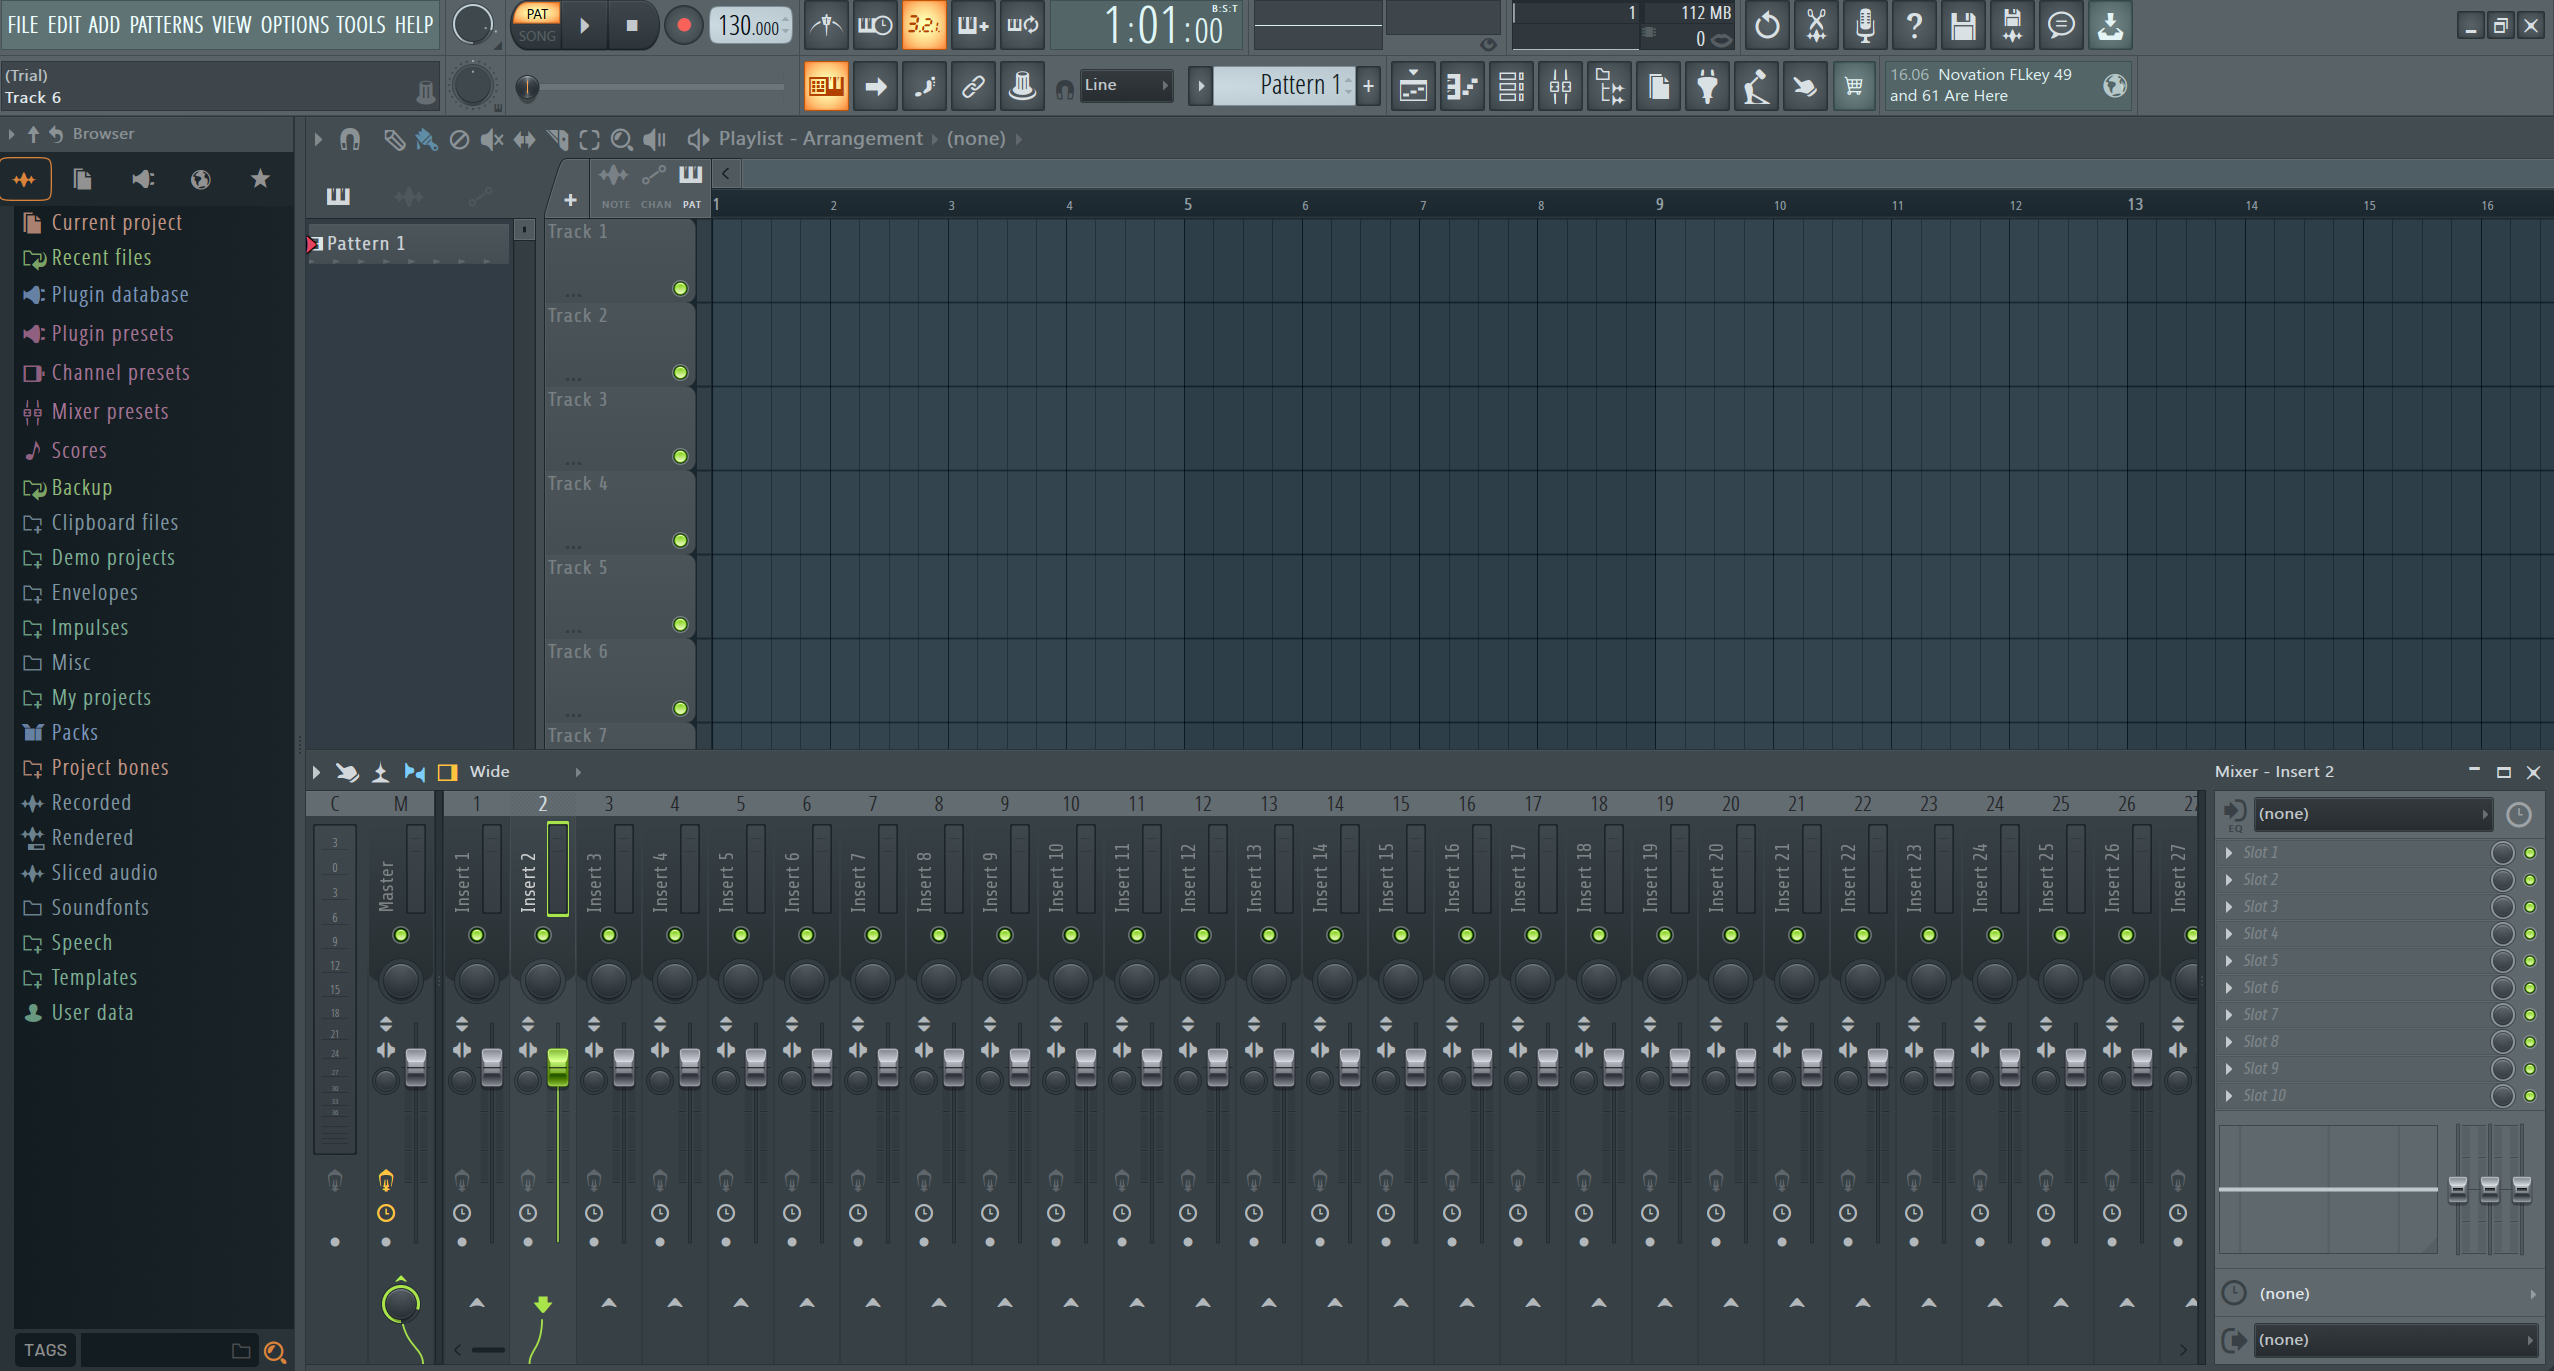
- The Mixer is divided into channels, each representing an individual audio or MIDI track in your project.
- These channels are organized vertically in the Mixer, corresponding to the arrangement of your tracks in the Playlist view.
- Routing Channels:
- To route a specific instrument or sound to a Mixer channel, go to the Channel Rack (the step sequencer) and locate the channel you want to route.
- In the Channel Rack, right-click on the track’s name and select “Route to this track only” or “Route to this track in the Mixer.”
- The selected channel will now appear in the Mixer.
- Adjusting Volume Levels:
- On each Mixer channel, you’ll find various controls. The most prominent one is the volume fader, typically labeled “Vol” or “Volume.”
- Drag the volume fader up or down to increase or decrease the track’s volume.
- Applying Effects:
- To add effects to a channel, click on the empty box below the volume fader. This will open a menu where you can select and add various effects, such as reverb, delay, EQ, compression, and more.
- Once you’ve added an effect, you can adjust its parameters by clicking on the small arrow button next to the effect name.
- Creating Sends:
- Sends allow you to send a portion of a channel’s audio signal to an auxiliary bus, often used for applying effects to multiple tracks simultaneously.
- To set up a send, right-click on the send control (a small knob below the pan knob) and choose “Add send” or “Add send to new channel.”
- Adjust the send level for each channel to control how much signal is sent to the auxiliary bus.
- Panning:
- The pan knob, located next to the volume fader, controls the left-right positioning of a sound in the stereo field.
- Move the pan knob to the left for a sound to be heard more from the left speaker and to the right for the opposite effect.
- Grouping Tracks:
- You can group related channels together in the Mixer for easier management. To do this, select the desired channels, right-click, and choose “Route to this track only.”
- The selected channels will now be grouped under a new channel in the Mixer.
Remember that the Mixer in FL Studio provides extensive capabilities for audio processing and routing. Experimenting with different effects, panning, and volume levels will help you achieve a well-balanced mix for your music projects.
Applying Effects and Processing
FL Studio’s Mixer allows you to add various effects and processors to individual channels to enhance and shape the sound of your tracks. Here’s a guide on applying effects and processing in the Mixer:
- Opening the Mixer:
- To access the Mixer in FL Studio, press “F9” on your keyboard or go to the “View” menu and select “Mixer.”
- The Mixer will appear as a separate window with vertical channels representing your audio and MIDI tracks.
- Selecting a Channel and Adding Effects:
- Choose the channel you want to apply effects to by clicking on it in the Mixer. The selected channel will be highlighted.
- To add an effect, click on an empty effect slot (displayed as a box) below the volume fader on the selected channel.
- Choosing Effects:
- After clicking on an empty effect slot, a menu will open, showing the available effects and processors in FL Studio.
- FL Studio offers a wide range of effects, including reverb, delay, EQ, compression, distortion, chorus, and many others.
- Scroll through the list or use the search function to find the effect you want to use.
- Adjusting Effect Parameters:
- Once you’ve added an effect to the channel, the effect’s interface will appear on the right side of the Mixer.
- Use the knobs, sliders, and settings in the effect’s interface to adjust its parameters.
- Experiment with different settings to achieve the desired sound.
- Effect Routing and Pre/Post Fader:
- In FL Studio, you can choose whether the effect is applied before or after the channel fader.
- To change the effect’s routing, right-click on the effect slot and select “Route to this track only” for pre-fader or “Route to this track in the Mixer” for post-fader.
- Pre-fader effects will be affected by the channel’s volume fader, while post-fader effects will not.
- Adding Multiple Effects:
- You can add multiple effects to a single channel to create complex signal processing chains.
- Simply click on additional empty effect slots and select the effects you want to add.
- Using Send Tracks:
- Send tracks in FL Studio are auxiliary channels used to apply effects to multiple tracks simultaneously.
- To use a send track, create a new Mixer channel (Right-click in the Mixer > Add track) and add the desired effect to it.
- Then, adjust the send levels on individual channels to control the amount of signal sent to the send track.
- Automation:
- You can automate the parameters of effects over time to create dynamic changes in your music.
- Right-click on a parameter in the effect interface, choose “Create automation clip,” and a new automation clip will appear in the Playlist.
- Draw or record automation data in the clip to control the effect parameter.
Remember, applying effects and processing in the Mixer is an art form, and experimentation is key to finding the perfect sound for your music. Don’t be afraid to try different effects, tweak settings, and use automation to add depth and character to your tracks. FL Studio offers a vast array of effects and processing options, so take your time to explore and develop your unique sound.
Mixing Techniques
- Gain Staging:
- Start by ensuring proper gain staging in your project. Adjust the volume levels of individual channels to avoid clipping or excessive headroom. Keep your peak levels below 0 dB to prevent distortion.
- Panning:
- Use panning to position different instruments and sounds in the stereo field. Spread elements across the spectrum to create a sense of space and separation.
- EQ (Equalization):
- EQ is a vital tool for shaping the frequency content of your tracks. Use the Parametric EQ 2 plugin or FL Studio’s other EQ options to boost or cut specific frequencies, addressing frequency clashes and enhancing clarity.
- Compression:
- Compressors help control the dynamic range of a sound by reducing the volume of louder parts. Use the Fruity Compressor or other compressors in FL Studio to smooth out performances and add sustain.
- Reverb and Delay:
- Reverb and delay can add depth and a sense of space to your mix. Use the Fruity Reverb 2 and Fruity Delay plugins to give sounds a sense of distance or to create interesting rhythmic patterns.
- Sidechain Compression:
- Sidechain compression allows you to duck the volume of one track in response to the input from another. Use it to create the classic “pumping” effect in dance music or to make room for the kick drum in a bass-heavy track.
- Automation:
- Automation is essential for adding movement and changes to your mix over time. Use FL Studio’s automation clips to control parameters such as volume, panning, and effect settings.
- Grouping and Bussing:
- Group related tracks together and route them to a bus channel. This technique allows you to process multiple tracks as a whole and helps maintain consistency in the mix.
- Reference Tracks:
- Import reference tracks into your project to compare your mix’s balance, tonality, and overall sound with a professionally mixed track.
- Surgical Editing:
- Use the Edison audio editor or other tools to make precise edits, remove unwanted noise, clicks, or pops, and clean up audio recordings.
- Frequency Masking:
- Watch out for frequency masking, where one sound covers up another in the same frequency range. Use EQ or other tools to carve out space for each element in the mix.
- A/B Testing:
- Regularly switch between your mix and commercial reference tracks to make objective judgments about your mix’s strengths and weaknesses.
- Mastering Chain Preparation:
- While mastering is a separate process, it’s essential to prepare your mix for mastering by leaving enough headroom and avoiding excessive processing on the master channel.
Remember that mixing is a skill that improves with practice and experience. Take the time to experiment with different techniques and listen critically to your mix on various playback systems. Don’t be afraid to make adjustments as needed to achieve the best possible result for your music.
Advanced Mixing Features
- Mixer Track Routing and Submixing:
- FL Studio allows for complex routing options using the “Mixer Track Routing” feature. You can route multiple mixer tracks to a single track, creating submixes for easy processing of multiple channels simultaneously.
- Advanced Automation Editing:
- FL Studio’s automation system offers advanced editing capabilities. You can create complex automation curves, edit points, and use interpolation to shape automation data precisely.
- Multiband Effect Processing:
- The Fruity Multiband Compressor and Fruity Multiband EQ plugins enable you to apply compression and equalization separately to different frequency bands. This allows for surgical processing of specific frequency ranges.
- MIDI Control and Automation:
- FL Studio supports MIDI control and automation for various parameters. You can use external MIDI controllers or automate MIDI data to control plugin parameters, mixer settings, and more.
- Patcher:
- Patcher is a powerful tool for creating complex effect chains and instrument racks. It allows you to route and combine multiple plugins and effects into one cohesive unit, providing flexibility and advanced processing options.
- Channel Settings and Picking Panels:
- Channel Settings allow you to access individual channel settings directly from the Step Sequencer. It enables quick adjustments to volume, panning, and other parameters without navigating to the Mixer.
- Picking Panels feature allows you to arrange multiple plugin interfaces into one consolidated view for easier management and quicker access to controls.
- Vocodex:
- Vocodex is a sophisticated vocoder plugin in FL Studio that offers advanced vocal processing and synthesis capabilities. It allows you to create robotic and harmonized vocal effects.
- Stereo Enhancer:
- The Stereo Enhancer plugin lets you control the stereo width of sounds in your mix, allowing for precise control over the stereo image.
- Fruity Convolver:
- The Fruity Convolver plugin allows for realistic convolution-based reverb and advanced sound processing using impulse responses.
- Mid-Side Processing:
- FL Studio offers Mid-Side processing capabilities, allowing you to treat the middle and side information of a stereo signal separately. This is useful for widening or narrowing the stereo image or applying different effects to each component.
- Phase Inverter:
- The Phase Inverter plugin can be used to correct phase issues and ensure that sounds are in-phase when combining multiple microphones or recordings.
Utilizing the Playlist
The Playlist is where you arrange patterns, audio clips, and automation to create your songs. Here’s a guide on how to utilize the Playlist in FL Studio:
- Opening the Playlist:
- To access the Playlist in FL Studio, press “F5” on your keyboard or click on the “Playlist” tab at the top of the screen.
- The Playlist appears as a grid with horizontal tracks and a vertical timeline representing the duration of your project.
- Working with Patterns:
- In the Channel Rack (step sequencer), you can create musical patterns using virtual instruments or plugins. Each pattern represents a musical sequence for a specific instrument or sound.
- To place a pattern on the Playlist, drag and drop it from the Channel Rack to the desired track in the Playlist.
- Arranging Patterns:
- Arrange patterns on the Playlist by dragging them left or right along the timeline. You can also adjust the length of patterns by clicking and dragging their edges.
- Layering Patterns:
- You can layer multiple patterns on the same track to create complex and rich musical arrangements. Drag and drop patterns onto the same track, and they will play simultaneously.
- Working with Audio Clips:
- To use audio samples or recorded audio in your project, import audio clips into the Playlist.
- Simply drag and drop an audio file from your computer into the Playlist to create an audio clip. You can then arrange and edit these clips as needed.
- Looping and Repeating:
- To create a repeating section, highlight the area you want to loop, right-click, and choose “Create loop.”
- You can also duplicate patterns or audio clips by selecting them, pressing “Ctrl+C” (copy), and then “Ctrl+V” (paste) at the desired location.
- Automation Clips:
- To add automation to your mix, create automation clips for various parameters like volume, panning, or plugin settings.
- Right-click on a parameter you wish to automate and select “Create automation clip.” This will create a new automation clip in the Playlist.
- Editing and Arranging Automation:
- Automation clips are edited similarly to patterns. Drag and drop points to create automation curves, and use the tools at the top of the Playlist to refine the automation.
- Grouping Tracks:
- To keep your project organized, group related tracks together. Select the desired tracks, right-click, and choose “Group selected.” This will create a group track in the Playlist.
- Naming and Coloring Tracks:
- For better project organization, you can name and color-code tracks in the Playlist.
- Right-click on the track name and select “Rename” to give the track a descriptive name.
- Right-click on the colored box next to the track name to choose a color for the track.
- Time Signature and Tempo Changes:
- You can change the time signature and tempo of your project over time by adding time signature and tempo markers in the Playlist.
- Working with Marker Clips:
- Use Marker clips to label important sections or milestones in your project. Right-click on the Playlist and select “Add marker” to create a marker clip.
By utilizing the Playlist effectively in FL Studio, you can arrange and compose your music with ease, experiment with different arrangements, and create a cohesive and well-structured composition. Take advantage of the tools and features available to unleash your creativity and bring your musical ideas to life.
Layering and Building Complexity
- Creating Multiple Patterns:
- In the Channel Rack (step sequencer), create different musical patterns using virtual instruments or plugins. Each pattern represents a specific musical sequence for an instrument or sound.
- Layering Patterns:
- Once you have multiple patterns, drag and drop them from the Channel Rack to different tracks in the Playlist.
- Layering allows you to have different sounds playing simultaneously, adding depth and richness to your music.
- Stacking Instruments:
- To create a more substantial sound, you can stack multiple instruments or plugins playing the same melody or harmony on different tracks.
- Adjust the volume levels and panning to give each instrument its own space in the stereo field.
- Varying Timbres:
- Use different instruments or sound presets to layer the same melodic line or chord progression.
- Varying the timbre of each layer gives the music a more dynamic and interesting texture.
- Combining Virtual Instruments and Audio Clips:
- Combine virtual instruments with audio clips to create even more complexity in your arrangements.
- For example, you can layer a synth melody with a recorded guitar riff or vocal line to add unique elements to your composition.
- Layering Drum Sounds:
- Layering drums can give your percussion section more punch and character.
- Stack different drum samples or drum machine plugins to create a full and cohesive drum sound.
- Using Automation:
- Experiment with automation to add movement and variation to your layered elements.
- Automate parameters like volume, panning, filter cutoff, or other effects to introduce subtle changes over time.
- Grouping and Bussing:
- Group related layers together by routing them to a bus channel. This allows you to process and control the entire group collectively.
- Bussing can help maintain a consistent sound and make adjustments more manageable.
- Avoiding Frequency Clashes:
- Pay attention to the frequency content of each layer to prevent frequency clashes.
- Use EQ to carve out space for each layer, ensuring that they complement each other rather than compete for sonic space.
- Reference Tracks:
- Import reference tracks into your project to compare your layered composition with professionally produced music.
- Analyze how layers are used in commercial tracks to guide your layering decisions.
- Staying Organized:
- As you add more layers and complexity to your project, staying organized becomes crucial.
- Name and color-code tracks appropriately, use groups, and make use of marker clips to label important sections.
By effectively layering and building complexity in the Playlist in FL Studio, you can create dynamic and engaging music with depth and variety. Experiment with different combinations, sounds, and effects to find the right balance and achieve the desired emotional impact in your compositions.
Managing and Editing Clips
- Adding Clips to the Playlist:
- To add clips to the Playlist, you can either drag and drop them from the Channel Rack, Browser, or other areas of FL Studio, or you can right-click on the Playlist and use the “Add” menu to insert patterns, audio clips, automation clips, and more.
- Moving Clips:
- To move a clip in the Playlist, simply click on it and drag it to the desired location along the timeline or between tracks.
- Resizing Clips:
- You can adjust the length of a clip by clicking and dragging its edges. This allows you to create shorter or longer repetitions of patterns or audio clips.
- Looping Clips:
- To create a looping section, highlight the area you want to loop, right-click, and choose “Create loop.”
- The loop will play continuously, making it easy to create repeating sections in your arrangement.
- Duplicating Clips:
- To duplicate a clip, select it and press “Ctrl+C” (copy) and then “Ctrl+V” (paste) at the desired location in the Playlist.
- Grouping Clips:
- To keep your project organized, group related clips together. Select the desired clips, right-click, and choose “Group selected.”
- This will create a group clip, making it easier to manage multiple elements together.
- Naming and Coloring Clips:
- For better project organization, you can name and color-code clips in the Playlist.
- Right-click on a clip, go to “Rename,” and provide a descriptive name.
- Right-click on the colored box next to the clip name to choose a color for the clip.
- Working with Automation Clips:
- Create automation clips by right-clicking on a parameter and selecting “Create automation clip.”
- Edit automation by clicking on the automation clip and adjusting the points or curves.
- Consolidating Clips:
- To merge multiple clips into one, select them and press “Alt+T” or right-click and choose “Consolidate clips.”
- This feature is useful when you want to create a single clip from overlapping or adjacent elements.
By effectively managing and editing clips in the Playlist in FL Studio, you can arrange and compose your music with precision and creativity. Take advantage of these features to structure your musical ideas, experiment with different arrangements, and create a cohesive and well-organized composition.
Conclusion
Utilizing the Mixer and Playlist in FL Studio 21 (or any version of FL Studio) is essential for creating professional-quality music productions. The Mixer provides a centralized hub for controlling audio and MIDI channels, applying effects, adjusting volumes, and creating a well-balanced mix. By understanding how to route channels, adjust volume levels, apply effects, and use sends, producers can achieve the desired sound for their projects.
On the other hand, the Playlist serves as the primary view for arranging and composing music. It allows users to arrange patterns, audio clips, automation, and more to create cohesive and structured compositions. By taking advantage of features such as looping, layering, automation, and grouping, artists can create intricate and dynamic musical arrangements.
The integration of the Mixer and Playlist in FL Studio facilitates a seamless workflow, enabling musicians to craft their music with precision and creativity. By combining the power of these two components, producers can experiment with different sounds, textures, and effects to bring their musical ideas to life.
Whether you’re an aspiring musician or an experienced producer, mastering the utilization of the Mixer and Playlist in FL Studio is crucial for producing professional-level music. The flexibility and capabilities provided by these features allow artists to explore their creativity, arrange complex compositions, and produce polished and expressive tracks. With a deep understanding of these tools, FL Studio users can unlock their full potential as music producers and create music that captivates their audience.