The Piano Roll in FL Studio is a powerful and essential component of the software, allowing users to compose, edit, and arrange MIDI data for virtual instruments and plugins. It’s a graphical representation of musical notes on a grid, similar to traditional piano sheet music, but with numerous additional features and functionalities.
Here’s a breakdown of key elements and functions of the Piano Roll in FL Studio:
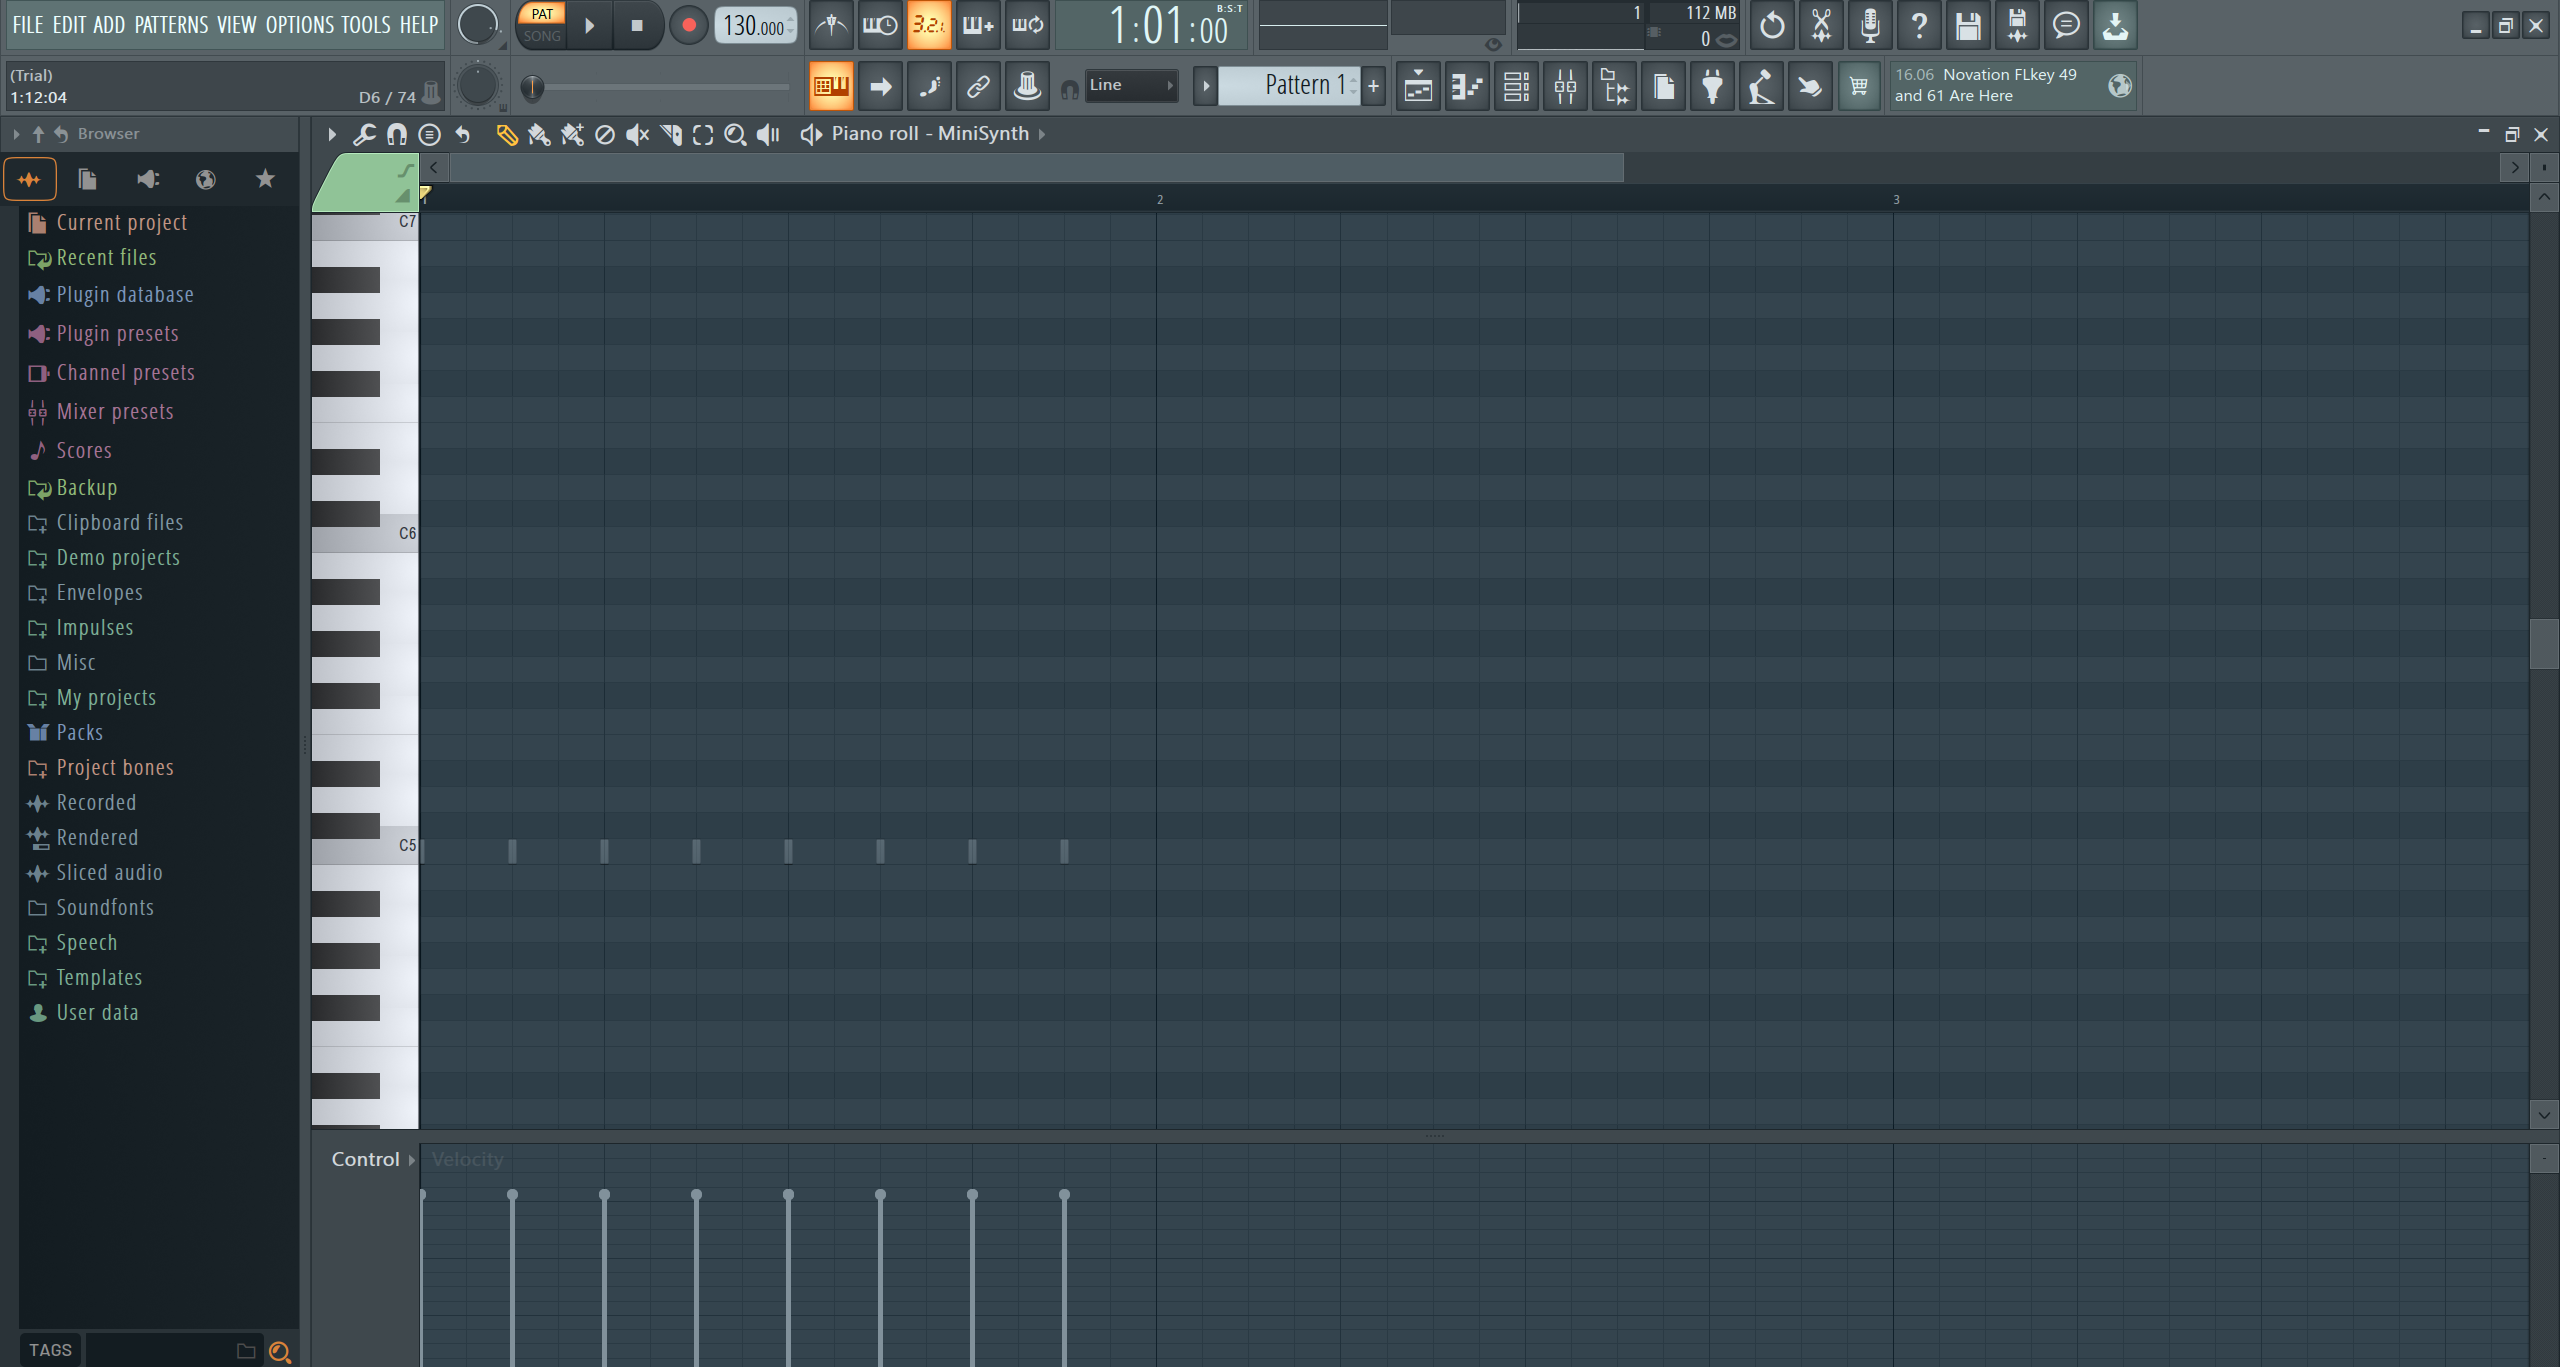
- Opening the Piano Roll: To access the Piano Roll, double-click on a MIDI clip within the Playlist view. Alternatively, you can right-click the desired pattern clip and choose “Open in Piano Roll.”
- Note Entry: In the Piano Roll, you can add and edit notes easily. To insert a new note, simply click on the desired position in the grid. You can adjust the length and position of notes by dragging their edges. To delete a note, select it and press the Delete key.
- Note Properties: The Piano Roll allows you to control various note properties such as pitch, velocity (volume), panning, and more. You can adjust these values for individual notes to add dynamics and expression to your composition.
- Tools: The Piano Roll provides different tools to facilitate the editing process. Some common tools include the Draw tool (for adding notes), the Paint tool (for painting notes of a fixed length), and the Delete tool (for removing notes).
- Snap Settings: You can set the grid snap value in the Piano Roll, which determines the resolution for note placement. This allows you to align notes precisely to the beat or other time intervals.
- Quantization: FL Studio offers quantization options to automatically align notes to the closest grid positions, helping to improve the overall timing and feel of your MIDI performance.
- MIDI Editing: In addition to basic note manipulation, the Piano Roll allows for more advanced MIDI editing. You can transpose notes, adjust their lengths, change velocities, and even apply various articulations and MIDI effects.
- Ghost Notes: The Piano Roll can display “ghost notes” from other patterns, making it easier to create harmonies or ensure consistency between different sections of your composition.
- Chord and Scale Tools: FL Studio’s Piano Roll features tools to assist with chord creation and scale-based composition. These tools can snap notes to specific scales and chords, allowing you to experiment with different harmonic structures.
- Looping and Repeating Patterns: You can loop and repeat specific sections of the Piano Roll, making it convenient for creating repetitive patterns and arranging your music.
- Automation: The Piano Roll also allows for automation of various parameters, letting you control aspects like pitch bends, modulation, and other continuous changes over time.
Mastering the Piano Roll is essential for effective MIDI editing and composition in FL Studio. With its numerous features and flexible capabilities, it serves as a creative hub for musicians and producers, facilitating the process of turning ideas into polished musical arrangements.
Working with the Piano Roll in FL Studio 21
Working with the Piano Roll in FL Studio:
- Opening the Piano Roll: To open the Piano Roll in FL Studio, you can double-click on a MIDI clip in the Playlist view. Alternatively, right-click on the desired pattern clip and select “Open in Piano Roll.”
- Note Entry: The Piano Roll allows you to input and edit MIDI notes for virtual instruments and plugins. You can add new notes by clicking on the grid, and adjust their length and position by dragging the note edges. To delete a note, simply select it and press the Delete key.
- Editing Note Properties: FL Studio’s Piano Roll enables you to control various note properties, such as pitch, velocity (volume), panning, and more. You can adjust these values for individual notes to add dynamics and expression to your composition.
- Tools and Shortcuts: The Piano Roll provides different tools and shortcuts to speed up your workflow. For example, the Draw tool allows you to add notes, the Paint tool lets you paint notes of a fixed length, and the Delete tool removes selected notes. Keyboard shortcuts can help switch between tools and functions quickly.
- Snap Settings: You can set the snap value in the Piano Roll to align notes precisely to the beat or other time intervals. This ensures that your notes are in sync with the tempo and rhythm of your project.
- Quantization: FL Studio offers quantization options to automatically snap notes to the closest grid positions, helping improve the timing and feel of your MIDI performance.
- MIDI Editing: In the Piano Roll, you can perform more advanced MIDI editing tasks. For instance, you can transpose notes, adjust their lengths, change velocities, apply various articulations, and add MIDI effects to enhance your composition.
- Ghost Notes: FL Studio’s Piano Roll can display “ghost notes” from other patterns, making it easier to create harmonies or ensure consistency between different sections of your composition.
- Chord and Scale Tools: Some versions of FL Studio come with chord and scale tools that help you create chords and melodies that fit specific scales. These tools can snap notes to the notes of a chosen scale, making it easier to stay in key.
- Looping and Repeating Patterns: You can loop and repeat specific sections of the Piano Roll, making it convenient for creating repetitive patterns and arranging your music.
- Automation: The Piano Roll also allows for automation of various parameters, such as pitch bends, modulation, and other continuous changes over time. This feature adds movement and dynamics to your MIDI data.
Remember that specific features and functionalities may vary depending on the version of FL Studio you are using.
Adding and Editing Notes in the Piano Roll
Adding and Editing Notes in the Piano Roll in FL Studio:
- Opening the Piano Roll: To work with the Piano Roll in FL Studio, first, ensure that you have a MIDI clip or pattern in the Playlist view. Double-click on the MIDI clip you want to edit, or right-click on it and select “Open in Piano Roll.”
- Adding New Notes: To add a new note, click on the desired position on the grid in the Piano Roll. The vertical position on the grid represents the pitch of the note (higher on the grid means a higher pitch, and lower on the grid means a lower pitch). The length of the note can be adjusted by dragging the right edge of the note to make it longer or shorter.
- Editing Note Properties: In the Piano Roll, you can edit various properties of the notes to add expression and dynamics to your composition:
- Note Length: Drag the right edge of the note to adjust its duration.
- Note Position: Click and drag the note to move it to a different position in the grid.
- Pitch: Click and drag the note vertically to change its pitch.
- Velocity (Volume): To adjust the velocity of a note, click on the note and drag it vertically while holding the “Ctrl” (Command on Mac) key. Higher placement increases the velocity, making the note louder, and lower placement decreases it, making the note softer.
- Pan (Stereo Position): If your virtual instrument or sound supports stereo panning, you can adjust the panning of a note by clicking on the note and dragging it horizontally while holding the “Ctrl” key.
- Deleting Notes: To remove a note from the Piano Roll, simply select the note and press the Delete key on your keyboard.
- Selecting Multiple Notes: To select multiple notes, click and drag the mouse to create a selection box around the notes you want to choose. You can then perform various editing actions on the selected notes simultaneously.
- Snap Settings: FL Studio offers snap settings that allow you to align notes to the grid based on your desired time intervals. This ensures that your notes are perfectly synchronized with the project’s tempo and rhythm.
- Quantization: Quantization is a useful feature that automatically adjusts the timing of notes to the closest grid positions, helping to correct the timing of your MIDI performance and make it more precise.
Working with MIDI Channels and Instruments
Working with MIDI Channels and Instruments in the Piano Roll in FL Studio:
- Selecting a MIDI Channel: In FL Studio, you can have multiple MIDI channels, each assigned to a specific virtual instrument or plugin. To select a MIDI channel, go to the Channel Rack or the Step Sequencer, and click on the desired channel where your instrument is loaded. You can also use the up and down arrows on the channel to navigate through the available MIDI channels.
- Opening the Piano Roll for a MIDI Channel: Once you’ve selected a MIDI channel, you can open the Piano Roll for that channel in two ways:
- Double-click: Double-click on the channel’s name in the Channel Rack or Step Sequencer.
- Right-click: Right-click on the channel’s name and select “Piano Roll” from the context menu.
- Choosing a Virtual Instrument: Before working with the Piano Roll, you need to load a virtual instrument or plugin on the selected MIDI channel. To do this, click on the channel’s name in the Channel Rack, and from the plugin list, choose the instrument you want to use. This will associate the MIDI channel with the selected virtual instrument.
- Adding and Editing Notes in the Piano Roll: With the Piano Roll open for the selected MIDI channel, you can now add and edit notes for the chosen virtual instrument. Click on the grid in the Piano Roll to add new notes, and use the mouse to adjust their position, length, pitch, velocity, and other properties. You can also use the Piano Roll’s editing tools and shortcuts for more precise note manipulation.
- Using Multiple MIDI Channels: FL Studio allows you to work with multiple MIDI channels simultaneously, each assigned to a different instrument or sound. This enables you to create complex arrangements and orchestrate your music effectively. Simply select a different MIDI channel to work with another instrument in the Piano Roll.
- Copying and Pasting MIDI Data Between Channels: You can copy and paste MIDI data between different MIDI channels in FL Studio. This is useful for repeating patterns or transferring melodies and harmonies between instruments. To do this, simply select the MIDI data in the Piano Roll, press “Ctrl+C” (Command+C on Mac) to copy, then select the target MIDI channel and press “Ctrl+V” (Command+V on Mac) to paste the data.
- Using MIDI Channels in the Playlist: Once you’ve created MIDI patterns in the Piano Roll, you can arrange them in the Playlist view. Drag and drop the MIDI pattern from the Channel Rack or Step Sequencer into the Playlist, and it will be placed on the selected track. You can then repeat this process for different MIDI channels and instruments to build your song’s arrangement.
Remember that while the basic concepts and functionalities remain consistent across FL Studio versions, there might be slight differences or improvements in FL Studio 21.
Piano Roll Advanced Techniques
Advanced Techniques in the FL Studio Piano Roll:
- Polyrhythms and Polymeters: FL Studio’s Piano Roll allows you to create polyrhythms and polymeters by setting different snap values for each channel. This means you can have patterns with varying note lengths and rhythms within the same project, adding complexity and interest to your compositions.
- Humanization: To make MIDI sequences sound more realistic and expressive, use the humanization feature. Randomize the velocity, note position, and duration slightly to emulate the imperfections of a live performance, giving your music a more human touch.
- MIDI Controllers and Automation: Utilize MIDI controllers and automation within the Piano Roll to add modulation, pitch bends, and other expressive nuances to your MIDI data. This allows you to shape the sound of your virtual instruments dynamically throughout the composition.
- Layering and Stacking Sounds: Create rich and complex sounds by layering and stacking different MIDI patterns on various channels. This technique is particularly useful for creating powerful chords or lush textures with multiple virtual instruments.
- Alternate MIDI Controllers: FL Studio supports various MIDI controllers, such as aftertouch, pitch bend, and modulation wheel. Experiment with these alternate controllers to add depth and character to your MIDI performances.
- Using Articulation and Expression Maps: Some virtual instruments and plugins support articulation and expression maps. These maps define how different MIDI messages (e.g., CC messages) affect the sound. By utilizing these maps, you can access a wide range of articulations and techniques specific to the instrument, enhancing realism and versatility.
- Ghost Notes for Reference: Utilize ghost notes from other patterns as a reference while composing or harmonizing. Ghost notes in the Piano Roll allow you to see MIDI data from different patterns, making it easier to create coherent melodies and harmonies.
- Creative Use of Automation Clips: You can use automation clips in the Playlist view to control various parameters of virtual instruments. Automating parameters like filter cutoff, resonance, or effects can lead to evolving and dynamic soundscapes.
- Micro-Editing: Zoom in closely on the Piano Roll grid and manually adjust individual note positions to achieve extremely precise timing and create intricate rhythms.
- Using Chord and Scale Tools: FL Studio’s chord and scale tools can help you stay in key and create harmonically rich melodies and chord progressions with ease. Experiment with different scales and chord types to enhance your compositions.
- Sequencing Drum Patterns: While the Piano Roll is traditionally used for melodic instruments, you can also create drum patterns by assigning different percussion sounds to specific notes on the grid.
Working with Automation Clips in the Piano Roll
Working with Automation Clips in the Piano Roll in FL Studio:
Automation clips in FL Studio are used to control various parameters of virtual instruments, effects, and mixer channels over time. While automation can be created and edited directly in the Playlist view, automation clips can also be managed and fine-tuned in the Piano Roll.
Here’s how you can work with automation clips in the Piano Roll:
- Opening the Automation Clip: To create or access an automation clip, first, make sure you have the channel you want to automate selected. This can be an instrument channel, an effect plugin, or a mixer channel. Once the channel is selected, you can open the automation clip in the Piano Roll by following these steps:
- Right-click the channel and select “Create Automation Clip” from the context menu. This will create a new automation clip for the selected parameter, and it will appear in the Playlist view.
- With the automation clip created, you can then right-click on it in the Playlist view and choose “Edit in Piano Roll” to open it directly in the Piano Roll.
- Adding Automation Points: Once the automation clip is open in the Piano Roll, you can add automation points to the curve. Automation points represent specific values of the parameter you are automating at different points in time. To add an automation point, right-click on the curve in the Piano Roll, and choose “Create Automation Clip.”
- Editing Automation Curves: With automation points in place, you can now shape the automation curve to control the parameter over time. Click and drag the automation points to adjust their values. You can also add and delete automation points as needed to create smooth transitions and precise changes.
- Adjusting Automation Curves in Time and Value: In the Piano Roll, you can adjust the length of the automation clip by dragging its edges, controlling the duration over which the automation takes place. Moreover, you can scale the values of the automation curve vertically by dragging the automation clip up or down, affecting the overall intensity of the automation.
- Snap and Quantization: The Piano Roll offers snap and quantization settings, which can help you align automation points to specific time intervals for precise automation control.
- Automation Clips in Multiple Channels: You can have multiple automation clips for different parameters across various channels. This allows you to create complex automation patterns and control various aspects of your project.
- Copying and Pasting Automation: Automation clips can be copied and pasted between different channels and patterns. This is useful for applying similar automation to multiple elements in your project.
- Using Automation for Effects: Automation clips can be particularly powerful when applied to effect plugins, allowing you to create dynamic changes in filters, reverbs, delays, and other effects over time.
- Linking Automation Clips to MIDI Controllers: FL Studio allows you to link automation clips to external MIDI controllers or automation hardware, providing hands-on control over your automation in real-time.
Conclusion
Working with the Piano Roll in FL Studio is a crucial aspect of music production and composition. This powerful tool allows musicians, producers, and composers to create intricate melodies, harmonies, and rhythms for their projects. Its intuitive and user-friendly interface enables users to input, edit, and arrange MIDI data with precision and creativity.
The Piano Roll empowers users to work with virtual instruments and plugins, giving them access to an extensive library of sounds and textures. Its wide range of functionalities, such as note editing, velocity adjustments, automation, and advanced features like chord and scale tools, offers endless possibilities for crafting unique and expressive music.
Whether you are a beginner exploring the world of music production or a seasoned professional seeking to refine your compositions, the Piano Roll in FL Studio provides a versatile platform for unleashing your creativity. From crafting simple melodies to producing complex orchestral arrangements, the Piano Roll caters to all musical genres and styles.
As new versions of FL Studio are released, it is reasonable to expect further enhancements and improvements to the Piano Roll’s capabilities in FL Studio 21. Whether it’s additional tools, improved automation options, or expanded MIDI editing features, the Piano Roll in FL Studio is likely to continue being a core component that empowers artists to bring their musical visions to life.
To stay updated with the latest features and functionalities of FL Studio 21 and its Piano Roll, it is essential to refer to the official documentation, tutorials, and resources provided by Image-Line, the developer of FL Studio. By utilizing this wealth of information, you can make the most of FL Studio’s capabilities and take your music production to new heights.