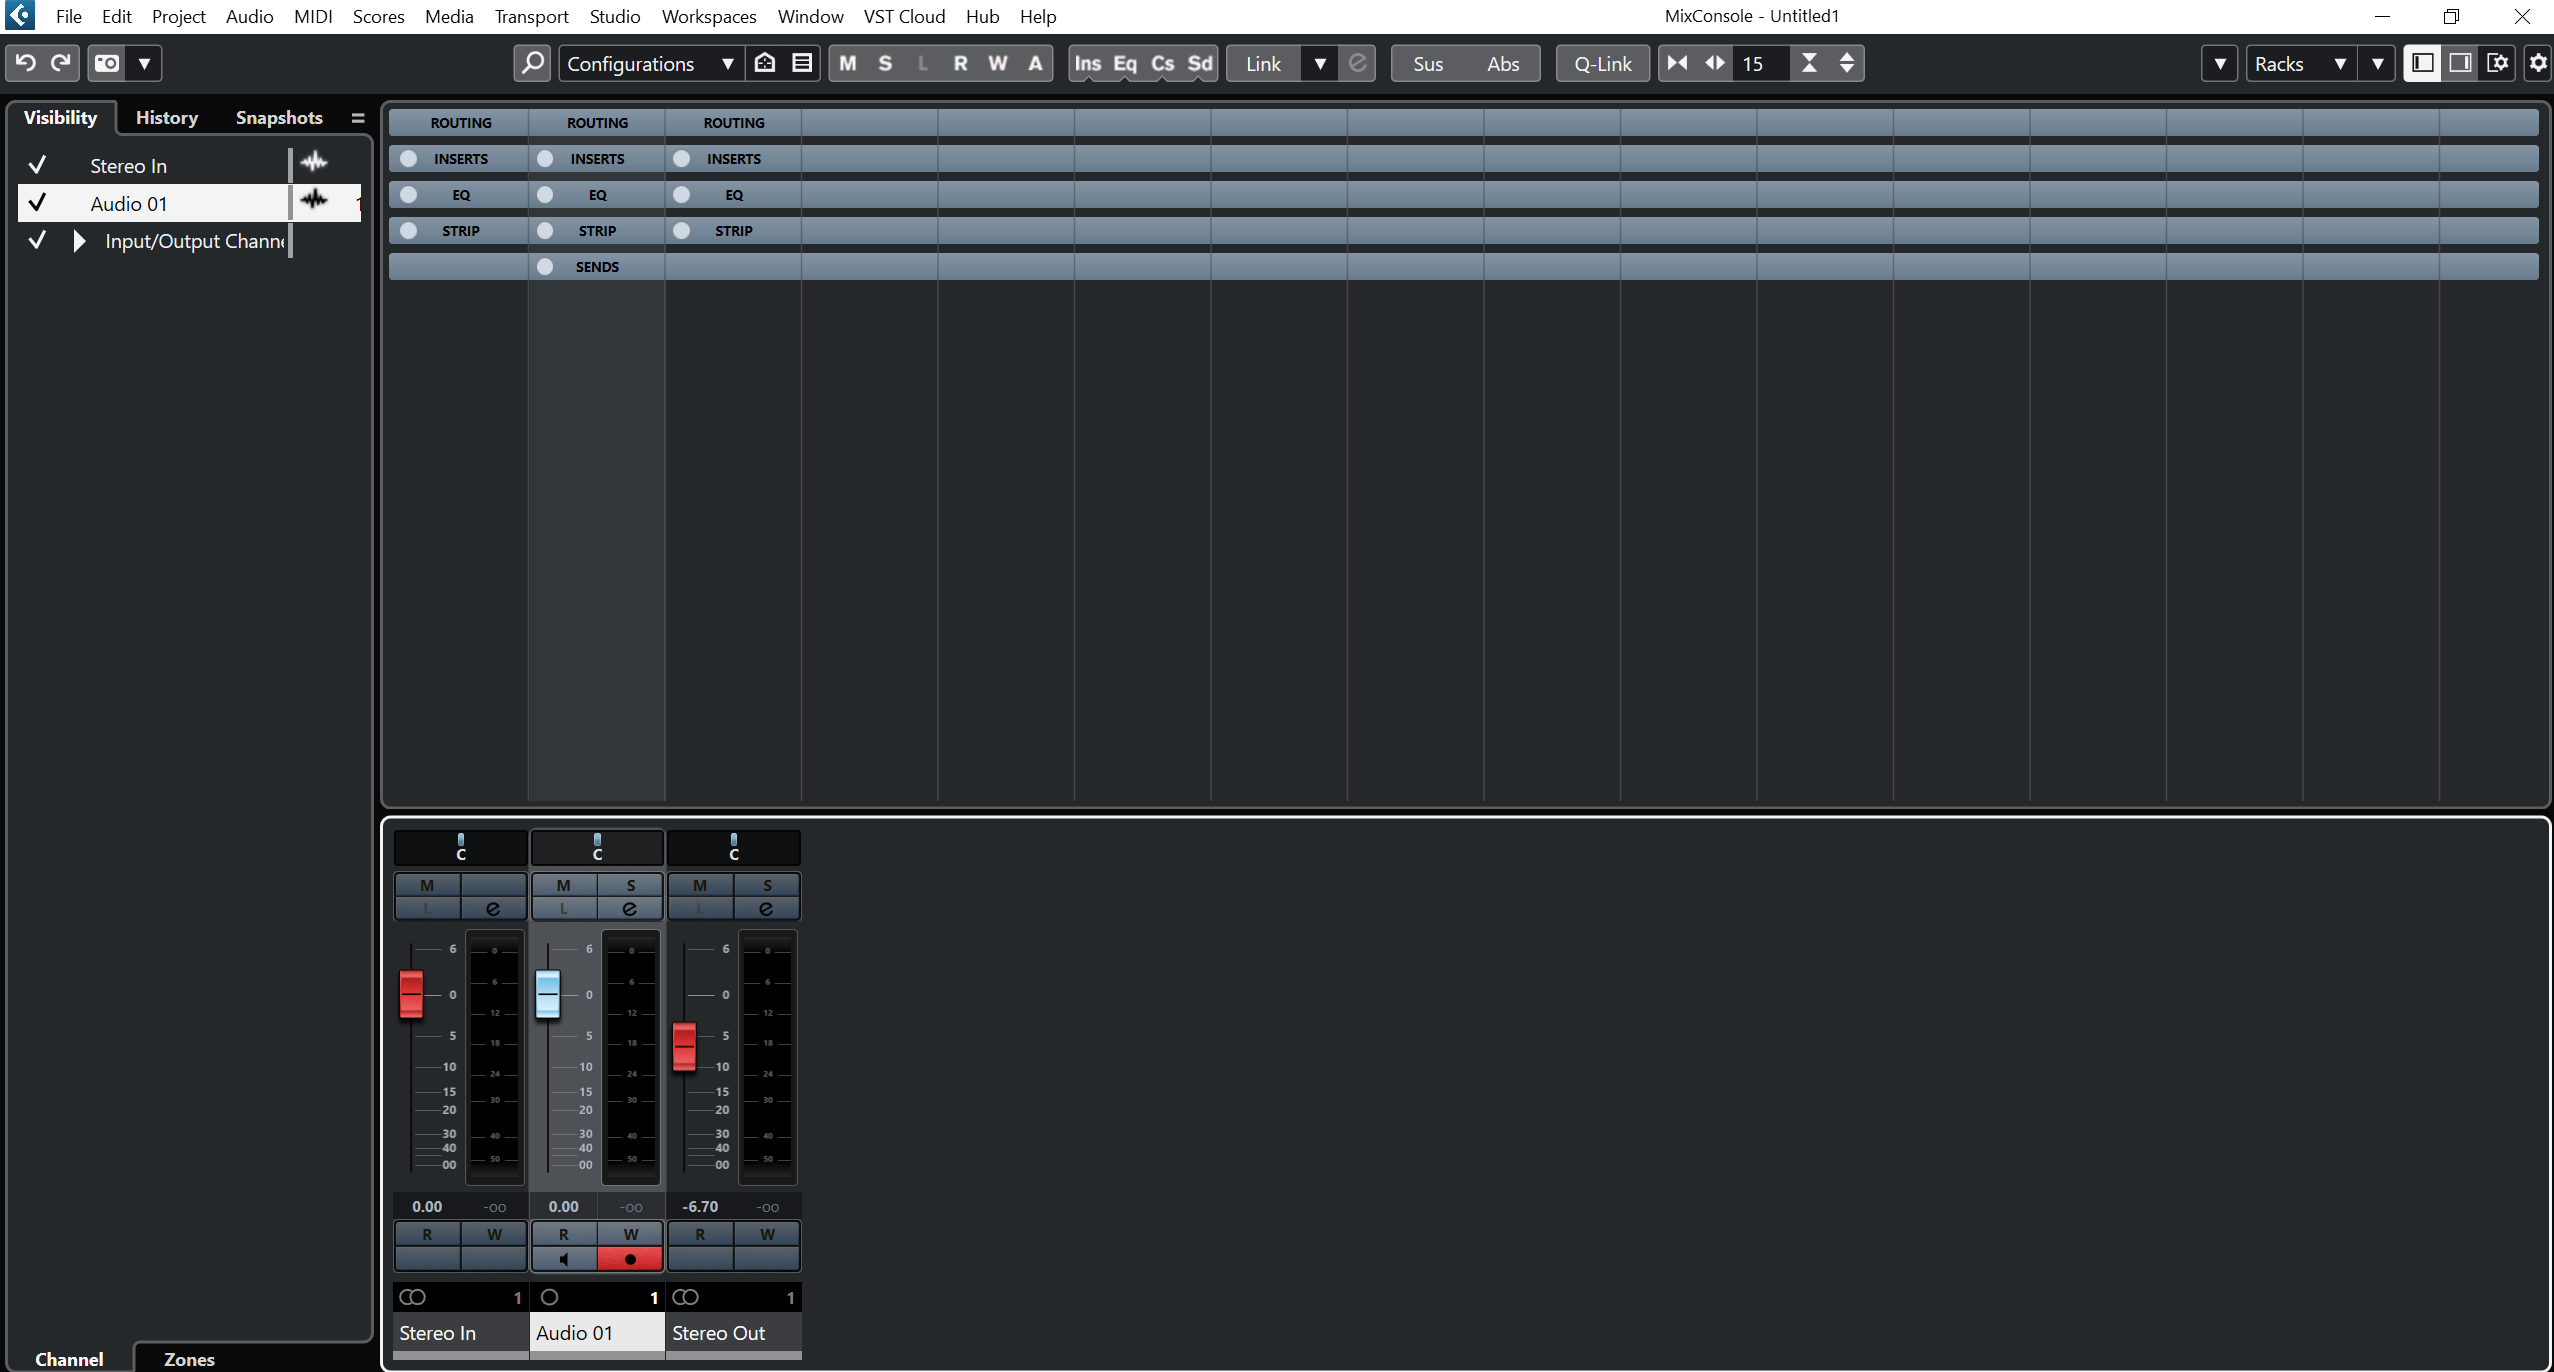
In the production process of any digital audio workstation (DAW), such as Cubase 12, the mixer plays a crucial role. It serves as the central hub where all audio and MIDI tracks come together, allowing for precise control, creative manipulation, and finalizing the overall sound of a project. The mixer in Cubase 12 offers a range of features and functions that contribute to its importance in the production workflow. Let’s explore some key aspects:
- Track Routing and Organization: The mixer allows users to route each track to specific channels, buses, or groups. This functionality is vital for organizing the project, managing multiple tracks, and creating submixes. With Cubase 12’s mixer, you can easily control the signal flow, adjust levels, and apply processing to individual tracks or groups, providing a clear overview of your project’s audio structure.
- Level and Pan Control: The mixer offers precise control over the volume levels and panning positions of each track. This allows you to create a balanced and immersive soundstage, ensuring that each element in the mix occupies the appropriate space within the stereo field. Cubase 12’s mixer provides intuitive faders and pan knobs, allowing for fine adjustments to achieve the desired sound positioning and width.
- Processing and Effects: The mixer in Cubase 12 integrates various built-in audio processing tools and effects. These include EQ (equalization), dynamics processors (compressors, limiters, and gates), reverbs, delays, and more. By applying these processing tools directly within the mixer, you can shape the tonal characteristics, dynamics, and spatial qualities of each track or group. This enables you to enhance individual elements and achieve an overall cohesive mix.
- Automation: Automation is a powerful feature in Cubase 12, and the mixer is where it comes to life. With automation, you can record and edit parameter changes over time, such as volume, pan, and effect parameters. The mixer provides an intuitive interface for creating and refining automation curves, allowing for precise control and dynamic adjustments. Automation is essential for adding movement, dynamics, and expression to your mix.
- Monitoring and Metering: The mixer provides comprehensive monitoring capabilities, allowing you to listen to your project at different stages of the production process. Cubase 12’s mixer offers visual meters that display input and output levels, ensuring you can monitor the audio signal and prevent clipping or excessive gain. It also provides flexible routing options for monitoring through external hardware or software effects, enabling accurate monitoring during mixing and mastering.
- Collaboration and Export: In the context of collaboration or project sharing, the mixer in Cubase 12 plays a crucial role. It allows you to export stems or individual tracks with their specific settings, processing, and automation intact. This facilitates seamless transfer between projects, facilitates collaborative workflows, and ensures that your mix translates well across different systems or environments.
Overall, the mixer in Cubase 12 is a fundamental component of the production process. It provides essential tools for track routing, level and pan control, processing, automation, monitoring, and export. By utilizing the mixer effectively, you can shape and refine the sound of your project, achieving a professional-level mix that meets your creative vision.
Channel Strips and Controls
Channel strips and controls are integral components of the mixer interface, providing a comprehensive set of tools for shaping and manipulating individual audio and MIDI tracks. These features offer precise control over various parameters, allowing producers and engineers to achieve the desired tonal characteristics, dynamics, and spatial qualities within their mix. Let’s explore the key aspects of channel strips and controls in Cubase 12:
- Channel Strip Layout: Each channel strip in Cubase 12’s mixer represents an individual track, be it an audio or MIDI track, instrument channel, or group channel. The channel strip is organized vertically, displaying a series of controls, meters, and processors in a logical sequence. This layout provides easy access to essential parameters, promoting efficient workflow and intuitive control.
- Input Controls: At the top of the channel strip, you’ll find input controls for adjusting the input gain, phase, and routing of the track. These controls allow you to optimize the incoming signal and ensure it is properly aligned with other tracks in your project. The phase control helps correct any phase cancellation issues that may occur when using multiple microphones or recording techniques.
- Channel Processing: The channel strip in Cubase 12 includes a range of processing modules for shaping the sound of the track. This typically includes EQ, dynamics processors (compressors, limiters, and gates), and inserts for additional effects. These modules are located in the middle section of the channel strip, allowing you to fine-tune the tonal balance, dynamics, and sonic character of each track.
- Equalization (EQ): EQ controls in Cubase 12’s channel strip enable you to adjust the frequency response of a track. You can modify the level of specific frequency bands, such as bass, midrange, and treble, to enhance or attenuate certain elements. This helps in achieving clarity, separation, and balance within the mix.
- Dynamics Processors: Cubase 12 provides comprehensive dynamics processing capabilities within the channel strip. These processors include compressors, limiters, and gates. Compressors allow you to control the dynamic range of a track, reducing the difference between loud and soft parts. Limiters help prevent clipping and distortion by setting a maximum output level. Gates enable you to eliminate unwanted background noise during silent passages.
- Inserts and Effects: Inserts are slots within the channel strip where you can add additional effects processors to the track. Cubase 12 offers a wide variety of built-in effects, such as reverbs, delays, modulation effects, and more. These effects allow you to add depth, space, and creative enhancements to individual tracks. By utilizing inserts, you can tailor the sound of each track to fit the overall mix.
- Sends and Returns: Sends and returns are auxiliary routing options available in Cubase 12’s channel strip. Sends allow you to route a portion of the track’s signal to an auxiliary bus or effect send, enabling you to apply parallel processing, create reverb or delay effects, or send the signal to external hardware. Returns receive the processed signal and allow you to blend it back into the mix.
- Output Controls: At the bottom of the channel strip, you’ll find controls for adjusting the output level, panning position, and stereo width of the track. These controls determine the final placement of the track within the stereo field, ensuring proper balance and spatial positioning.
In summary, channel strips and controls in Cubase 12 provide a comprehensive set of tools for manipulating individual tracks within the mixer. These features include input controls, channel processing modules (such as EQ and dynamics processors), inserts for additional effects, sends and returns for routing and processing flexibility, and output controls. By utilizing these tools effectively, producers and engineers can achieve precise control over the sound and achieve their desired mix within Cubase 12.
Group Channels and VCA Faders in Cubase 12
- Group Channels: Group channels in Cubase 12 allow you to combine multiple audio or MIDI tracks into a single channel strip. This grouping enables you to control the levels, processing, and automation of the grouped tracks collectively. Here’s how group channels can benefit your mixing process:
In Cubase 12, group channels and VCA (Voltage-Controlled Amplifier) faders are powerful features that enhance the mixing and organization capabilities of the software. These tools provide efficient ways to control and manipulate multiple tracks simultaneously, allowing for streamlined workflow, flexible routing, and improved mix control. Let’s delve into the details of group channels and VCA faders in Cubase 12:
- Track Organization: Group channels provide a logical and structured way to organize your tracks. You can group similar instruments, vocals, drums, or any other related tracks. This simplifies the navigation and management of your mix, making it easier to make adjustments or apply processing to a set of tracks as a whole.
- Processing and Effects: With group channels, you can apply processing and effects to a collection of tracks simultaneously. By inserting EQ, compression, reverb, or any other effect on a group channel, you can shape and unify the sound of multiple tracks at once. This allows for consistent treatment across the grouped elements and helps achieve a cohesive mix.
- Level and Automation Control: Group channels provide a convenient way to control the overall level of multiple tracks. Adjusting the fader or applying automation on the group channel affects all the grouped tracks proportionally, saving time and effort compared to adjusting individual track levels. This feature is particularly useful for balancing submixes or creating dynamic changes across a group of tracks.
- Routing and Submixes: Group channels offer flexible routing options. You can route multiple tracks to a group channel, which then feeds into the main stereo bus or other group channels. This routing flexibility allows for submixing, where you can create subgroups for different sections of your mix, such as drums, guitars, or background vocals. It helps with processing and managing the complexity of larger projects.
- VCA Faders: VCA faders are virtual control channels in Cubase 12 that allow you to control the levels of multiple tracks in a non-destructive manner. Unlike traditional group channels, VCA faders provide a unique way to control the relative balance between tracks without altering their individual fader positions. Here’s why VCA faders are beneficial:
- Non-Destructive Level Control: VCA faders act as remote controls for the faders of multiple tracks. When you adjust a VCA fader, it simultaneously adjusts the levels of the assigned tracks without changing their relative positions. This non-destructive approach preserves the mix balance while giving you a convenient way to make adjustments globally.
- Mix Automation: VCA faders are also capable of recording and playing back automation data. This means you can create smooth level changes or ride the overall mix using VCA automation. It simplifies the process of controlling complex mixes or making fine adjustments across multiple tracks.
- Flexible Routing: VCA faders can be assigned to any combination of tracks, group channels, or even other VCA faders. This flexibility allows you to create hierarchical control structures, where you can control multiple groups of tracks using VCA faders, and then adjust the overall mix using a master VCA fader.
- Collaboration and Project Sharing: VCA faders are valuable in collaborative workflows and project sharing scenarios. When you export or share a project that includes VCA faders, the relative level relationships between tracks remain intact, ensuring consistent mix balance across different systems or when collaborating with other producers or engineers.
Group channels and VCA faders in Cubase 12 offer powerful tools for managing, processing, and controlling multiple tracks in a mix. Group channels provide a way to organize and process related tracks collectively, while VCA faders allow for non-destructive level control and automation of multiple tracks. By utilizing these features effectively, you can streamline your workflow, achieve better mix control, and enhance collaboration and project sharing capabilities in Cubase 12.
Automation and Mixing Techniques
Automation and mixing techniques in Cubase 12 are essential tools for achieving dynamic and polished mixes. Automation allows for precise control and manipulation of various parameters over time, while mixing techniques help shape the overall sound and create a cohesive and professional mix. Let’s explore automation and some common mixing techniques in Cubase 12:
- Automation in Cubase 12: Automation in Cubase 12 enables you to record and edit changes to parameters such as volume, panning, EQ, effects, and more. Here’s how automation can enhance your mix:
- Volume Automation: Adjusting the volume levels of tracks or specific sections of a song is a common automation technique. With Cubase 12, you can easily draw volume automation curves, ride the faders in real-time, or use automation modes such as touch, latch, or write to record changes dynamically. This allows for precise control over the dynamics of your mix, creating smooth fades, emphasizing certain parts, or achieving dynamic balance.
- Pan Automation: Automation of panning positions helps in creating movement and spatial placement within the stereo field. By automating panning, you can simulate the movement of instruments across the soundstage or create interesting stereo effects. Cubase 12 offers intuitive tools to draw pan automation curves or control panning in real-time.
- EQ and Effects Automation: Automation of EQ parameters, such as frequency adjustments or filter sweeps, can help shape the tonal balance of individual tracks or sections of your mix. Additionally, automating effects parameters like reverb sends, delay feedback, or modulation effects depth allows for creative sound design and adds depth and movement to your mix.
- Plugin Automation: Cubase 12 allows you to automate parameters within plugins or virtual instruments. This gives you the ability to modulate specific plugin controls, such as filter cutoff, resonance, or effect parameters, adding expressive and dynamic elements to your mix.
- Common Mixing Techniques in Cubase 12: In addition to automation, applying various mixing techniques can greatly enhance the overall sound and clarity of your mix. Here are some common techniques you can utilize in Cubase 12:
- Balance and Leveling: Achieving a balanced mix is crucial. Use the mixer’s faders, group channels, and VCA faders to set appropriate levels for each track, ensuring that no element overpowers or gets buried in the mix. Frequent referencing and A/B comparisons can help you make critical level adjustments.
- EQ and Frequency Carving: Utilize EQ to shape the frequency response of individual tracks, removing unwanted frequencies or enhancing desired characteristics. Use high-pass filters to clean up low-end rumble and low-pass filters to tame overly bright elements. Additionally, employ techniques like frequency carving to create space and separation between instruments in the frequency spectrum.
- Dynamics Processing: Apply dynamics processors such as compressors, limiters, and expanders to control the dynamic range of individual tracks or the mix as a whole. This helps to even out the levels, enhance the impact of instruments, and achieve a more controlled and polished sound.
- Stereo Imaging: Use techniques like panning, stereo widening, and stereo placement to create a balanced and immersive stereo image. Cubase 12 provides precise control over panning and stereo width, allowing you to position elements in the stereo field and create a sense of space.
- Reverb and Ambience: Add artificial reverb or ambience to tracks or the overall mix to create a sense of space and depth. Cubase 12 offers various reverb plugins and tools to shape the reverb characteristics, allowing you to achieve realistic or creative reverberation effects.
- Parallel Processing: Utilize parallel processing techniques by sending a portion of a track’s signal to a separate processing chain. This allows you to apply additional compression, EQ, or effects while preserving the original dynamics and character of the track, resulting in added punch, presence, or texture.
- Referencing and A/B Comparisons: Regularly reference your mix against commercial tracks or reference tracks to ensure that your mix stands up in terms of tonal balance, level, and overall quality. Use A/B comparisons to toggle between your mix and the reference track, identifying areas that require improvement.
These are just a few examples of automation and mixing techniques in Cubase 12. Experimentation, critical listening, and a deep understanding of the tools and features in Cubase 12 will help you refine your mix and achieve the desired sonic results.
Collaborative features in Cubase 12 mixer
Collaboration is a vital aspect of music production, and Cubase 12 offers several features in its mixer that facilitate seamless collaboration among producers, engineers, and artists. These collaborative features provide efficient ways to share and exchange project files, communicate and provide feedback, and maintain consistent project settings. Let’s explore some of the collaborative features in Cubase 12’s mixer:
- Project File Sharing: Cubase 12 allows users to share project files easily, enabling seamless collaboration. You can share project files with other Cubase users, regardless of their operating system, by simply sending the project file or using cloud storage services. The project file contains all the necessary data, including audio/MIDI files, track settings, automation, and plugins, ensuring that the project can be opened and edited by collaborators without any compatibility issues.
- VST Transit: VST Transit is a cloud-based collaboration platform integrated into Cubase 12. It enables real-time collaboration and file sharing among multiple users. With VST Transit, you can invite collaborators to join your project, share tracks, exchange ideas, and work on the project simultaneously. VST Transit also includes features such as chat, comment sections, and version control, which facilitate communication and feedback during the collaborative process.
- Project Templates: Cubase 12’s mixer allows you to create and share project templates. Project templates provide a starting point for new projects and can include predefined track settings, routing, effects, and instrument setups. By sharing project templates, collaborators can work from a consistent starting point, ensuring that all participants have the same settings and can maintain a unified sonic vision throughout the project.
- Control Room: The Control Room feature in Cubase 12’s mixer enables advanced monitoring and cue mixing capabilities. It allows for the creation of individual cue mixes for each collaborator, providing them with custom headphone mixes or separate monitor mixes. This is especially useful in remote collaboration scenarios, as it ensures that each collaborator can listen to the mix according to their preferences and requirements.
- Track Comments and Markers: Cubase 12’s mixer includes features that allow you to add comments and markers to tracks. These features are useful for communicating specific instructions, ideas, or feedback to collaborators. By leaving comments or markers on individual tracks, collaborators can provide suggestions, highlight areas for improvement, or indicate desired changes, making it easier to communicate and collaborate effectively within the project.
- MixConsole History: The MixConsole History feature in Cubase 12 allows you to keep track of all changes made in the mix. It provides a detailed timeline of adjustments, including parameter changes, plugin modifications, and automation edits. This feature is particularly valuable in collaborative situations, as it allows collaborators to review and revert changes, ensuring that everyone has visibility into the evolution of the mix and can make informed decisions during the collaborative process.
These collaborative features in Cubase 12’s mixer greatly enhance the collaborative workflow by providing efficient ways to share project files, communicate, exchange ideas, and maintain consistent project settings. By utilizing these features, producers, engineers, and artists can collaborate seamlessly, regardless of their physical location, ensuring a smooth and productive collaborative music production process.
Conclusion
Understanding the mixer in Cubase 12 is essential for achieving professional and polished mixes. The mixer serves as the central control hub where all audio and MIDI tracks come together, allowing for precise control, creative manipulation, and the finalization of the overall sound of a project.
The mixer in Cubase 12 offers a wide range of features and functions that are crucial to the production process. These include track routing and organization, level and pan control, processing and effects, automation, monitoring and metering, and collaboration and export capabilities. Each of these features plays a significant role in shaping the sound and achieving a cohesive mix.
By harnessing the power of the mixer, users can route tracks, adjust levels and pan positions, apply processing and effects, and automate parameters over time. This level of control enables producers and engineers to sculpt the sonic elements of their mix, ensuring clarity, balance, and dynamic expression.
Furthermore, the mixer in Cubase 12 facilitates collaboration by providing features such as project file sharing, VST Transit for real-time collaboration, project templates for consistency, track comments and markers for communication, and MixConsole History for tracking and reverting changes. These collaborative features empower music creators to work seamlessly together, whether they are in the same studio or collaborating remotely.
Ultimately, understanding the mixer in Cubase 12 is a vital aspect of the production process. It empowers users to harness the full potential of their audio and MIDI tracks, shape their mix with precision, and collaborate effectively with others. With a solid understanding of the mixer, producers and engineers can achieve professional-level results and bring their creative vision to life.