Here’s an introduction to the arrangement features in FL Studio:
- Opening the Arrangement View: After launching FL Studio, you’ll find the arrangement view by clicking on the “View” menu and selecting “Arrangement” or by pressing the F5 key on your keyboard. The arrangement view will display a timeline where you can arrange and sequence your audio and MIDI clips.
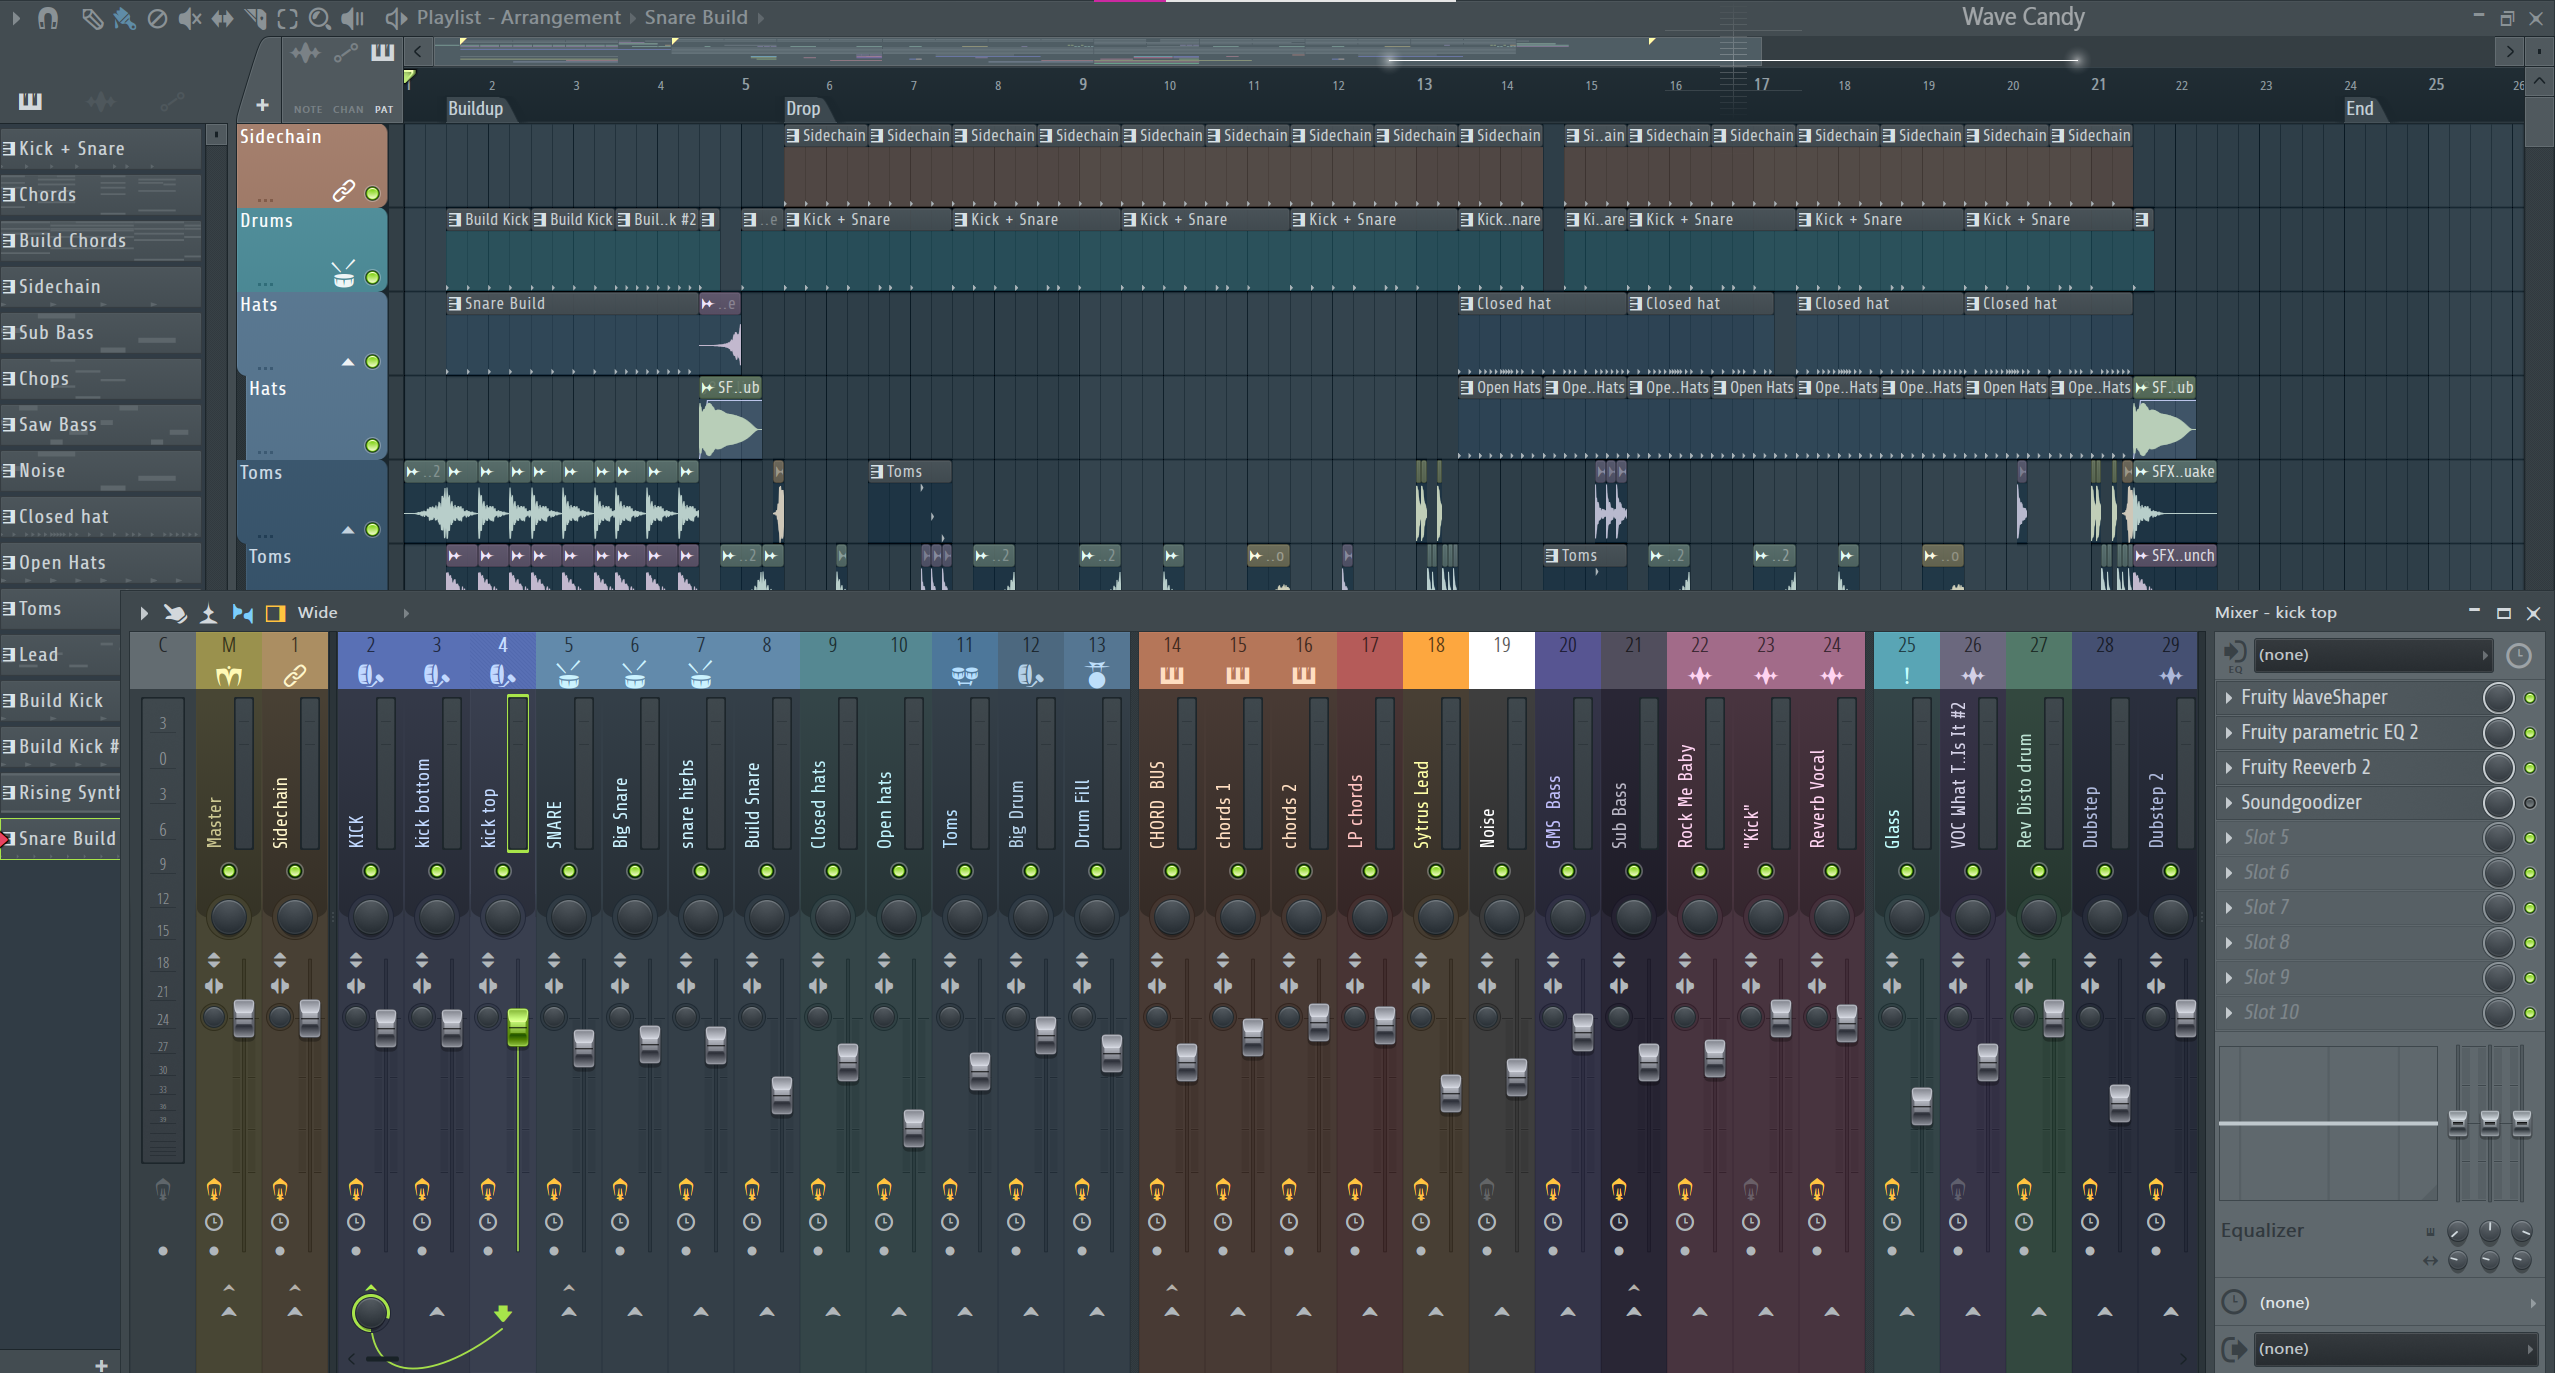
- Pattern Clips: In FL Studio, musical ideas are typically created and composed using pattern clips. These pattern clips can contain MIDI data, audio recordings, or automation data. Each pattern clip represents a segment of your composition, such as a verse, chorus, or bridge.
- Arranging Patterns: To arrange your composition, you can drag and drop pattern clips onto the arrangement view’s timeline. This allows you to define the structure of your music, building it up section by section. By arranging patterns in different orders and lengths, you can create complex and engaging musical arrangements.
- Pattern Selector: The pattern selector allows you to choose which pattern clip you want to place on the playlist or arrangement timeline. You can use the pattern selector to switch between different musical ideas quickly.
- Playlist vs. Arrangement: It’s essential to distinguish between the playlist and the arrangement view. The playlist is where you create and edit individual patterns, while the arrangement view is where you organize these patterns into a full song structure.
- Automation Clips: Automation allows you to control various parameters of your sounds over time. In the arrangement view, you can create automation clips to modulate parameters like volume, panning, effects, and more. This enables you to add movement and dynamic changes to your music.
- Editing in the Arrangement View: The arrangement view also offers a range of editing tools to manipulate your patterns and automation clips. You can move, stretch, copy, paste, and delete clips as well as adjust their lengths to fit the desired arrangement.
- Time Signature and Tempo Changes: FL Studio allows you to change the time signature and tempo of your project, making it possible to create interesting rhythms and tempo variations throughout your composition.
Remember, FL Studio is a feature-rich DAW, and the arrangement view is just one aspect of its capabilities. As you delve deeper into the software, you’ll discover more tools for composing, sound design, mixing, and mastering.
Building the Arrangement
Building an arrangement in FL Studio involves organizing your musical ideas, creating sections, and structuring your composition into a complete song. Here’s a step-by-step guide on how to do it:
- Creating Patterns: Start by creating individual patterns for different musical elements such as drums, basslines, melodies, chords, and other instruments. You can do this by using virtual instruments (VSTs) or importing audio recordings into FL Studio’s playlist.
- Working in the Playlist: The Playlist is where you create and arrange your patterns. Each pattern will be represented as a block in the playlist. To access the Playlist, click on the “View” menu and select “Playlist” or press the F5 key.
- Building the Basic Structure: Begin building the basic structure of your song by arranging the patterns in the Playlist. Drag and drop the pattern blocks onto the timeline to create different sections like the intro, verse, chorus, bridge, and outro. You can use the right-click menu to split, merge, and manipulate patterns as needed.
- Looping and Copying Patterns: Patterns in FL Studio can be looped to repeat for as long as you want. To create longer sections, copy and paste the pattern blocks in the Playlist. You can also use the “Make Unique” option to create variations of a pattern, allowing you to introduce subtle changes to maintain interest in your music.
- Working with Automation: Automation is essential for adding movement and dynamic changes to your music. You can automate various parameters like volume, panning, effects, and more. To create automation clips, right-click on the desired parameter and select “Create Automation Clip.” Then, draw in the automation curves in the automation clip editor.
- Time Signature and Tempo Changes: FL Studio allows you to change the time signature and tempo of your project. To do this, access the Time Signature and Tempo settings by right-clicking on the corresponding indicators in the top toolbar.
- Transition Effects: Smooth transitions between sections can enhance the flow of your arrangement. Use effects like risers, swooshes, and cymbal crashes to transition from one section to another smoothly.
- Refining and Fine-Tuning: Once you have the basic structure of your arrangement, take some time to refine and fine-tune it. Listen to your composition from start to finish, and make adjustments as needed to ensure a cohesive and engaging musical journey.
- Mixing and Mastering: After finalizing your arrangement, you can proceed to the mixing and mastering stages to polish your track’s sound and achieve a professional and balanced result.
Mixing Your Track
Mixing is the process of balancing and adjusting the individual elements of your track to create a cohesive and well-defined sound. Here’s a step-by-step guide on how to mix your track in FL Studio:
- Organize Your Mixer: The Mixer in FL Studio is where you control the individual tracks and apply various effects and processing. Make sure your mixer is organized with each track assigned to a separate channel. You can do this by naming your tracks and arranging them in a logical order.
- Set Proper Levels: Start by adjusting the volume levels of each track in the mixer. Listen to your track as a whole and make sure no individual element is too loud or too soft. Aim for a balanced mix where each instrument can be heard clearly without overpowering others.
- Panning: Use panning to position each element in the stereo field. This will create a sense of space and width in your mix. For example, you can pan instruments slightly left or right to give the impression of a wider soundstage.
- Equalization (EQ): EQ allows you to shape the frequency content of each track. Use EQ to cut unwanted frequencies, reduce muddiness, and enhance the clarity of individual elements. Be cautious not to over-EQ, as it can lead to an unnatural or thin-sounding mix.
- Compression: Apply compression to control the dynamic range of each track. Compression helps to even out the volume levels and add sustain to instruments. Use it judiciously to prevent excessive compression artifacts and maintain the natural dynamics of the music.
- Add Effects: Experiment with adding effects like reverb, delay, chorus, and other spatial effects to create depth and ambiance in your mix. Be creative, but ensure the effects complement the overall vibe of your track.
- Bussing and Grouping: Consider bussing similar instruments together, such as grouping all drum elements or backing vocals. This allows you to process multiple tracks simultaneously and maintain a consistent sonic character.
- Automation: Use automation to make dynamic changes to specific parameters over time. For example, you can automate the volume, panning, or effect parameters to add movement and interest to your mix.
- Reference Tracks: Periodically compare your mix to professionally produced tracks in a similar genre. This will help you identify areas that need improvement and give you a reference for the overall sound and balance you want to achieve.
- Frequent Breaks: Take regular breaks during the mixing process to give your ears a rest. Prolonged listening can lead to ear fatigue, making it challenging to make accurate judgments about your mix.
- Export and Listen on Different Systems: Once you are satisfied with your mix, export it and listen to it on various playback systems (e.g., headphones, studio monitors, car speakers). This will help you identify any potential issues and make final adjustments if necessary.
Dynamics and Compression
Dynamics and compression are crucial aspects of audio processing in a mix. They help control the dynamic range of your track, ensuring that the loud and soft parts are balanced and sit well together. Here’s how you can use dynamics and compression in FL Studio:
- Understanding Dynamics: Dynamics refer to the variations in volume or loudness of an audio signal. In a musical context, dynamics play an essential role in conveying emotions and adding interest to your track. It’s the difference between the softest and loudest parts of your audio.
- What is Compression? Compression is an audio processing technique used to reduce the dynamic range of an audio signal. It works by attenuating the louder parts of the audio, making the overall volume more consistent. This helps to control peaks and allows you to bring up the quieter elements without causing any distortion or clipping.
- Inserting a Compressor in FL Studio: To use compression in FL Studio, start by inserting a compressor plugin on the track you want to process. You can find the compressor in the “Effects” section of the browser. There are several compressor plugins in FL Studio, including the Fruity Compressor and the Fruity Limiter.
- Threshold and Ratio: The two primary controls in a compressor are the threshold and ratio. The threshold sets the level at which compression begins to take effect. Any audio above the threshold will be compressed. The ratio determines how much compression is applied once the threshold is crossed. For example, a 4:1 ratio means that for every 4 dB the audio exceeds the threshold, it will be reduced to 1 dB.
- Attack and Release: The attack and release controls determine how quickly the compressor reacts to changes in volume. A fast attack time will catch transients and quickly apply compression, while a slower attack allows some transients to pass through uncompressed. The release time controls how long the compressor takes to stop compressing after the audio level falls below the threshold.
- Knee: Some compressors in FL Studio offer a knee control. The knee determines the shape of the compression curve, affecting how smoothly the compression is applied when the signal crosses the threshold. A soft knee provides a more gradual compression, while a hard knee is more abrupt.
- Using Compression Practically: Apply compression to individual tracks or groups of tracks that require it. Common candidates for compression include vocals, drums, bass, and any other dynamic instruments. Be cautious not to over-compress, as it can lead to an unnatural and lifeless sound. Use your ears and make adjustments based on what sounds best for your specific track.
- Parallel Compression: Parallel compression (also known as New York compression) involves blending the uncompressed and compressed versions of a track. This technique can add extra punch and presence to a track while maintaining some of the dynamics of the original audio.
Adding Effects
Effects play a crucial role in enhancing and shaping the sound of your track. They can add depth, dimension, and character to individual elements, as well as to the overall mix. FL Studio provides a wide range of built-in effects plugins that you can use to process your audio. Here’s how to add effects to your track in FL Studio:
- Selecting an Effects Plugin: To add an effect to your track, start by selecting an effects plugin from FL Studio’s library. The effects plugins are located in the “Effects” section of the browser. FL Studio offers various effects, including reverb, delay, EQ, chorus, distortion, and many others.
- Inserting an Effects Plugin: Once you’ve chosen the effect you want to use, simply drag and drop it onto the track you wish to process. Alternatively, you can click on the track’s name in the mixer and choose an effect from the plugin picker drop-down list.
- Adjusting Effect Parameters: After inserting the effects plugin, a new window will open, showing the parameters of the effect. Each effect has different controls that you can adjust to tailor the sound to your liking. Common parameters include wet/dry mix, decay time (for reverb), feedback (for delay), frequency bands (for EQ), and more.
- Using Sends and Returns: FL Studio’s mixer also allows you to use sends and returns for applying effects. Instead of inserting the effect directly on a track, you can route the track’s audio to a send channel, which has an effects plugin inserted. This allows you to create parallel processing, apply effects to multiple tracks simultaneously, and control the effect’s overall mix using the send knob on each track.
- Automating Effects: In FL Studio, you can also automate the parameters of your effects to create dynamic changes throughout your track. To do this, right-click on the effect’s parameter you want to automate and choose “Create Automation Clip.” This will create an automation clip in the Playlist, allowing you to draw in the changes over time.
- Creating Effect Chains: Don’t be afraid to experiment with creating effect chains by combining multiple effects in series. For example, you could use an EQ to shape the sound before adding distortion or reverb. Effect chains can lead to unique and creative sound designs.
- Using Presets: If you’re new to audio processing and effects, you can use presets provided by the effects plugins. Presets offer pre-configured settings that you can apply to your track and modify as needed.
- A/B Testing: Whenever you add an effect or make adjustments, listen to the track with and without the effect to hear the difference it makes. This will help you make informed decisions about what works best for your track.
Remember to use effects judiciously, as adding too many effects or using extreme settings can result in a cluttered and unnatural sound. Always trust your ears and let the music guide your creative choices.
Mastering Your Track
Mastering is the final stage in the music production process, where you prepare your track for distribution and ensure it sounds polished and professional on all playback systems. Here’s how to master your track in FL Studio:
- Finalize the Mix: Before you start mastering, make sure your mix is well-balanced and sounds as good as possible. Address any issues with individual tracks, EQ, compression, and effects before proceeding to the mastering stage.
- Export the Mix: Once your mix is ready, export it as a high-quality WAV or FLAC file. It’s essential to work with a lossless audio format to preserve the audio quality during the mastering process.
- Create a New Project: In FL Studio, create a new project for mastering your track. Import the exported mix into the new project by dragging and dropping it into the Playlist.
- Set Up the Master Channel: The Master Channel is where you’ll apply mastering effects to your track. Insert a mastering chain on the Master Channel by adding effects like EQ, Multiband Compression, Stereo Imaging, and Limiter.
- Equalization (EQ): Use EQ on the Master Channel to make subtle adjustments to the overall frequency balance of your track. Be cautious not to over-EQ and avoid drastic changes that may negatively impact the mix.
- Multiband Compression: Multiband Compression allows you to control the dynamic range of specific frequency bands in your mix. Use it to tame harsh transients and create a more balanced and controlled sound.
- Stereo Imaging: Stereo Imaging tools help widen the stereo image of your track, making it sound more spacious and immersive. Be careful not to overdo this process, as excessive stereo widening can cause phase issues and make the mix sound unnatural.
- Limiter: The Limiter is a crucial tool in mastering that prevents the audio from exceeding a specified loudness level, known as the “ceiling.” Use the Limiter to increase the overall volume of your track and achieve a competitive loudness level without causing distortion.
- Reference Tracks: Use reference tracks from professional releases in a similar genre to compare the loudness and tonal balance of your master. This will help you gauge whether your track matches the commercial standards for loudness and sound quality.
- Export the Master: After mastering your track, export the final mastered version as a high-quality WAV or FLAC file. Consider exporting multiple versions with different loudness levels, such as one at commercial loudness and one with more dynamic range for personal listening.
- Metadata and Distribution: Before releasing your track, ensure that you embed relevant metadata such as track title, artist name, album, and artwork into the file. Additionally, choose the appropriate digital distribution platform to release your music.
Mastering is a delicate process, and it’s often beneficial to have a fresh set of ears, such as a professional mastering engineer, provide feedback or handle the mastering process for you. Remember, the key to successful mastering is to enhance your mix while preserving its original character and dynamics.
Mastering EQ and Compression
Mastering EQ and compression are essential tools used in the final stages of the mastering process to refine the tonal balance and dynamic range of your track. Here’s how to use mastering EQ and compression in FL Studio:
- Creating a Mastering Chain: Start by creating a new project in FL Studio for mastering your track. Set up the Master Channel by adding the necessary effects. For mastering EQ and compression, you can use the built-in plugins in FL Studio or third-party plugins if you prefer.
- Mastering EQ: Insert an equalizer on the Master Channel to make subtle adjustments to the overall frequency balance of your track. The goal of mastering EQ is to enhance the tonal characteristics of the mix without drastically altering the mix’s overall sound. Use a linear-phase or minimum-phase EQ to preserve the phase relationships in your mix. Some key areas to focus on during mastering EQ include:
- Low-End Control: Address any muddiness or boomy frequencies in the bass range using a high-pass filter or gentle cuts in the low-end.
- Midrange Presence: Enhance the clarity and presence of the lead instruments or vocals by slightly boosting certain midrange frequencies.
- High-Frequency Enhancement: Add some air and brightness to the mix by gently boosting the high frequencies, but be careful not to introduce harshness.
- Multiband Compression: Multiband compression is a powerful tool used in mastering to control the dynamic range of specific frequency bands in your mix. In FL Studio, you can use the “Fruity Multiband Compressor” or any third-party multiband compressor. The main idea is to target specific frequency ranges and apply compression only to those areas that need it, leaving other parts of the mix unaffected. Common uses of multiband compression in mastering include:
- Taming Harsh Transients: Use multiband compression to control harshness in certain frequency ranges without affecting the rest of the mix.
- Balancing the Low End: Apply gentle compression to the low-frequency range to tighten up the bass and improve overall balance.
- Midrange and Highs Control: Smooth out the midrange and high frequencies to achieve a more cohesive and controlled sound.
- Setting Compression Parameters: When using mastering compression, set the attack and release times carefully to ensure the compressor reacts smoothly to the mix’s dynamics. Adjust the threshold and ratio settings to achieve the desired amount of compression without squashing the mix too much. Remember, subtlety is key in mastering compression.
- Comparing with Reference Tracks: Always refer to professionally mastered tracks in a similar genre as a reference while making adjustments with EQ and compression. This will help you gauge whether your track matches the commercial standards for loudness, tonal balance, and dynamic range.
- Exporting the Mastered Track: Once you are satisfied with your mastering EQ and compression, export the final mastered version as a high-quality WAV or FLAC file.
Mastering is a critical stage that requires both technical expertise and a well-trained ear. If you’re new to mastering, consider seeking feedback from experienced mastering engineers or using dedicated mastering plugins and tools. Remember to trust your ears and make subtle adjustments to bring out the best in your track.
Loudness Maximization
Loudness maximization is the process of increasing the perceived loudness of your track to match commercial loudness levels, while still maintaining a balanced and dynamic sound. Achieving loudness without causing distortion or compromising the mix’s integrity is a key goal in mastering. Here’s how to achieve loudness maximization in FL Studio:
- Prepare the Mix: Before applying loudness maximization, ensure your mix is well-balanced, and individual tracks are appropriately EQ’d and compressed. Address any potential issues in the mix, as they can be magnified during the loudness maximization process.
- Create a Mastering Chain: Start by creating a new project in FL Studio for mastering your track. Set up the Master Channel by adding the necessary mastering effects, including EQ, compression, and limiting.
- Mastering EQ and Compression: In the mastering chain, apply EQ and compression to shape the overall tonal balance and control dynamics. Use a linear-phase or minimum-phase EQ to make subtle adjustments to the mix’s frequency balance. Apply multiband compression to target specific frequency ranges and control dynamics more effectively.
- Loudness Maximization with Limiting: The primary tool for loudness maximization is the limiter. The limiter’s main function is to prevent audio from exceeding a specified loudness level, known as the “ceiling.” In mastering, you’ll use the limiter to increase the overall volume of your track while still avoiding distortion.
- Inserting the Limiter: In FL Studio, use the “Fruity Limiter” plugin or any other third-party limiter on the Master Channel. Insert it after the EQ and compression. The limiter should be the last effect in the mastering chain.
- Setting Limiter Parameters: Adjust the limiter’s threshold and output gain to achieve the desired loudness level. Be cautious not to push the limiter too hard, as excessive limiting can cause unwanted distortion and affect the mix’s dynamics. Use your ears and make subtle adjustments to find the right balance between loudness and clarity.
- Comparing with Reference Tracks: Always refer to professionally mastered tracks in a similar genre as a reference while applying loudness maximization. This will help you gauge whether your track matches the commercial loudness standards and whether you’ve maintained the mix’s overall balance and character.
- Using Metering Plugins: To ensure you’re achieving the desired loudness, use metering plugins to measure the LUFS (Loudness Units Full Scale) and peak levels of your track. LUFS metering provides a more accurate representation of perceived loudness than traditional peak meters.
- Listening and Adjusting: After applying loudness maximization, take the time to listen to your track on different playback systems to ensure it translates well across various platforms and environments.
- Exporting the Mastered Track: Once you’re satisfied with the loudness and overall sound, export the final mastered version as a high-quality WAV or FLAC file.
Remember that loudness maximization is just one aspect of mastering. The ultimate goal is to achieve a balanced, clear, and polished sound that complements the artistic intent of the track. Don’t prioritize loudness over the integrity of the mix, as excessive loudness can lead to listener fatigue and compromise the musical experience.
Finalizing the Master
Finalizing the master in FL Studio involves the last steps of the mastering process, where you ensure your track is polished, competitive, and ready for distribution. Here’s how to finalize the master in FL Studio:
- Review Your Mastering Chain: Double-check your mastering chain on the Master Channel to ensure it includes the necessary effects for EQ, compression, stereo imaging, and limiting. This chain should be applied to your mix to achieve the desired tonal balance, dynamics, and loudness.
- Use Reference Tracks: Continue to use professionally mastered tracks in a similar genre as reference points while making final adjustments to your master. This will help you gauge whether your track matches the commercial loudness and sound quality standards.
- Loudness Matching: If you’re comparing your master to reference tracks, ensure they are matched in loudness, so you can make accurate judgments about the tonal balance and overall sound. Use metering plugins to match the LUFS (Loudness Units Full Scale) levels of your master and the reference tracks.
- Metering and Analysis: Use metering plugins to analyze your master’s frequency response, stereo width, and peak levels. This will help you identify any potential issues and make informed decisions about adjustments.
- Listening on Different Systems: Listen to your finalized master on various playback systems, including studio monitors, headphones, car speakers, and consumer-grade speakers. This will help you ensure that your track translates well across different platforms and environments.
- Make Final Adjustments: Based on your reference track comparisons and metering analysis, make any final adjustments to your master. This could involve subtle EQ tweaks, compression fine-tuning, stereo imaging adjustments, or limiting changes to achieve the desired sound.
- Metadata and Export: Embed relevant metadata such as track title, artist name, album, and artwork into the file. Once you’re satisfied with your finalized master, export it as a high-quality WAV or FLAC file. Consider creating multiple versions with different loudness levels, such as one for commercial loudness and one with more dynamic range for personal listening.
- Save a Backup: Before finalizing your master, save a backup of your project in case you need to revisit it later for any reason.
- Preparing for Distribution: If you intend to release your track on streaming platforms or distribute it online, ensure you meet the platform’s specifications and requirements for audio format, metadata, and loudness normalization.
- Quality Control: Perform a final quality control check to ensure there are no glitches, pops, or clicks in the exported master.
Remember that mastering is both a technical and artistic process. It’s essential to balance loudness and impact with maintaining the integrity and musicality of your mix. Be patient and trust your ears while making final decisions.
Conclusion
Arranging, mixing, and mastering are three essential stages in the music production process, and FL Studio 21 offers a powerful and versatile platform to accomplish these tasks.
Arranging in FL Studio 21 involves organizing your musical ideas, creating sections, and structuring your composition into a cohesive and engaging piece. With the pattern-based workflow and arrangement view, FL Studio provides a user-friendly and efficient environment for arranging your tracks.
Moving on to mixing, FL Studio 21’s Mixer offers a comprehensive set of tools for balancing and processing individual tracks, creating a well-defined and balanced soundstage. The wide array of effects and plugins available within the software allows for creative sound design and manipulation, enabling producers to shape their music to their artistic vision.
Mastering is the final step in the process, where your track is prepared for distribution and optimized for various playback systems. FL Studio 21 provides built-in effects and mastering tools like EQ, compression, stereo imaging, and limiting, allowing you to achieve professional-level loudness and sound quality while preserving the integrity of your mix.
Throughout the process, it is essential to use reference tracks as a guide to ensure your arrangement, mixing, and mastering decisions align with industry standards and achieve a competitive and commercially viable result.
FL Studio 21, as a digital audio workstation, empowers artists and producers to bring their musical ideas to life, providing a seamless and efficient workflow for arranging, mixing, and mastering tracks. It encourages creativity and experimentation, allowing musicians to achieve their desired sound while offering a range of features and capabilities to cater to both beginners and experienced producers.
While the specifics of FL Studio 21 may differ from earlier versions, the fundamental principles of arranging, mixing, and mastering remain consistent. These skills, honed within FL Studio 21 or any other professional DAW, can open doors for artists to share their music with the world and connect with audiences on a deeper level.