In Cubase 12, understanding the project window is crucial for efficient and effective music production. The project window serves as the central hub where you can compose, arrange, edit, and mix your tracks. It provides a comprehensive overview of your project and enables you to manage various elements within your composition.
One of the primary reasons understanding the project window is important is because it allows you to have a clear visual representation of your entire project. The window typically displays the timeline, where you can see the arrangement of your musical sections, such as verses, choruses, and bridges. This visual representation helps you organize and structure your composition, making it easier to navigate through different parts of your music.
Furthermore, the project window provides access to tracks and channels, which are essential components of any music production. In Cubase 12, tracks represent individual elements like vocals, guitars, drums, and synthesizers. Channels, on the other hand, are used for processing audio and applying effects to your tracks. Understanding how to create, name, and manage tracks and channels in the project window allows you to keep your project well-organized and facilitates efficient workflow.
Within the project window, you can also perform crucial editing tasks. You can cut, copy, paste, and move regions of audio or MIDI data. This flexibility allows you to arrange your composition, try out different ideas, and make adjustments as needed. Additionally, you can use the project window to quantize MIDI notes, adjust velocities, or even apply time-stretching or pitch-shifting to audio recordings. These editing capabilities empower you to refine and polish your tracks to achieve the desired sound.
Another key aspect of the project window is the mixer view, which provides an overview of all the tracks and their associated channel strips. The mixer allows you to control the volume, pan, and other parameters of each track individually or collectively. It also enables you to add and configure audio effects and plugins, adjust EQ settings, and perform automation to create dynamic and expressive mixes. Understanding how to navigate and utilize the mixer view within the project window is essential for achieving a professional and balanced sound.
Lastly, the project window is where you can utilize various features and tools provided by Cubase 12 to enhance your workflow. This includes features like arranging markers, which allow you to define and jump between different sections of your composition quickly. You can also use the project window to set up and manage tempo changes, time signatures, and key signatures, ensuring your project evolves and progresses seamlessly.
In conclusion, understanding the project window in Cubase 12 is crucial for efficient and effective music production. It provides a comprehensive view of your project, enables you to manage tracks and channels, perform editing tasks, control and mix audio, and utilize various features to enhance your workflow. By mastering the project window, you can navigate through your project with ease, organize your composition effectively, and create professional-quality music.
Project Navigation
Project navigation is a crucial aspect of working in Cubase 12, as it allows you to efficiently move through your project, locate specific sections, and access various elements of your composition. By mastering project navigation techniques, you can enhance your workflow, save time, and stay focused on the creative process. Let’s explore some key aspects of project navigation in Cubase 12:
- Zooming and Scrolling:
- Cubase 12 provides versatile zooming and scrolling options to navigate through your project. You can zoom in to focus on smaller sections, such as individual measures or notes, or zoom out to view the entire project timeline.
- Use keyboard shortcuts, mouse gestures, or dedicated zoom tools to adjust the zoom level and navigate smoothly through your project. You can also use horizontal and vertical scrolling to move across your composition and access different sections.
- Locators and Markers:
- Locators and markers are essential tools for project navigation in Cubase 12. Locators allow you to define specific sections or ranges within your project, such as an intro, verse, or chorus. By setting locators, you can easily jump to different parts of your composition with a single click.
- Markers provide additional navigation points and help you identify and label important sections or events in your project. You can create markers for verse 1, chorus 2, or any other significant parts of your music, allowing for quick navigation and referencing during the production process.
- Arrangement Track:
- The Arrangement Track, which we previously discussed, is a visual representation of your project’s structure. It aids project navigation by providing a clear overview of sections like verses, choruses, bridges, and more.
- Utilize the Arrangement Track to quickly navigate to specific sections of your composition. By clicking on different sections in the Arrangement Track, you can instantly jump to the corresponding parts in your project.
- Track List:
- The Track List is another valuable tool for project navigation in Cubase 12. It displays all tracks in your project, allowing you to easily locate and select specific tracks for editing or adjustment.
- Use the Track List to navigate between tracks, reorder them, or access track-specific settings and parameters. By rearranging the order of tracks in the Track List, you can improve the overall organization and accessibility of your project.
- Transport Panel:
- The Transport Panel in Cubase 12 offers navigation controls for moving within your project. It includes play, stop, pause, rewind, and fast-forward buttons, as well as the ability to navigate by bar, beat, or timecode values.
- The Transport Panel allows you to navigate through your project quickly, locate specific points, and control playback to review or fine-tune different sections of your music.
- Key Commands and Macros:
- Cubase 12 provides extensive customization options for key commands and macros. You can assign keyboard shortcuts to various navigation functions, allowing you to navigate through your project using personalized commands.
- Create macros, which are sequences of commands, to perform complex navigation tasks with a single key command. Macros can help you streamline your workflow and perform multiple navigation actions in one step.
By leveraging the various project navigation features and techniques in Cubase 12, you can efficiently move through your composition, access specific sections, and focus on different elements of your music. Mastering project navigation enhances your productivity, allows for quick edits and adjustments, and keeps you in control of your creative process.
Arrangement Track
Arrangement Track is a powerful feature that allows you to organize and structure your music composition effectively. It acts as a visual guide and roadmap for your project, enabling you to arrange and navigate through different sections of your music with ease. The Arrangement Track serves as a versatile tool for creating variations, exploring different song structures, and making changes to your arrangement seamlessly.
Here are some key aspects and functions of the Arrangement Track in Cubase 12:
- Overview and Organization:
- The Arrangement Track appears as a dedicated track in the project window, typically located above the regular tracks. It provides a bird’s-eye view of your entire composition, displaying the arrangement of musical sections such as verses, choruses, bridges, and more.
- By representing your composition visually, the Arrangement Track helps you understand the structure and flow of your music at a glance. You can easily identify and navigate to specific sections, making it convenient to work on different parts of your composition.
- Arrangement Editing:
- The Arrangement Track allows you to edit and manipulate your song’s structure effortlessly. You can drag and rearrange sections, such as copying or moving verses, choruses, or other musical parts.
- With the Arrangement Track, you can experiment with different song structures by trying out variations of your composition. It provides the flexibility to create alternative arrangements, explore different transitions between sections, or experiment with different combinations of musical elements.
- Automation and Arrangement Changes:
- The Arrangement Track also plays a crucial role in managing automation changes within your project. You can add automation points or curves directly on the Arrangement Track to control parameters like volume, panning, or effects throughout your composition.
- By placing automation points on the Arrangement Track, you can precisely control when automation changes occur, ensuring seamless transitions and dynamic shifts within your music.
- Exporting and Reusing Arrangements:
- The Arrangement Track is particularly useful when exporting different arrangements or sections of your composition. You can easily export specific sections or arrangements of your project by selecting the corresponding parts on the Arrangement Track.
- This feature is valuable for creating alternate versions of your songs or preparing specific sections for further processing or remixing. It allows you to reuse existing musical ideas or sections in new projects without the need for extensive manual editing.
- Navigation and Collaboration:
- The Arrangement Track enhances navigation and collaboration when working with other musicians or collaborators. By providing a clear visual representation of your project’s structure, it becomes easier to communicate and discuss specific sections or changes with other team members.
- Collaborators can refer to the Arrangement Track to understand the overall layout of the composition and contribute their ideas more effectively.
In summary, the Arrangement Track in Cubase 12 is a valuable tool for organizing and structuring your music composition. It offers a visual overview of your project, allows for easy editing and rearranging of sections, facilitates automation changes, enables exporting of specific arrangements, and aids in navigation and collaboration. By leveraging the power of the Arrangement Track, you can streamline your workflow, experiment with different song structures, and create dynamic and engaging musical compositions.
Inspector Panel
Inspector Panel is a versatile and essential tool that provides comprehensive control and access to various parameters and settings for each track in your project. The Inspector Panel offers a convenient way to view and adjust track-specific settings, including routing, automation, MIDI functions, audio processing, and more. Understanding and utilizing the features and functions of the Inspector Panel can greatly enhance your workflow and help you achieve the desired sound and performance for your tracks.
Here are some key aspects and functions of the Inspector Panel in Cubase 12:
- Track Parameters and Settings:
- The Inspector Panel displays a range of track parameters and settings for the selected track. These parameters may include track name, color, track type (audio, MIDI, instrument, etc.), track version, and various other track-specific settings.
- You can modify and adjust these settings directly from the Inspector Panel, providing a quick and accessible way to customize the behavior and characteristics of each track in your project.
- Routing and Signal Flow:
- The Inspector Panel allows you to control the routing and signal flow of your tracks. You can set input and output routing, choose the destination for the track’s output, and configure any necessary sends and inserts for audio processing and effects.
- By accessing the routing options in the Inspector Panel, you can easily send audio signals to different destinations, apply effects to specific tracks, or create complex routing configurations to suit your production needs.
- MIDI Functions and Editing:
- For MIDI tracks, the Inspector Panel offers various MIDI-specific functions and settings. You can access MIDI quantization options, adjust velocity settings, set up key switches or program changes, and modify other MIDI-related parameters.
- The Inspector Panel provides a convenient interface to tweak and refine MIDI performance, ensuring precise control over note timing, expression, and articulation.
- Automation Control:
- The Inspector Panel is a central location for controlling and editing automation data for each track. You can access automation modes, select and edit automation parameters, and create or modify automation curves directly from the Inspector Panel.
- By utilizing the automation controls in the Inspector Panel, you can create dynamic changes in volume, panning, effects, and other parameters over time, bringing life and movement to your music.
- Insert and Effect Processing:
- The Inspector Panel allows you to access and manage insert effects for each track. You can add and adjust audio effects plugins, such as EQ, compression, reverb, and delay, directly from the Inspector Panel.
- This feature offers quick access to the most commonly used audio processing tools, enabling you to shape the sound and character of each track efficiently.
- Track Versioning and Variations:
- With the Inspector Panel, you can manage track versions and variations. You can save multiple versions of a track within the same project, allowing you to experiment with different settings, processing, or arrangements while keeping everything organized.
- The Inspector Panel provides a straightforward interface to switch between track versions, compare settings, and revert changes if needed.
In conclusion, the Inspector Panel in Cubase 12 is a powerful and comprehensive tool that provides detailed control and access to track-specific parameters and settings. It allows you to manage routing, signal flow, MIDI functions, automation, audio processing, and more. By utilizing the Inspector Panel effectively, you can fine-tune and customize each track in your project, shaping the sound, performance, and overall mix to achieve your desired musical vision.
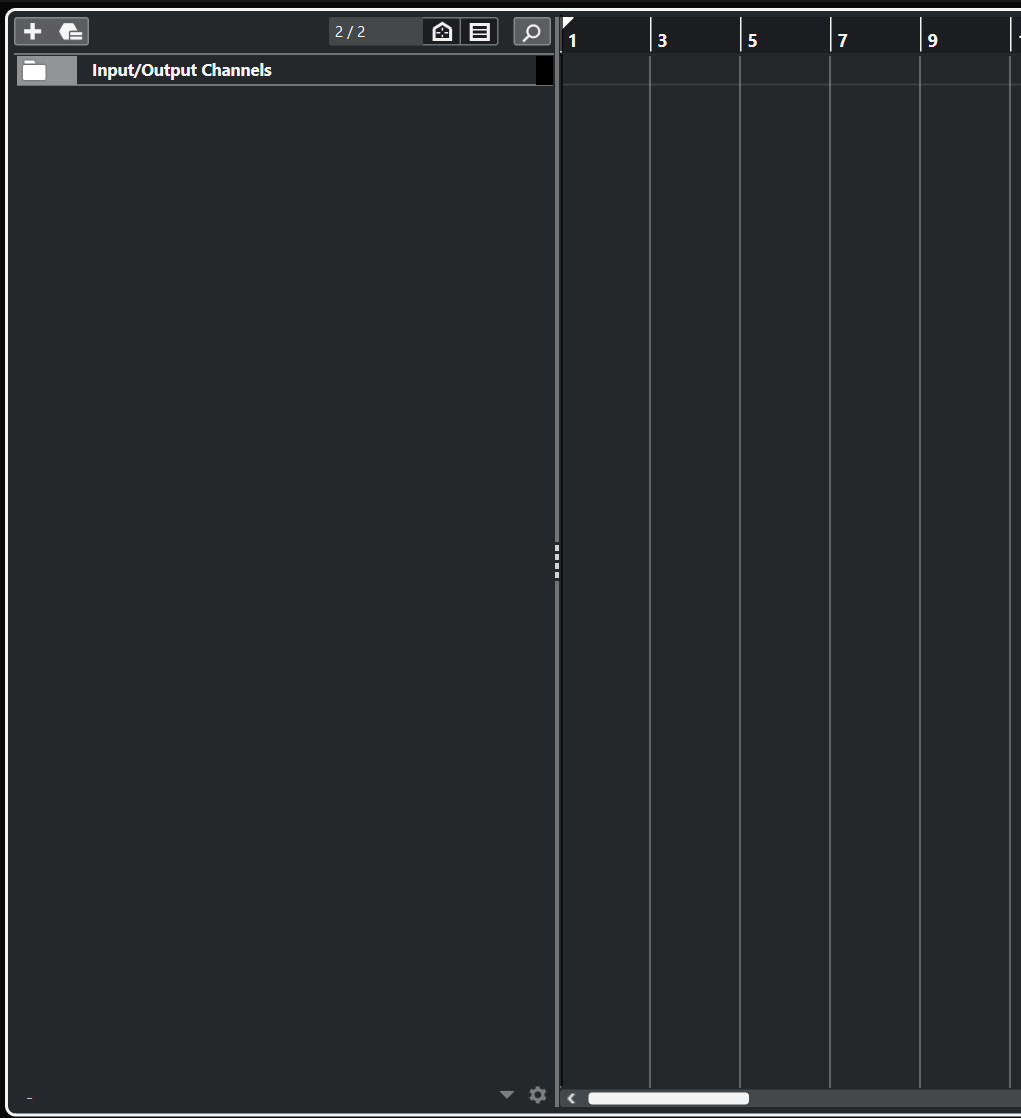
Track List
Track List is a crucial component of the project window that serves as a central hub for managing and organizing your tracks. It provides a comprehensive overview of all the tracks in your project, allowing you to control various parameters, arrange the order of tracks, apply track-specific settings, and perform essential tasks related to track management. Understanding the Track List and its functionalities is essential for efficient workflow and effective track organization.
Here are some key aspects and functions of the Track List in Cubase 12:
- Track Visibility and Control:
- The Track List displays a list of all the tracks in your project, including audio, MIDI, instrument, group, and FX tracks. Each track is represented by its name, icon, and color, making it easy to identify and differentiate between different tracks.
- You can control the visibility of tracks directly from the Track List. By toggling the visibility button, you can show or hide individual tracks or groups of tracks, allowing you to focus on specific sections of your project or reduce clutter when working on complex arrangements.
- Track Order and Arrangement:
- The Track List allows you to rearrange the order of tracks in your project by simply dragging and dropping them. This feature is particularly useful when organizing your tracks according to your workflow or creative preferences.
- By rearranging the track order, you can easily group related tracks together, place tracks in a specific order for seamless navigation, or create subgroups to manage multiple tracks collectively.
- Track Controls and Settings:
- The Track List provides quick access to essential track controls and settings. By expanding each track in the list, you can access features such as mute, solo, record enable, track color, and track icon assignments.
- Furthermore, the Track List allows you to modify track-specific settings such as input and output routing, track versioning, track height, and automation settings. This centralized control enables you to make adjustments and customizations to each track efficiently.
- Track Editing and Operations:
- The Track List offers various editing and operational functions for tracks. You can rename tracks, duplicate tracks, delete tracks, and perform other track-related operations directly from the Track List, eliminating the need to navigate to different menus or windows.
- Additionally, the Track List provides convenient access to track-specific editing functions. By right-clicking on a track, you can access options like resizing the track height, enabling/disabling track freezing, opening the MIDI or audio editor, and more.
- Track Grouping and Folder Tracks:
- Cubase 12 allows you to create track groups and folder tracks to organize and manage related tracks. The Track List provides an intuitive interface to create and manage track groups and folder tracks, allowing you to group tracks together for easier navigation and control.
- Track grouping and folder tracks help streamline your workflow, especially when dealing with complex projects that involve numerous tracks and instruments.
By utilizing the functionalities of the Track List in Cubase 12, you can efficiently manage and organize your tracks, customize track settings, perform track-specific operations, and enhance your overall workflow. The Track List serves as a central control hub for all your tracks, providing a clear overview and allowing you to focus on the creative aspects of your music production.
Media Bay
Media Bay is a powerful and versatile tool that provides easy access to your audio, MIDI, and other media files, making it a valuable asset for organizing, browsing, and integrating media content into your projects. The Media Bay serves as a centralized hub for managing and searching for media assets, offering a streamlined workflow and enhancing your creativity. Let’s explore some key aspects and functions of the Media Bay in Cubase 12:
- Media File Management:
- The Media Bay allows you to organize and manage your audio, MIDI, and other media files within a structured environment. You can categorize and tag your files, create custom folders, and add metadata such as tempo, key, and descriptions for efficient search and organization.
- By utilizing the Media Bay’s file management capabilities, you can keep your media assets well-organized and easily accessible, saving valuable time when searching for specific sounds or content.
- Integrated Browser:
- The Media Bay features an integrated browser that allows you to browse and preview various media files directly within Cubase 12. You can navigate through your file system, external drives, and custom-defined folders, all from within the Media Bay interface.
- This integrated browser makes it convenient to audition and preview audio and MIDI files, loops, samples, and presets without the need to switch between different applications or windows.
- Content Filtering and Searching:
- The Media Bay offers powerful content filtering and searching capabilities, enabling you to quickly locate specific media assets based on various criteria. You can filter files by type, format, duration, tempo, key, and other metadata parameters.
- Additionally, the Media Bay supports keyword-based searching, allowing you to search for files based on specific terms or descriptions. This comprehensive search functionality ensures that you can find the right media assets efficiently, even within large collections.
- Integration with Projects:
- The Media Bay seamlessly integrates with your Cubase 12 projects, making it easy to import and incorporate media files into your compositions. You can simply drag and drop files from the Media Bay directly onto tracks or into the project window.
- This integration enables a smooth workflow, as you can quickly audition and import sounds, loops, or MIDI files into your project without interrupting your creative process.
- Media File Tagging and Ratings:
- The Media Bay allows you to assign tags and ratings to your media files, providing an additional layer of organization and categorization. You can create custom tags and assign them to files, making it easier to find and group related media assets.
- Moreover, you can rate your files to indicate their quality, usefulness, or personal preferences. These ratings can help you identify and prioritize your favorite or most suitable media assets when working on projects.
- User-Defined Locations:
- Cubase 12’s Media Bay supports user-defined locations, which means you can set up specific folders or drives to be scanned and included in the Media Bay’s library. This feature enables you to incorporate third-party sample libraries, sound libraries, or custom content from external sources into your workflow.
In summary, the Media Bay in Cubase 12 is a comprehensive and efficient tool for managing, searching, and integrating media files into your projects. With its file management capabilities, integrated browser, content filtering and searching, seamless project integration, tagging and rating features, and support for user-defined locations, the Media Bay provides a streamlined workflow and enhances your creative possibilities. By utilizing the Media Bay effectively, you can efficiently access and incorporate media assets, facilitating your music production process in Cubase 12.
Conclusion
Navigating the project window in Cubase 12 is a fundamental skill that plays a crucial role in your music production workflow. Understanding the various tools and techniques for project navigation allows you to efficiently move through your composition, access specific sections, and manage different elements of your project. Whether it’s zooming and scrolling, utilizing locators and markers, leveraging the Arrangement Track and Track List, or using the Transport Panel and customized key commands, mastering project navigation in Cubase 12 enhances your productivity and creativity.
Efficient project navigation saves valuable time, allowing you to focus on the creative aspects of your music production. By seamlessly moving through your project, you can easily locate specific parts, make adjustments, and experiment with different arrangements. The ability to zoom in and out, set locators and markers, and utilize visual aids like the Arrangement Track and Track List provides a clear overview of your composition and ensures smooth navigation through different sections.
Moreover, project navigation in Cubase 12 aids collaboration and communication. By being able to quickly locate specific sections or elements, you can effectively discuss and share ideas with team members or musicians you are working with, enhancing the collaborative process.
Overall, by mastering project navigation in Cubase 12, you gain greater control and efficiency in managing your music projects. You can seamlessly navigate through your composition, access different parts, make precise edits, and maintain a smooth workflow. With these skills, you can unleash your creativity, bring your musical ideas to life, and achieve professional results in your Cubase 12 productions.