Adding melody is a crucial aspect of creating engaging and memorable music in any digital audio workstation (DAW), including FL Studio 21. Melody is the heart and soul of a song, and it plays a significant role in captivating listeners, evoking emotions, and leaving a lasting impression. Here’s why adding melody is so important in FL Studio 21:
- Catchy and Memorable: A well-crafted melody is catchy and easy to remember. It becomes the central theme of the composition, sticking in the minds of the listeners long after the music has ended. Memorable melodies are what turn ordinary songs into hits and classics.
- Emotional Connection: Melodies have the power to convey emotions effectively. Whether it’s joy, sadness, excitement, or nostalgia, a compelling melody can evoke strong emotions in the listener. Creating an emotional connection through the melody makes the music more relatable and engaging.
- Musical Identity: A distinct melody gives your music a unique identity. It sets your composition apart from others and helps establish your style and sound as an artist or producer. Developing a signature melody can also become a recognizable hallmark of your work.
- Enhances Composition: Melodies are the foundation upon which the rest of the arrangement is built. They guide the progression of the song, allowing other elements like harmonies, basslines, and rhythms to fall into place more naturally. Without a strong melody, a composition might feel disjointed and lack direction.
- Improves Listening Experience: When melodies are thoughtfully arranged, they lead the listener through the journey of the music. A well-structured melody keeps the audience engaged and curious about what comes next. It’s like a musical storytelling that keeps the listener hooked.
- Creates Hooks: Melodic hooks are memorable phrases or patterns that get stuck in the listener’s head. Hooks act as the catchiest parts of the melody, and they often become the most iconic and recognizable parts of a song. Having strong hooks can significantly impact the success of a track.
- Inspires Collaboration: A compelling melody can inspire other musicians and collaborators to contribute to the project. Whether it’s vocalists, instrumentalists, or additional producers, a great melody provides a solid foundation for others to build upon.
In FL Studio 21, adding melody is made easier with various tools and features. The Piano Roll is a powerful tool for composing melodies and allows precise editing of MIDI notes. You can experiment with different instruments and virtual synths to find the perfect sound for your melody. Additionally, FL Studio’s automation capabilities enable you to add dynamic expression to your melodies, making them even more engaging.
Adding melody in FL Studio 21 is essential for creating captivating and memorable music. A strong melody serves as the focal point of the composition, eliciting emotions, establishing musical identity, and enhancing the overall listening experience. So whether you’re a producer, composer, or songwriter, give due importance to crafting powerful and catchy melodies to make your music stand out and resonate with your audience.
Choosing Instruments
When it comes to creating a captivating melody in FL Studio 21, choosing the right instruments is crucial. The selection of instruments can greatly influence the mood, tone, and overall feel of your melody. Here are some important factors to consider when choosing instruments for creating a melody:
- Instrument Purpose: Identify the purpose of the melody in your composition. Is it the main lead that carries the core of the song, or is it a supporting element that complements other instruments? For a lead melody, you might want to choose an instrument that can stand out and carry the tune effectively, while for a supporting melody, you could opt for something that blends well with other sounds.
- Genre and Style: Consider the genre and style of your music. Different genres have characteristic instruments that are commonly used for creating melodies. For example, in pop music, you might use synths or plucked instruments for catchy melodies, while in orchestral compositions, you may rely on strings or woodwinds.
- Timbre and Tone: Pay attention to the timbre and tone of the instrument. The timbre refers to the unique character or color of the sound produced by the instrument. A warm and mellow instrument might be suitable for creating a soothing melody, whereas a bright and sharp instrument could work well for an energetic or uplifting melody.
- Range and Expression: Consider the range of the instrument and how it can express the emotions you want to convey through the melody. Some instruments have a wide pitch range and can create dramatic and expressive melodies, while others may have limited ranges, providing a more subtle and intimate sound.
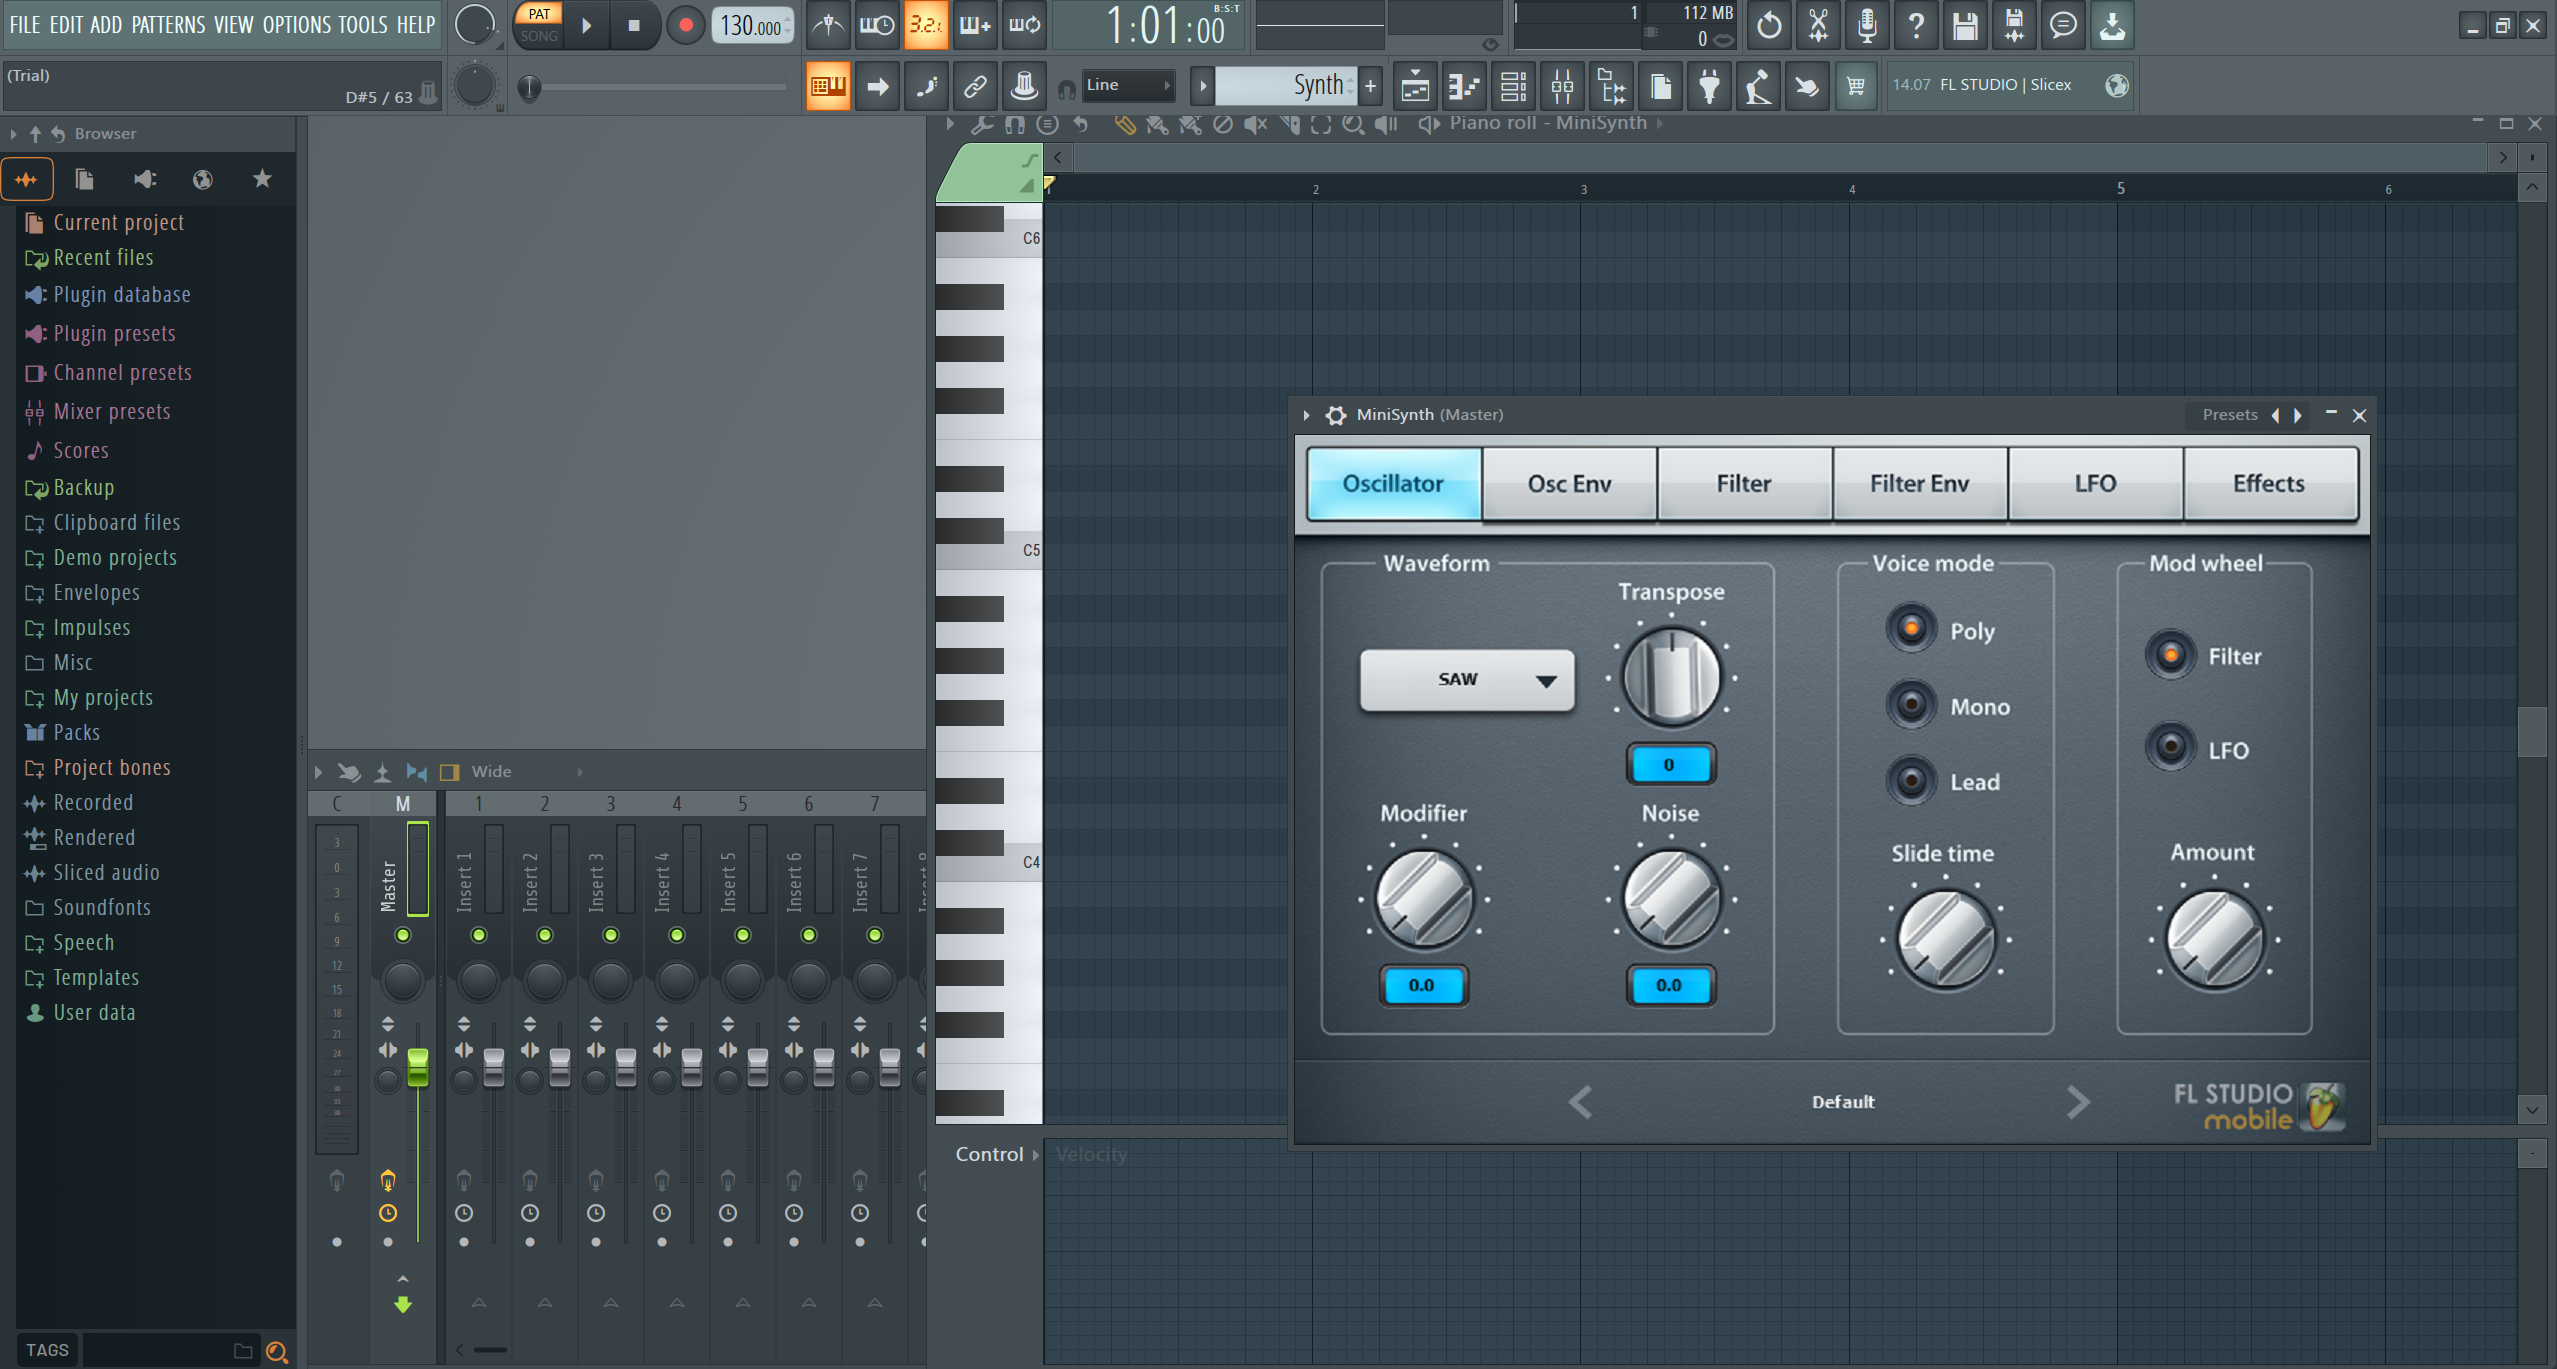
- Virtual Instruments: FL Studio 21 comes with a wide variety of virtual instruments and synths, including synths like Sytrus, Harmless, and 3xOSC, as well as sample-based instruments like DirectWave and Kontakt. Explore these instruments to find the ones that best suit your melody’s needs.
- Experimentation: Don’t be afraid to experiment with different instruments. Sometimes, unexpected combinations can lead to unique and interesting melodies. FL Studio’s Piano Roll and MIDI editing capabilities make it easy to try out various instruments and hear how they sound with your melody.
- Layering: Consider layering multiple instruments to add depth and richness to your melody. Layering allows you to combine different sounds and textures, enhancing the overall impact of your melody.
- Humanization: If you’re using virtual instruments, consider adding humanization to your melodies. Slight variations in timing, velocity, and pitch can make the melody sound more organic and natural.
- Effects and Processing: After choosing the instruments, don’t forget to apply appropriate effects and processing to further enhance the sound. Reverbs, delays, and EQ can shape the instrument’s character and fit it into the mix more seamlessly.
Remember, the choice of instruments can significantly shape the emotional impact and memorability of your melody. Take the time to explore different options, trust your instincts, and don’t be afraid to think outside the box. With FL Studio 21’s vast array of tools and instruments, you have the freedom to craft melodies that are truly unique and captivating.
Creating Melodic Patterns
Creating melodic patterns in FL Studio 21 is an exciting and creative process that allows you to craft engaging and memorable melodies for your music. The Piano Roll in FL Studio is a powerful tool that enables you to compose and edit MIDI data, making it the perfect workspace for designing melodic patterns. Here’s a step-by-step guide on how to create melodic patterns in FL Studio 21:
- Open FL Studio and Load an Instrument: Launch FL Studio 21 and start a new project. Once the project is set up, choose an instrument or virtual synthesizer from the Browser and load it into a channel on the Channel Rack.
- Access the Piano Roll: To access the Piano Roll for the instrument you’ve chosen, click on the piano icon of the corresponding channel in the Channel Rack. This will open the Piano Roll for that instrument.
- Define the Scale: Before creating your melodic pattern, it’s essential to determine the scale in which you want to work. FL Studio provides various scale presets to choose from. You can access them by right-clicking the magnet icon on the top-left corner of the Piano Roll and selecting a scale from the dropdown menu.
- Add Notes: Now you can start adding notes to create your melodic pattern. Left-click and drag on the Piano Roll grid to draw in notes at different pitches. You can adjust the note duration by resizing the notes vertically, and you can also move the notes horizontally to change their timing.
- Experiment with Rhythms: Melodic patterns aren’t just about pitch; rhythm plays a significant role in making your melody interesting. Experiment with different note lengths, rests, and patterns to create rhythmic variations.
- Use Ghost Notes: Ghost notes are transparent notes in the Piano Roll that display the content from other patterns. They allow you to see how your current pattern aligns with previous or subsequent patterns, aiding in creating cohesive and harmonious melodies.
- Quantize and Humanize: After drawing in your notes, you can quantize them to correct any timing inconsistencies and make the melody more precise. However, it’s essential to humanize the pattern slightly to avoid a robotic feel. Use the “Random” and “Amount” knobs in the Piano Roll to add subtle variations to note positions and velocities.
- Explore Chords and Arpeggios: You can also create melodic patterns using chords or arpeggios. Instead of drawing single notes, draw multiple notes simultaneously to form chords. Experiment with different chord progressions and arpeggio patterns to add complexity and emotion to your melody.
- Copy and Arrange: Once you’ve crafted a melodic pattern that you like, you can copy and arrange it to create variations and build the overall structure of your composition.
- Apply Effects: After you’ve created your melodic patterns, don’t forget to apply effects and processing to enhance the sound further. Effects like reverb, delay, and EQ can add depth and character to your melody.
Take your time to explore different ideas, and don’t be afraid to make adjustments as you go. With the vast capabilities of FL Studio’s Piano Roll and a bit of inspiration, you can craft beautiful and captivating melodic patterns for your music.
Layering Melody
Layering melodies in FL Studio 21 is a powerful technique used to create depth, richness, and complexity in your music. By combining multiple melodic elements, you can achieve a more compelling and captivating sound. Here’s a guide on how to effectively layer melodies in FL Studio 21:
- Choose Your Melodic Elements: Before you start layering, have a clear idea of the melodic elements you want to combine. These could be different instruments, synths, or even variations of the same melody played on different octaves or with slight variations.
- Assign Instruments to Separate Channels: To layer melodies, each melodic element should be assigned to its individual channel in the Channel Rack. This ensures that you have separate control over each layer’s volume, panning, and processing.
- Adjust Octaves and Pitch: If you’re layering the same melody using different instruments or synths, try playing the same melody on different octaves. This creates a richer and fuller sound. You can also experiment with slight variations in pitch to add interest.
- Panning and Stereo Placement: To give each layer its own space in the stereo field, experiment with panning. Pan some layers slightly left and others slightly right to create a sense of width and immersion in the mix.
- Volume and Balance: Adjust the volume levels of each layer to achieve a good balance. Ensure that no layer overpowers the others and that they complement each other harmoniously.
- EQ and Frequency Separation: Use EQ to ensure that each layer occupies its own frequency range. This helps prevent muddiness and ensures that each layer is distinguishable in the mix. Cutting or boosting specific frequencies can help create separation between layers.
- Complementary Melodies: If you’re layering multiple melodies, make sure they complement each other harmonically and rhythmically. The goal is to create a cohesive and harmonious blend of melodies, not conflicting or dissonant elements.
- Automation and Variation: To keep the layered melody dynamic and interesting, consider automating parameters like volume, pan, or filter cutoff over time. This adds movement and variation to the melody throughout the track.
- Experiment with Effects: Apply various effects to individual layers or to a group of layers to shape the overall sound. Effects like reverb, delay, chorus, and phasers can add depth and dimension to your layered melodies.
- Consolidate and Export: Once you’re satisfied with your layered melody, consider consolidating the layers into a single audio track. This simplifies the arrangement and reduces the processing load. When you’re ready, export the layered melody to a WAV or MP3 file.
Remember, layering melodies in FL Studio 21 is a creative process, and there are no strict rules. The key is to experiment, listen carefully, and make adjustments as needed until you achieve a well-balanced and captivating sound. With practice, you can master the art of layering melodies to create music that truly stands out.
Reviewing the Melody
Reviewing the melody in FL Studio 21 is an essential step in the music production process. It involves carefully evaluating and fine-tuning the melodic elements to ensure they are captivating, cohesive, and aligned with your artistic vision. Here’s a step-by-step guide on how to review the melody in FL Studio 21:
- Solo the Melody: Start by soloing the track or tracks that contain the melody. This allows you to focus solely on the melodic elements without any distractions from other instruments or vocals.
- Listen for Clarity and Articulation: Pay attention to how each note is articulated. Ensure that the transitions between notes are smooth and that there are no unwanted clicks or pops. If any notes are too short or too long, use the Piano Roll to adjust their lengths.
- Check for Pitch Accuracy: Verify that all the notes in the melody are in tune and fit harmoniously with the underlying chords and key of the song. If you find any out-of-tune notes, adjust their pitch in the Piano Roll.
- Evaluate the Melodic Structure: Assess the overall structure of the melody. Determine if it has a clear and memorable motif or theme. Listen for any repetitive patterns that might become too monotonous, and consider adding variations to keep the listener engaged.
- Review Rhythmic Elements: Ensure that the rhythm of the melody complements the song’s tempo and groove. Check for any rhythmical inconsistencies or awkward pauses that could disrupt the flow of the melody.
- Assess Dynamic Expression: A well-crafted melody should have dynamic expression, with certain notes emphasized more than others. Use velocity adjustments in the Piano Roll to control the loudness of individual notes and create a sense of musical expression.
- Check for Layering (If Applicable): If you have layered multiple melodies, evaluate how they blend together. Ensure that each layer contributes positively to the overall sound and that they don’t clash or overpower each other.
- Listen in Context: After reviewing the melody in isolation, listen to it within the context of the entire mix. Check how it interacts with other instruments and vocals. Adjust the volume and pan settings to ensure the melody fits well in the overall sonic landscape.
- Seek Feedback: Don’t hesitate to seek feedback from others, such as fellow musicians, producers, or friends. Fresh ears can provide valuable insights and help you identify areas for improvement.
- Make Necessary Adjustments: Based on your review and feedback, make the necessary adjustments to the melody. Fine-tune the notes, dynamics, and other elements to achieve the desired emotional impact and musical quality.
- Save Versions: Before making major changes, save different versions of the melody as backups. This way, you can always go back to previous iterations if needed.
- Be Open to Iteration: Remember that reviewing the melody is not a one-time task. As you progress in your music production journey, you may come back to review and refine the melody multiple times until you’re fully satisfied with the result.
Reviewing the melody in FL Studio 21 is an iterative process that requires both technical precision and artistic sensitivity. With patience, attention to detail, and a willingness to experiment, you can create captivating and memorable melodies that truly shine in your music.
Using the Piano Roll for Chords
In FL Studio 21, the Piano Roll is a powerful tool for creating chords and harmonies. It allows you to visually compose chord progressions and experiment with different voicings, inversions, and chord types. Whether you’re a beginner or an experienced producer, the Piano Roll offers a user-friendly interface to craft complex and expressive chord sequences. Here’s how you can use the Piano Roll for chords in FL Studio 21:
- Select the Right Instrument: First, load the instrument or synthesizer you want to use for creating chords into a channel on the Channel Rack. This could be a piano, guitar, synth, or any other instrument capable of producing harmonies.
- Open the Piano Roll: Click on the piano icon of the instrument channel in the Channel Rack to open the Piano Roll for that particular instrument.
- Set the Scale (Optional): If you want to work in a specific musical scale, right-click on the magnet icon in the top-left corner of the Piano Roll and select the desired scale from the dropdown menu. This ensures that the notes you draw in the Piano Roll will snap to the chosen scale, making it easier to stay in key.
- Draw Chords: To create chords, simply click and drag on the Piano Roll grid to draw in multiple notes simultaneously. The position of the notes on the vertical axis determines the pitch, and their duration on the horizontal axis determines their length.
- Experiment with Voicings and Inversions: FL Studio’s Piano Roll allows you to edit individual notes within a chord. By clicking on a note and dragging it up or down, you can experiment with different chord voicings and inversions. This helps you find the most suitable arrangement of the notes for your chord progression.
- Copy and Paste Chords: To build a chord progression, copy and paste chords within the Piano Roll. This way, you can create patterns of chords that repeat or change over time.
- Quantize and Humanize: After drawing in your chords, you can quantize them to correct any timing inconsistencies and make the progression tighter. However, remember that adding some humanization (subtle variations in timing and velocity) can make the chords sound more natural and expressive.
- Use Chord Tools (Optional): FL Studio also offers chord tools that can assist you in creating chords. By right-clicking on a note in the Piano Roll, you can access chord options like “Strum,” “Harmonize,” and “Chord Length” to apply specific chord effects automatically.
- Combine with Melody: Once you’ve created your chord progression, you can layer it with a melody or other instruments to build a complete arrangement.
- Experiment and Explore: The Piano Roll in FL Studio is a versatile workspace, so don’t be afraid to experiment and explore various chord progressions and harmonic ideas. The more you play around with different chords, the better you’ll become at creating compelling and emotive chord sequences.
Using the Piano Roll for chords in FL Studio 21 opens up a world of creative possibilities. Whether you’re aiming for a simple and straightforward progression or a complex and harmonically rich arrangement, the Piano Roll provides you with the tools to bring your musical ideas to life.
Adding Additional Harmonic Layers
Adding additional harmonic layers in FL Studio 21 is a fantastic way to enrich your music, create depth, and add complexity to your compositions. By incorporating new harmonic elements, you can enhance the overall sound and make your tracks more captivating. Here’s how to add additional harmonic layers in FL Studio 21:
- Identify the Primary Melody: Before adding new harmonic layers, make sure you have a clear understanding of the primary melody or chord progression in your composition. This will serve as the foundation upon which you’ll build the additional layers.
- Choose the Instruments or Synths: Decide on the instruments or synthesizers you want to use for the new harmonic layers. These could be pads, strings, choir voices, synths, or any other sound that complements the existing melody.
- Assign the New Layers to Separate Channels: Load the instruments or synths for the additional harmonic layers into separate channels on the Channel Rack. This allows you to have individual control over each layer’s volume, effects, and processing.
- Experiment with Different Chord Inversions and Voicings: When creating harmonic layers, try using different chord inversions and voicings to add variety. You can use the Piano Roll to adjust individual notes within the chords and find the most pleasing arrangement.
- Explore Harmonies and Counterpoints: Experiment with creating harmonies and counterpoint lines that harmonically interact with the primary melody. These harmonies can be played simultaneously with the main melody or introduced at specific sections to create interest and tension.
- Layer with Arpeggios or Sequences: Instead of using full chords, consider layering with arpeggios or sequenced patterns. Arpeggios add a sense of movement and can be used to complement sustained chords in the primary melody.
- Utilize Stereo Placement: Use panning and stereo placement to give each harmonic layer its own space in the mix. By panning layers left or right, you create a sense of width and dimension.
- Apply Effects and Processing: Enhance the sound of the additional layers by applying effects such as reverb, delay, chorus, or other modulations. Carefully shape the tone and ambiance of the layers to fit the overall mood of your composition.
- Consider Layering Melodies: If you have multiple melodic ideas, you can also layer them together. Ensure that these melodic layers complement each other harmonically and rhythmically to create a cohesive and engaging result.
- Balance and Mix the Layers: After adding the harmonic layers, listen to how they interact with the primary melody and other elements in your mix. Adjust the volume levels, EQ, and effects of each layer to achieve a well-balanced and cohesive sound.
- Automate for Expression: To add dynamics and expression, automate certain parameters of the additional harmonic layers, such as volume, filter cutoff, or modulation depth. Automation brings movement and life to the layers throughout the track.
Remember, the process of adding additional harmonic layers in FL Studio 21 is a creative one. Take the time to experiment, explore various combinations, and trust your ears. By carefully layering harmonies and melodies, you can elevate your music to new heights and create a more immersive and memorable listening experience.
Using Chord Progression Modulations
Using chord progression modulations in FL Studio 21 can elevate your music to a whole new level by introducing exciting changes in tonality and mood. Modulations involve transitioning from one key or chord progression to another, which can create a sense of tension, resolution, and musical interest. Here’s how you can use chord progression modulations in FL Studio 21:
- Understand Chord Progression Modulations: Modulations involve changing the tonal center of your music. In a chord progression modulation, you’ll move from the current key or chord progression to a new one. This change can be subtle or more pronounced, depending on the effect you want to achieve.
- Identify the Current Key: Before you start modulating, identify the key of your current chord progression. Knowing the current key will help you determine the direction and distance of the modulation.
- Select the Destination Key: Choose the key to which you want to modulate. This key can be related to the current key (e.g., moving from C major to G major) or a more distant key (e.g., moving from C major to D minor).
- Plan the Modulation: Decide where you want the modulation to occur in your composition. Modulations are often used to create climactic moments in a song, such as in a chorus or at the end of a bridge.
- Smooth Transition Chords: To achieve a smooth modulation, use transition chords that bridge the gap between the current key and the destination key. Common transition chords include secondary dominants and diminished chords. These chords help prepare the listener’s ear for the upcoming key change.
- Gradual or Sudden Modulation: Depending on your musical style and intention, you can make the modulation gradual, introducing new chords from the destination key gradually, or make it more abrupt, shifting directly to the new key.
- Use Chord Inversions: Experiment with chord inversions during the modulation to create interesting and smooth voice-leading between chords. This helps maintain a coherent flow during the transition.
- Consider Melodic Lines: Incorporate melodic lines that reflect the modulation and help guide the listener’s ear to the new key. Melodic lines can provide a sense of direction and purpose during the transition.
- Vary Intensity and Dynamics: During the modulation, consider varying the intensity and dynamics of the music to accentuate the change in tonality. This can heighten the emotional impact of the modulation.
- Experiment and Listen: Modulations can be complex, and it may take some experimentation to find the perfect transition that suits your composition. Listen carefully to the result and make adjustments as needed.
- Resolve the Modulation: After the modulation, ensure that the music settles into the new key and establishes a sense of stability. A well-executed modulation should feel satisfying and resolved.
FL Studio 21 offers various tools, such as the Piano Roll, Automation, and MIDI editing capabilities, that make it easy to implement chord progression modulations. Embrace your creativity, and don’t be afraid to explore different harmonic possibilities to create engaging and memorable music through modulations.
Applying Automation to Harmony
- Identify Harmony Parameters: First, identify the harmony-related parameters you want to automate. In FL Studio, common harmony-related parameters include pitch (for individual notes or chords), chord progressions, and the panning of harmonies.
- Access the Automation Clip: To apply automation, you’ll need to access the Automation Clip for the parameter you want to control. Right-click on the parameter knob or control in FL Studio’s interface and select “Create Automation Clip.” This will create an automation lane in the Playlist or Event Editor.
- Draw and Edit Automation Curves: Once you have the Automation Clip, you can now draw and edit automation curves. Left-click on the automation lane to create points on the curve, and then drag the points up or down to adjust the value of the parameter at specific points in time.
- Fine-Tune Automation: For precise control, you can also right-click on a point to access additional automation options. You can set the type of interpolation (linear, smooth, etc.), copy, paste, and delete points, and adjust the curve shape to create smooth transitions between values.
- Automate Chord Progressions: To automate chord progressions, you can use the Piano Roll or Step Sequencer to draw in different chords at specific time points. This can create dramatic changes in harmony throughout your track.
- Automate Pitch: You can also automate the pitch of individual notes or entire chords. By using automation, you can create pitch bends, glides, or other dynamic pitch changes to add expression to your harmonies.
- Automate Panning: To add movement and depth to your harmonies, you can automate the panning of individual notes or chords. This creates a stereo spread, allowing different harmonies to be placed in different areas of the stereo field.
- Layer Multiple Automations: Don’t limit yourself to a single automation. You can layer multiple automations for different parameters to create intricate and evolving harmony changes in your music.
- Use Virtual Controllers: In FL Studio, you can also use virtual controllers, such as LFOs and envelopes, to modulate harmony-related parameters automatically. This provides more advanced and complex automation possibilities.
- Experiment and Save Versions: Automation is a creative process, so feel free to experiment with different ideas. Save different versions of your project as you explore various harmony automation options.
Remember, automation in FL Studio 21 allows you to add expressive and dynamic changes to the harmony of your music. Whether you’re automating pitch, chord progressions, or panning, it’s a powerful tool to enhance the emotion and impact of your compositions.
Conclusion
Adding melody and harmony in FL Studio 21 is a fundamental and creative process that plays a vital role in shaping the character and emotional impact of your music. FL Studio 21 offers a versatile and user-friendly environment, empowering musicians, producers, and composers to craft captivating and memorable compositions. Here are the key takeaways:
- Melody as the Heart of Music: Melodies are the central themes that engage listeners and leave a lasting impression. Crafting catchy and emotive melodies in FL Studio’s Piano Roll allows you to express your musical ideas with precision and creativity.
- Emotional Connection: Melodies evoke emotions and create a strong bond between the music and the audience. Through careful note selection, rhythm, and dynamics, FL Studio enables you to build melodies that resonate deeply with listeners.
- Musical Identity: Establishing a signature melody can define your musical identity as an artist or producer. FL Studio’s extensive range of instruments and synths allows you to experiment and find unique sounds that become your distinct musical hallmark.
- Harmony and Depth: Harmony adds depth and complexity to your music, creating a rich backdrop for the melody. In FL Studio 21, you can craft chord progressions, harmonies, and modulations that elevate your compositions and keep the listener engaged.
- Layering and Texture: FL Studio’s capability to layer melodies and harmonies empowers you to create intricate textures and sonic landscapes. By combining different instruments and voices, you can achieve a fuller and more expressive sound.
- Automation for Expression: The ability to apply automation to melody and harmony parameters opens up endless possibilities for adding dynamic expression and movement to your music. Automation allows you to create evolving and engaging musical journeys.
- Experiment and Refine: FL Studio encourages experimentation. Take the time to explore various melodies, harmonies, and arrangements. Save different versions of your project as you refine and shape your musical ideas.
- Continuous Learning: Music production is a continuous learning process. Embrace tutorials, forums, and resources to expand your knowledge and improve your skills in FL Studio 21.
Ultimately, FL Studio 21 provides a powerful platform for unleashing your creativity and realizing your musical vision. By adding compelling melodies, harmonies, and expressive elements, you can create music that captivates audiences and stands the test of time. Whether you’re a beginner or an experienced musician, FL Studio 21 offers the tools you need to bring your musical ideas to life and share your passion with the world.